Stages
To start creating a stage you need as following:
-
Blender 2.92 or 3dsmax starting from 2012 version
-
Unity3d (currently we use Unity 2019.4 LTS) You can download it from Unity website. Follow the "Get Started" button and download the personal edition (it's free)
-
gStageEditor (our asset for unity3d) https://github.com/gRally/gStageEditor/releases This is our asset with tools to define the stage (physical material, split times, general information about the stage, create and manage the replay cameras) You have just to download the last one with the higher version number
-
this script for 3d studio to export a spline for the road https://gist.github.com/ghiboz/005d72b6eec3a75bc000 .
-
this script for Blender to export a spline for the road https://gist.github.com/ghiboz/8b2f7193c4f0b970ae98d84ffac0fc2f .
It's useful to define the layout that is used by Grally to check starting line, splits time and so on.
We will not explain how to use Unity3d. We recommend to learn the interface and the basic operations using the official learning resources. You'll find here https://unity3d.com/learn/tutorials
It's strongly recommended to take a look at the "interface&essentials" video section.
Now just a quick tour about Unity3d environment.
Launch it and you'll see something like this

Click con "New" button and you'll have this

- Insert the project name
- Insert the folder where you like to store it;
- Make sure 3D template is selected;
- Click Create;
Probably when you'll start Unity3d you'll have a different interface layout, don't worry you can rearrange it as you prefere dragging the single panel in the position you feel more confortable.
According to this layout, here a brief panels explanation:
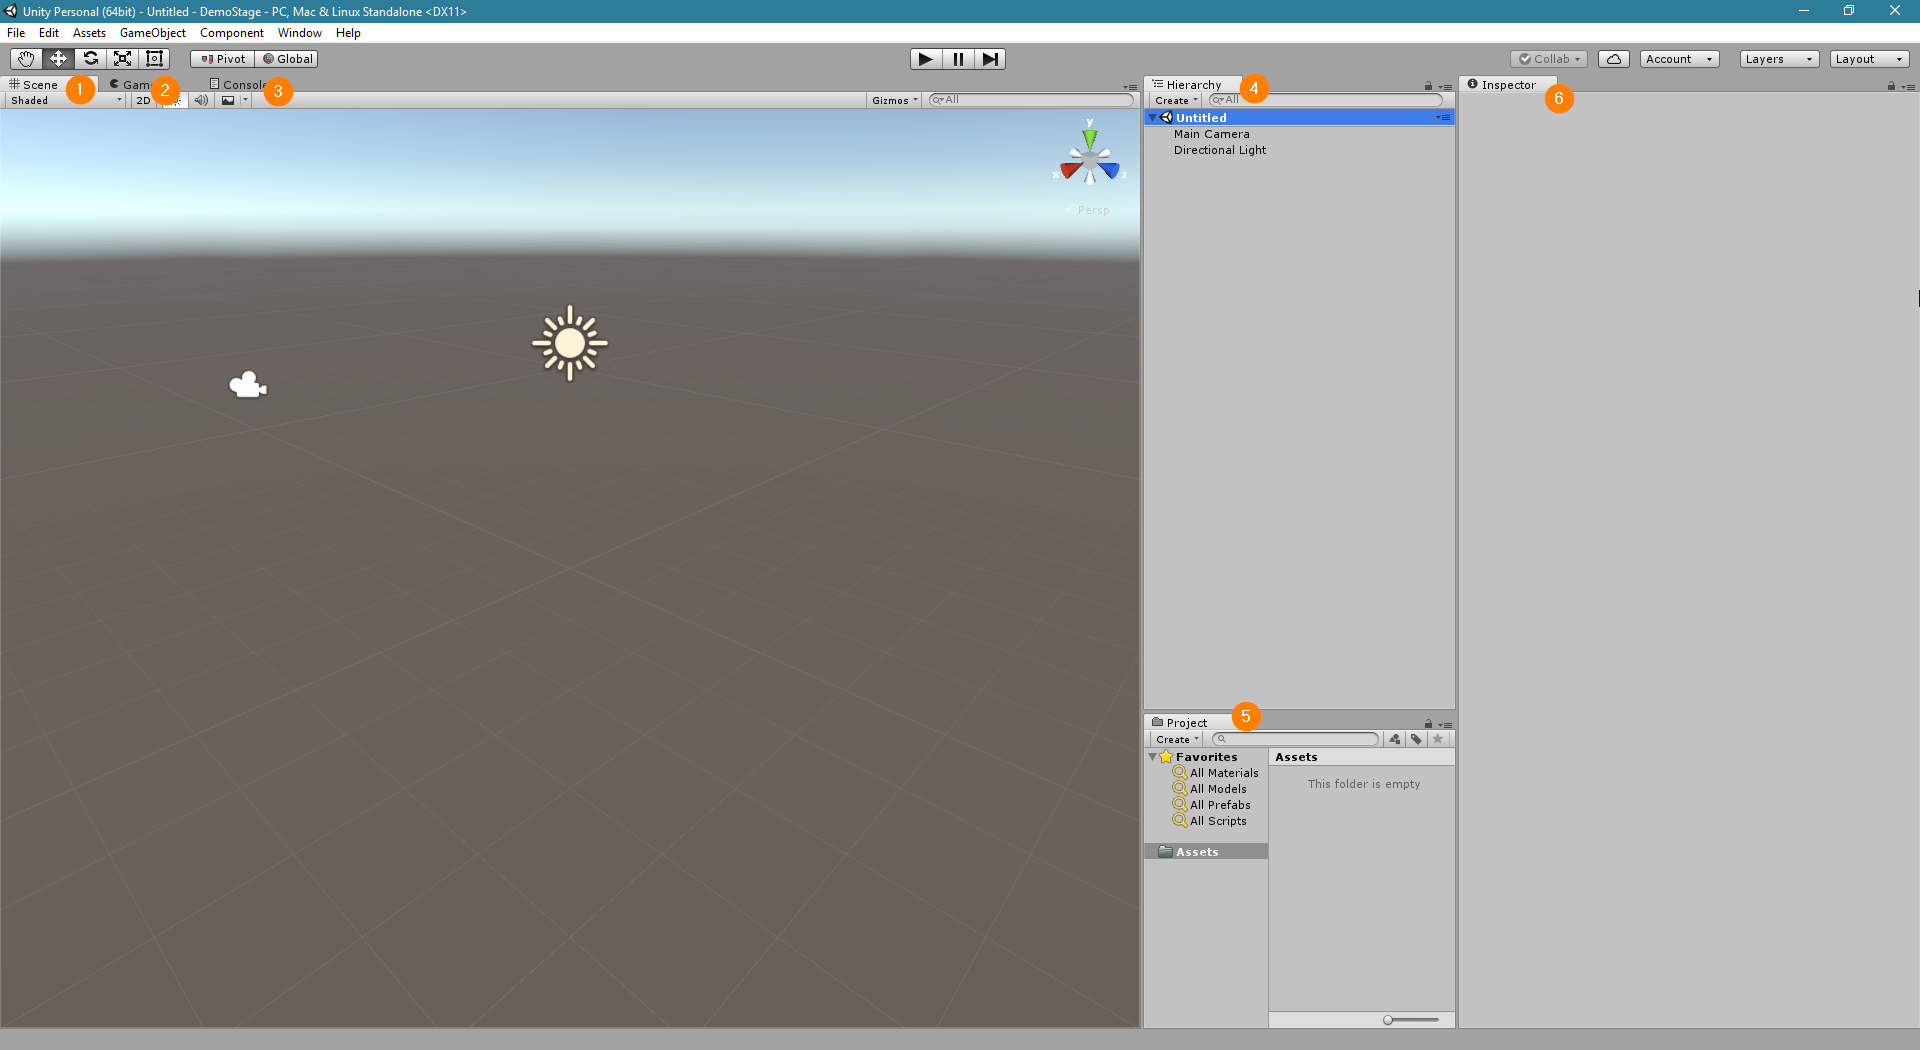
- The Scene panel (CTRL+1). Here is the editing scene, where you can see your objects, select, move, etc..
- The Game panel (CTRL+2). Here is shown your game when is launced clicking play.
- The Console panel (CTRL+Shift+C). Here you can see the errors, warnings or message about everything is running both in editor mode and in game mode.
- The Hierarchy panel (CTRL+4). Here you can see the tree view of your scene with all the gameobjects of the scenes.
- The Project panel (CTRL+5). Here you can see the folders of your project (the same folder/files hierarchy that you see in windows explorer inside the project root folder you choosen in point 2 of the previous step.).
- The Inspector panel (CTRL+3). Here you can see and edit all the GameObject properties.
In Unity3d, a GameObject is the name of everything you place into a scene: can be a light, a camera, a 3d mesh or something else.
Before adding the gRally tools I suggest you to set some project settings in order to have the best match in terms of visual preview with the game.
Go to Unity menu Edit-> Project Settings

Select "Player" and scroll to "Other Settings".

Change Color Space to "Linear".
Scroll down until "Configuration" and set "Api Compatibility Level" and "Allow unsafe code" as shown below

After that, still on the Project Settings window, click on "Quality"

In this category you can set quality levels for the different quality levels.
We suggest to start, to change the "Ultra" level as following and leave the others as they're set.
- AntiAliasing -> Disabled
- Shadow Cascades -> Two Cascades
- V-Sync Count -> Don't Sync
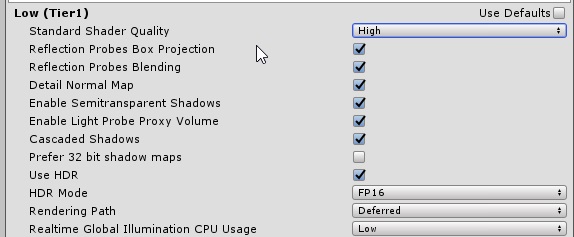
After this, from Project Settings select "Graphics", uncheck the "use defaults" in the "Low (Tier1)"
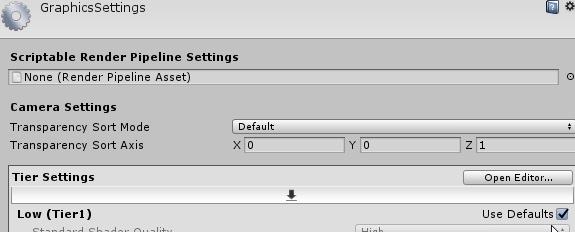
From the Tier1 settings, just change "Rendering path" to "Deferred".
Ok. Now you are ready to add the gStageEditor.
Go to the next page. https://github.com/gRally/dev/wiki/Stages_gStageEditor

© gRally.net 2018