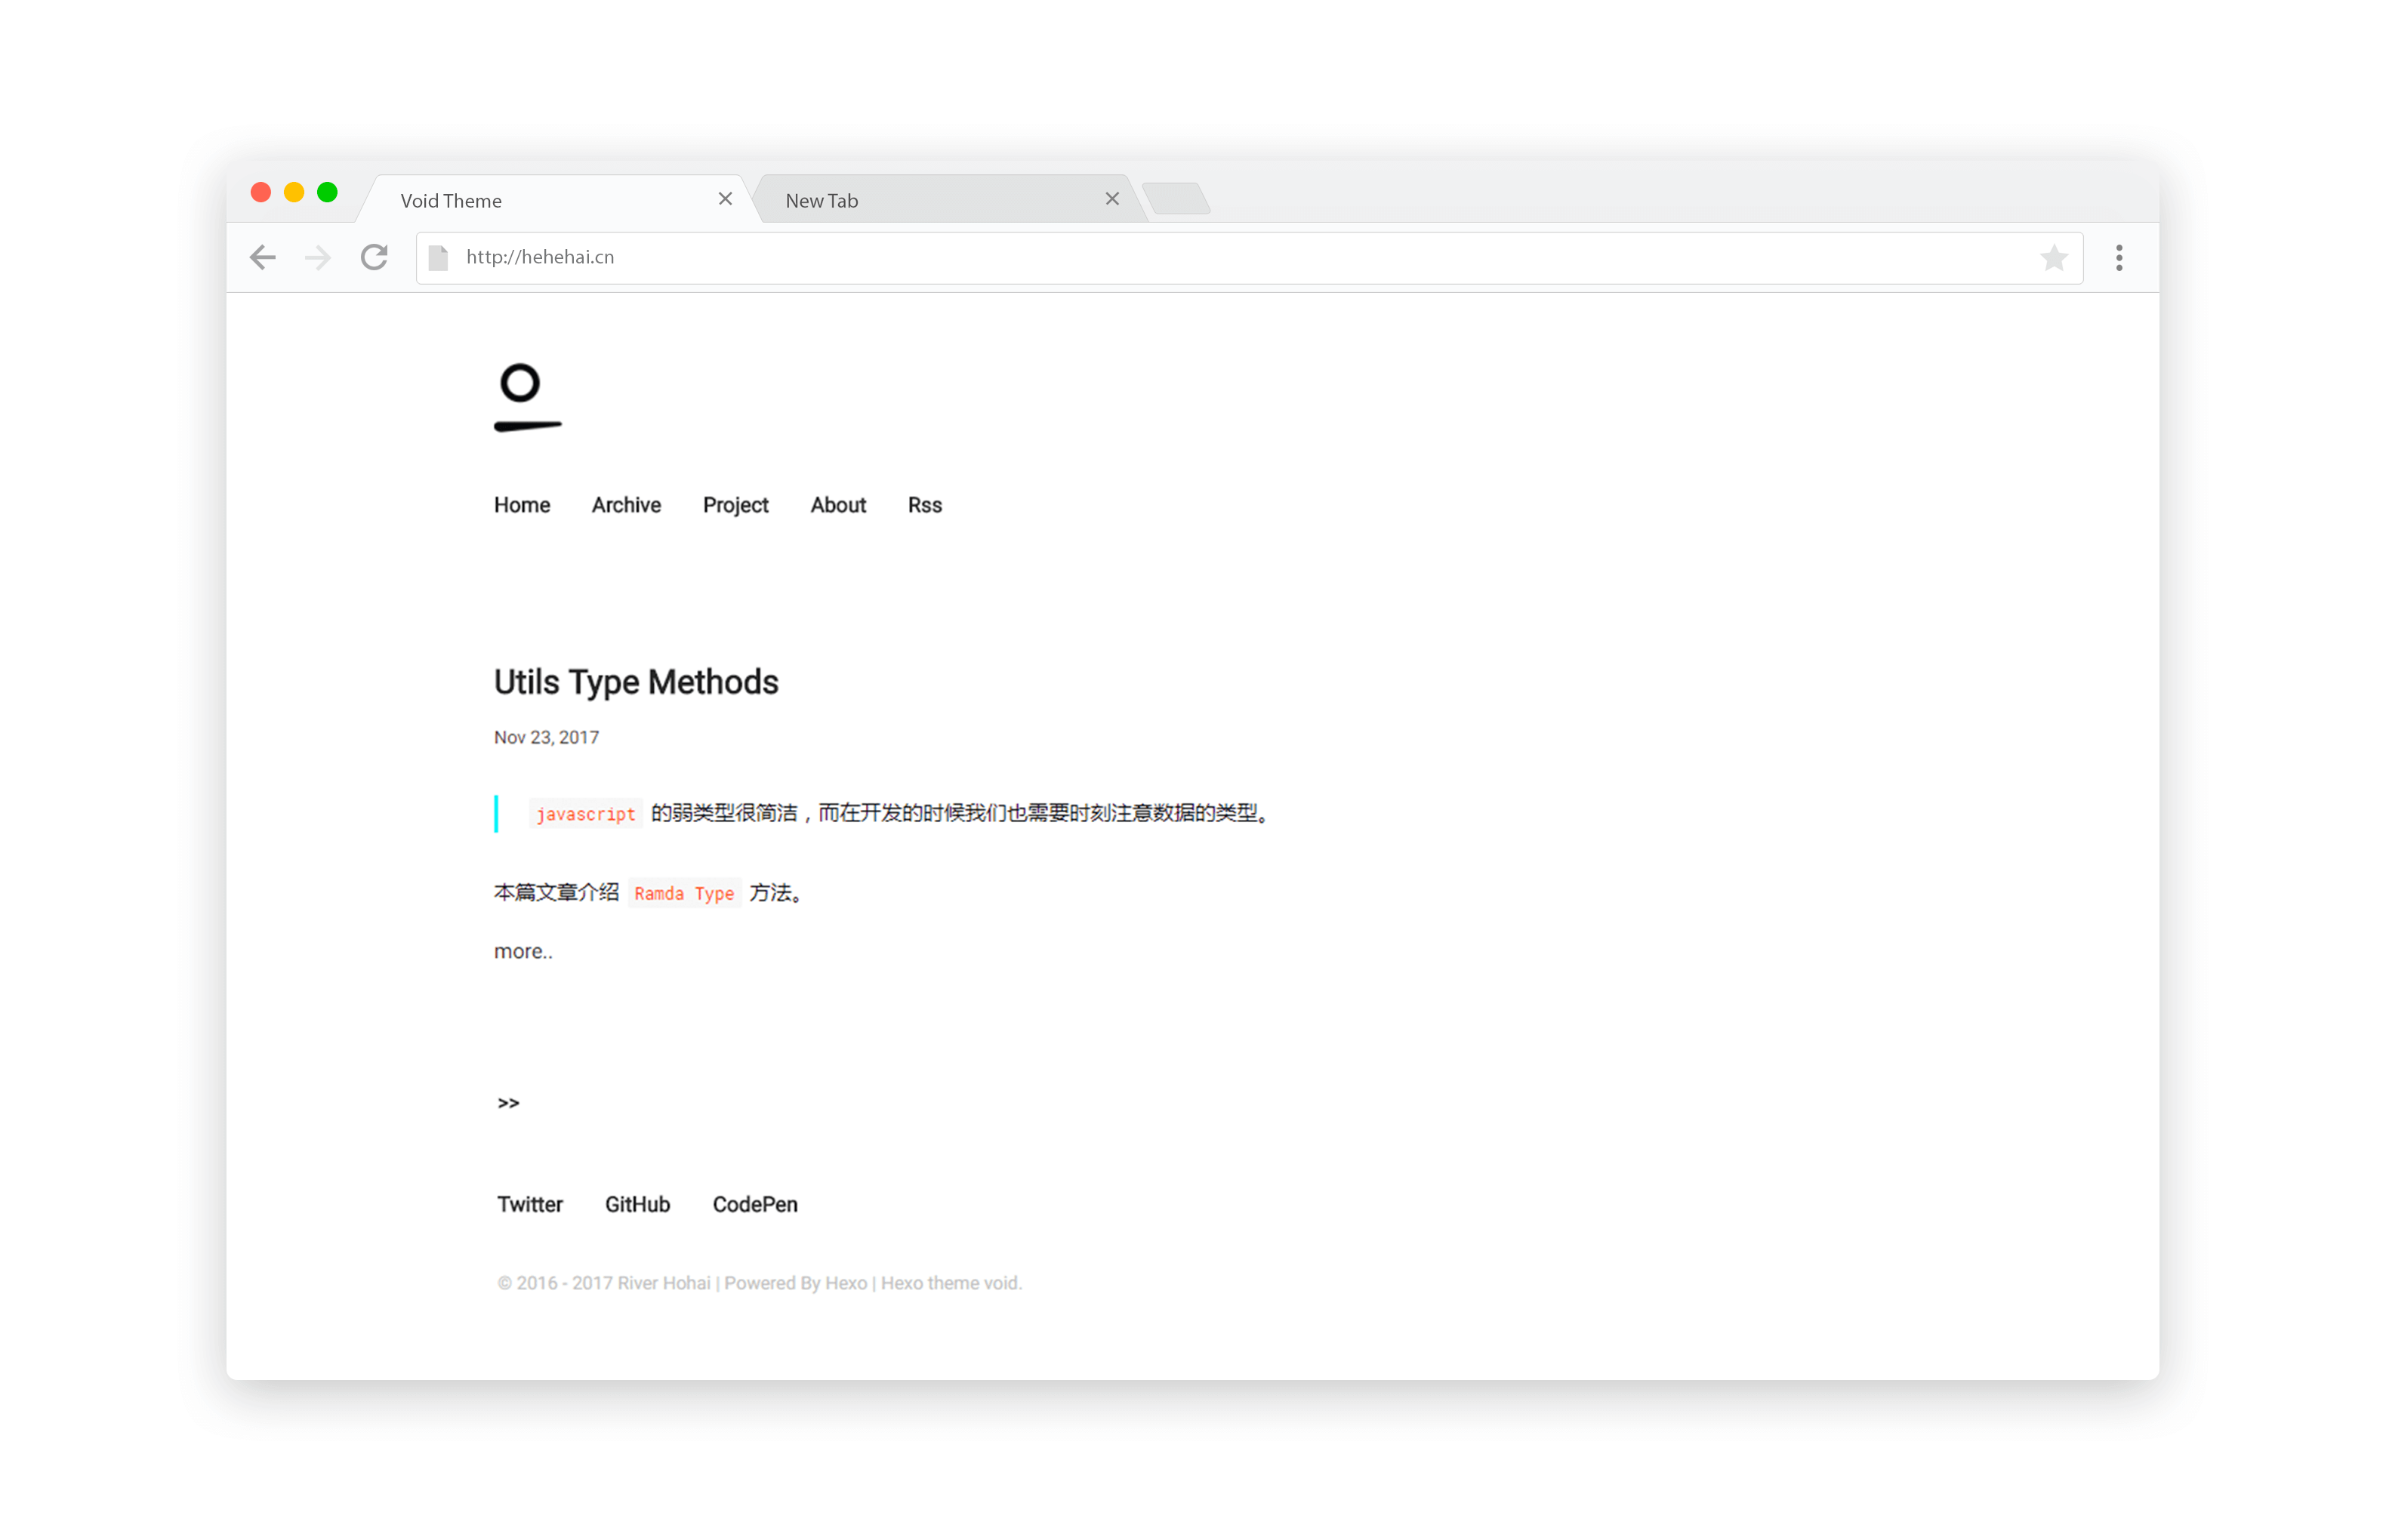
这里的安装建议使用 npm 或 cnpm,不建议使用 yarn( hexo 初始化使用的npm,使用 yarn cache 可能会冲突)
hexo-render-pug: pug 文件渲染hexo-generator-feed: 设置文章摘要,具体设置可参看插件hexo-generator-sitemap: 网站地图 RSShexo-generator-archive: 归档页面文章显示hexo-browsersync: 可选择安装,在hexo server下自动启用
因为 hexo 的有的插件很久没有更新了,在安装的时候会出现 npm WARN deprecated,只要不是错误就没事。
hexo init Blog
cd Blog
npm install

npm install --save hexo-render-pug hexo-generator-feed hexo-generator-sitemap hexo-browsersync hexo-generator-archive

git clone https://github.com/hehehai/hexo-theme-void.git themes/void修改 _config.yml 的 theme 配置项为 void:
theme: void

# 在归档页面显示所有文章
# 需要上面安装的 hexo-generator-archive 插件支持
archive_generator:
  per_page: 0
  yearly: false
  monthly: false
daily: false可以参考我的 Blog,该项目使用 Netlify 部署,具体使用方法参考官方文档。
你可以fork项目,之后使用 Netlify 关联项目,绑定自己的域名。之后可以直接在 github fork 的当前项目 source/_post 下新增 .md文档,保存后 Netlify 或自动更新。也可以 clone 到本地,更新文档后 push 到仓库
这种方法的好处是,你可以保存你整个项目的文件包括配置。并且 Netlify 也有免费的 https 可以使用。
若使用 Netlify 建议把 项目的 package.json 中的依赖中不需要的删除。
- "hexo-browsersync": 仅在
hexo s会使用,可选择删除 - "hexo-renderer-ejs":
ejs引擎不需要 - "hexo-renderer-stylus":
stylus预编译不需要
主题本身的配置可以直接在 void 文件夹下的 _config.yml 修改。
menu: 头部导航social: 社交导航favicon: 网站 iconlogo: 网站 logodisqus:Disqus评论,使用时设置 disqus id 即可(默认不启用)gitalk:Gitalk评论,设置参考 Gitalk commit setup (默认不启用)ga:Google Analytics,使用时设置Analytics id即可(默认不启用)mathjax:Mathjax公式,仅是一个以CDN方式引用的js连接(默认不启用)startyear: 网站开始时间(年)
若要修改 Pug 文件,不需要安装其他库,克直接修改 layout文件夹下的文件。
PUG
layout/
  archive.pug      # 文章归档
  index.pug        # 首页
  post.pug         # 文章页

  mixins/
    paginator.pug  # 分页 prev,next
    post.pug       # 文章 postInfo(翻译标签) posts(首页文章列表)postList(归档页列表)post(文章)

  partial/
    comment.pug    # 评论系统 (Disqus, Gitalk)
    copyright.pug  # 版权
    head.pug       # 页面头部信息
    layout.pug     # 模板
    nav.pug        # 头部导航
    scripts.pug    # 脚本 (Mathjax CDN)(Google Analytics)
    social.pug     # 社交导航
修改样式需要安装依赖, 在 void 文件夹下运行npm install。
npm install
npm run style:watch
这里若出现错误,一般是因为 node-sass 的问题,可以删除 node_modules 文件夹后,使用 cnpm install 安装。
SCSS
source/scss
  main.scss   # 主入口,文件导入,字体导入

  partial/
    archive-post-list.scss    # 归档页样式
    base.scss   # 基本样式
    copyright.scss    # 版权
    footer.scss   # 分页
    header.scss   # 头部
    home-post-list.scss   # 首页
    mq.scss   # 移动设备
    normalize.scss    # 浏览器样式重置
    post.scss   # 文章
    utils.scss    # 变量,颜色,字体
如果你想设置页面的 meta description 信息,请在每篇 markdown 文件的头部添加 desc 字段信息——更实用的方式是在 scaffolds 文件夹中,将 desc 配置到常用模板中去,示例如下:
title: Lorem ipsum dolor
date: 2015-12-31 14:49:13
desc: Lorem ipsum dolor sit amet, consectetur.
---

Lorem ipsum dolor sit amet, consectetur adipisicing elit. Totam, non numquam saepe ex ut. Deleniti culpa inventore consectetur nam saepe!
生成结果:
<meta name="description" content="Lorem ipsum dolor sit amet, consectetur.">如果没有配置该信息,void 会使用 page.title 和page.author 来配置该标签。
如果你想创建文章摘要用于向读者展示文章的核心内容,那么需要在文章摘要之后其他内容之前添加 HTML 注释标签 <!--more-->
title: Lorem ipsum dolor
date: 2015-12-31 14:49:13
desc: Lorem ipsum dolor sit amet, consectetur.
---
Lorem ipsum dolor sit amet, consectetur adipisicing elit. Totam, non numquam saepe ex ut. Deleniti culpa inventore consectetur nam saepe!
<!-- more -->
text...使用警告块需要 div 标签和 tip 类名:
<div class="tip">
  预处理器很强大,但它只是编写 CSS 的辅助工具。出于对扩展和维护等方面的考虑,在大型项目中有必要使用预处理器构建 CSS;但是对于小型项目,原生的 CSS 可能是一种更好的选择。不要肆意使用预处理器!
</div>
图片来源:
apollo
MIT 河河海
