Homebridge on TrueNAS Scale
This guide provides step-by-step instructions to show you how to install Homebridge on TrueNAS Scale as a using Docker.
- TrueNAS Scale
From the Storage section of the TrueNAS application, create a new dataset that will be used to store your Homebridge config and plugins.
From the Apps section, select Launch Docker Image. Enter the details as follows:
- Application Name:
homebridge - Container Image:
- Image repository:
homebridge/homebridge - Image tag:
latest
- Image repository:
- Container Entrypoint: no changes
- Container Environment Variables: no changes
- Networking:
- Add external Interfaces
- Select the interface on which your TrueNAS is connected to your home network
- Use DHCP
- Add external Interfaces
- Port Forwarding: no changes
- Storage:
- Configure Host Path Volumes
- Host Path:
path to the dataset created in step 1 - Mount Path:
/homebridge
- Host Path:
- Configure Host Path Volumes
- Workload Details: no changes
- Scaling/Upgrade Policy:
- Update Strategy:
Kill existing pods before creating new ones
- Update Strategy:
- Resource Reservation: no changes
- Resource Limits: no changes
- Portal Configuration: no changes
- Confirm Options:
Save
The container is now setup and almost ready for use and can be accessed on port 8581.
However, there are two network interfaces in the container: an internal one for the kubernetes cluster and an external one on your home network.
We need to tell homebridge which interface to use for communicating with HomeKit.
You can access the Homebridge UI using http://IP_ADDRESS:8581.
Once you log in, click on the elipses in the top right and select Homebridge Settings
Under the Network section, click the gear icon by Network Interfaces. Here you can choose which interface homebridge should listen on. We need to pick the interface that is exposed to our home network, and make sure the interface that is attached to kubernetes is not selected. (Usually this will mean removing the check from eth0 and leaving net1 checked, but you can see the IP addresses for each interface to make sure you are picking the correct one).
We also need to change the mDNS Advertiser to something other than bonjour HAP (Avahi will work fine). Unfortunately bonjour HAP which is selected by default, does not support choosing a single interface, but defaults to whatever interface is the first on the list (which is usually the wrong one).
Homebridge should now be able to communicate with HomeKit on your home network.
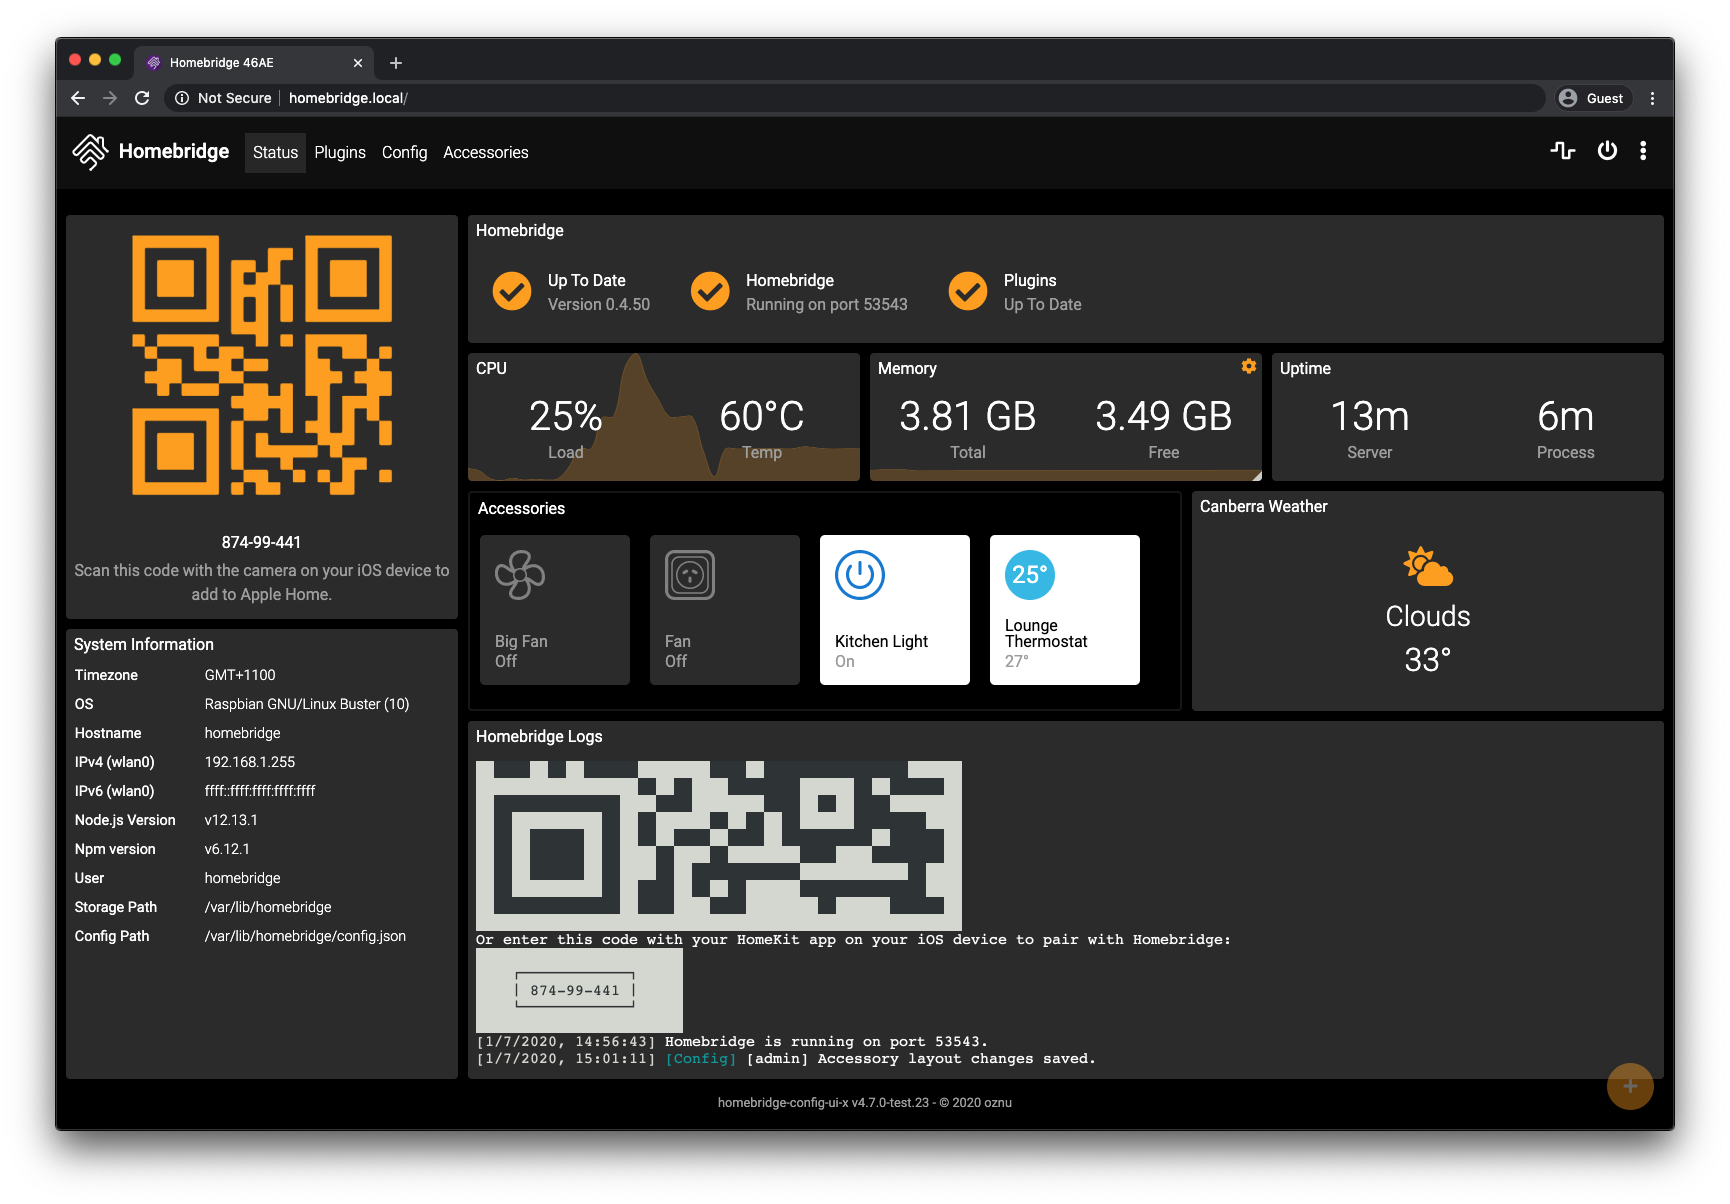
The Homebridge UI web interface will allow you to install, remove and update plugins, and modify the Homebridge config.json and manage other aspects of your Homebridge service.
This table contains important information about your setup. You can use the information provided here as a reference when configuring or troubleshooting your environment after setting up Homebridge using the instructions below.
| File Location / Command | |
|---|---|
| Config File Path |
/homebridge/config.json (inside container) |
| Storage Path |
/homebridge (inside container) |
| Plugin Path |
/homebridge/node_modules (inside container) |
| Update Node CMD | hb-service update-node |