How To Connect Via VNC
The Homebridge Raspberry Pi Image is built on Raspbian Lite and is intended to be used as a "headless" server - this means there is no "Desktop" to connect to by default. This article will show you how to setup the Raspbian Desktop with VNC for remote access.
To get started run:
sudo hb-config
This will bring up this screen, select Extra Packages:

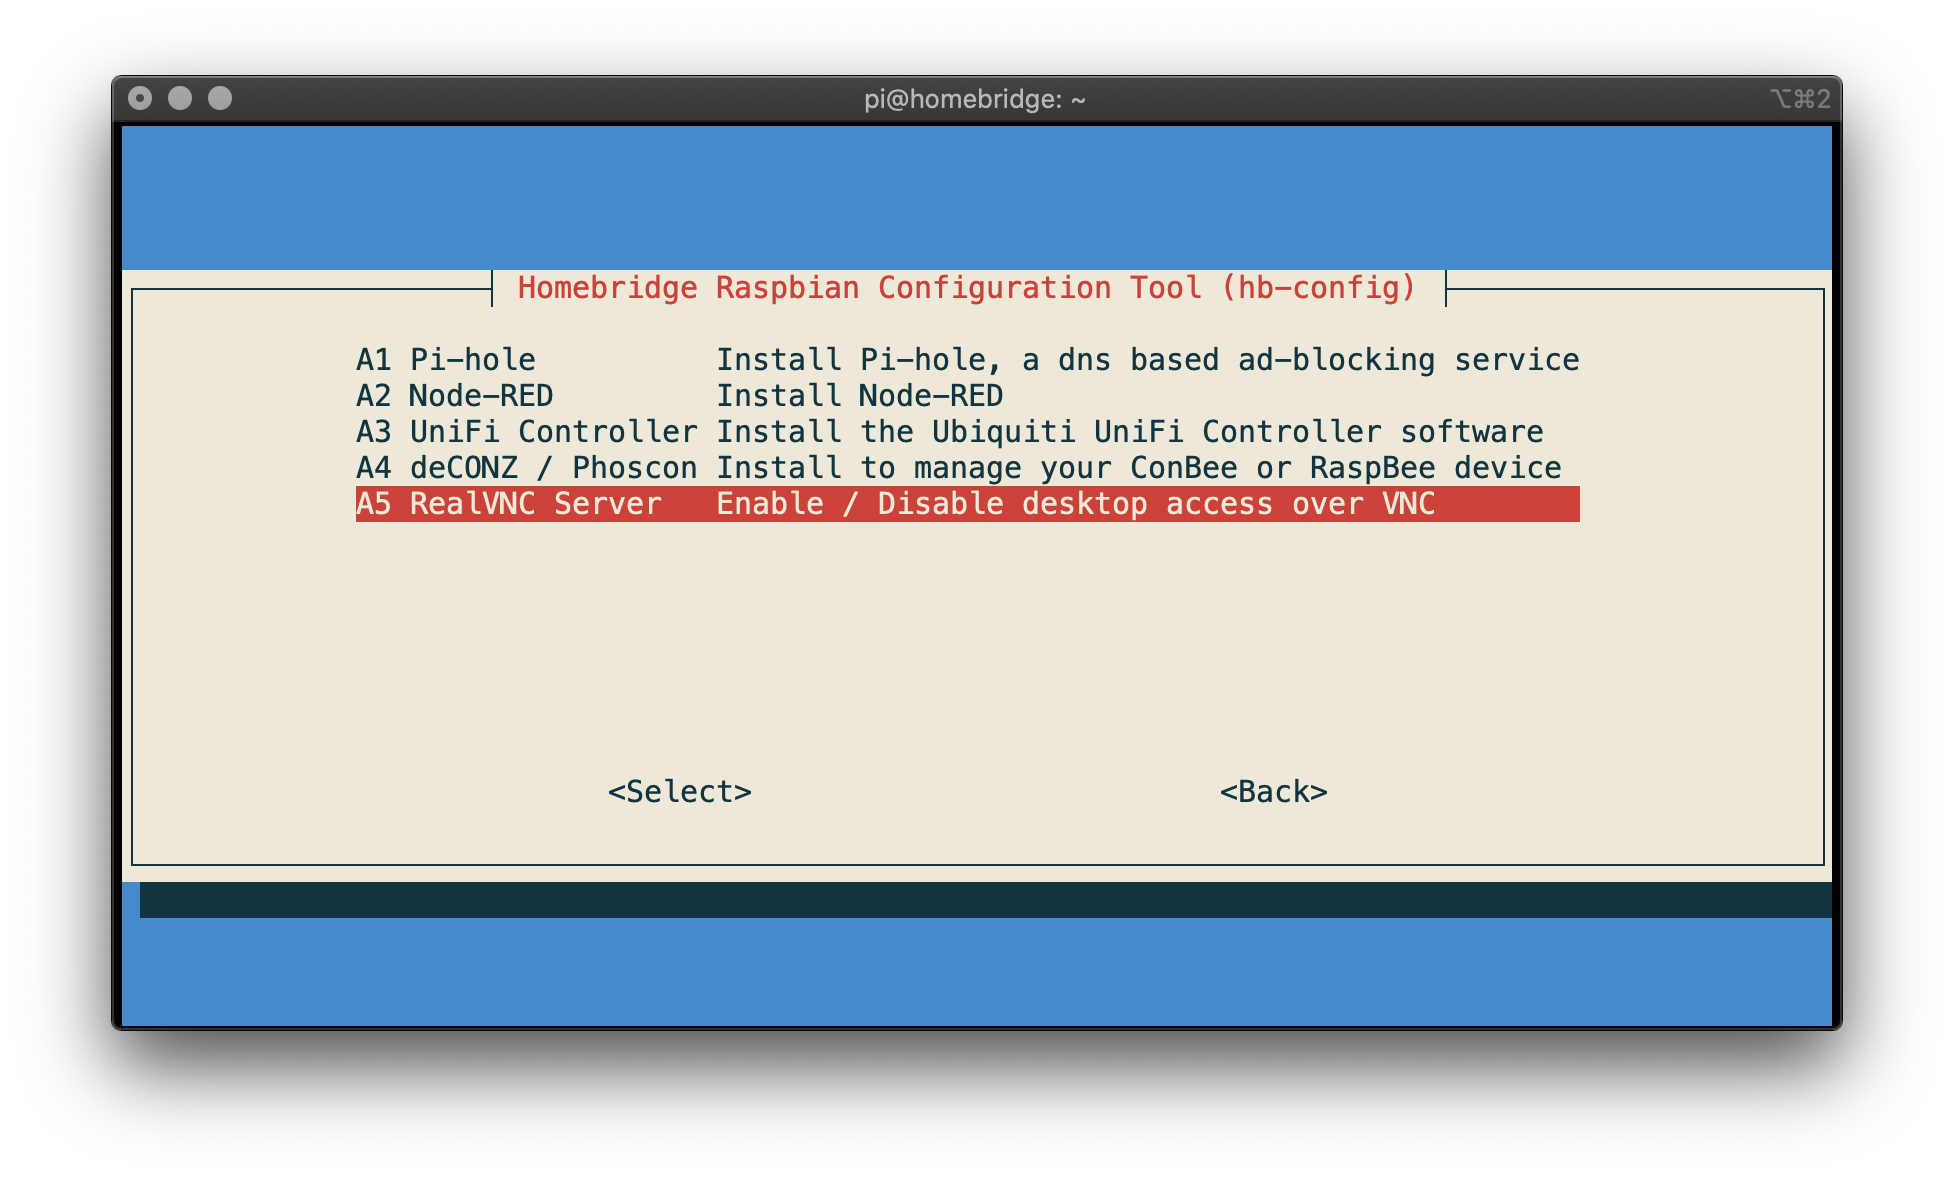
Choose the RealVNC Server option:
If you don't see the
RealVNC Serveroption you may need to update hb-config. You can do this by selecting Update on the previous screen.
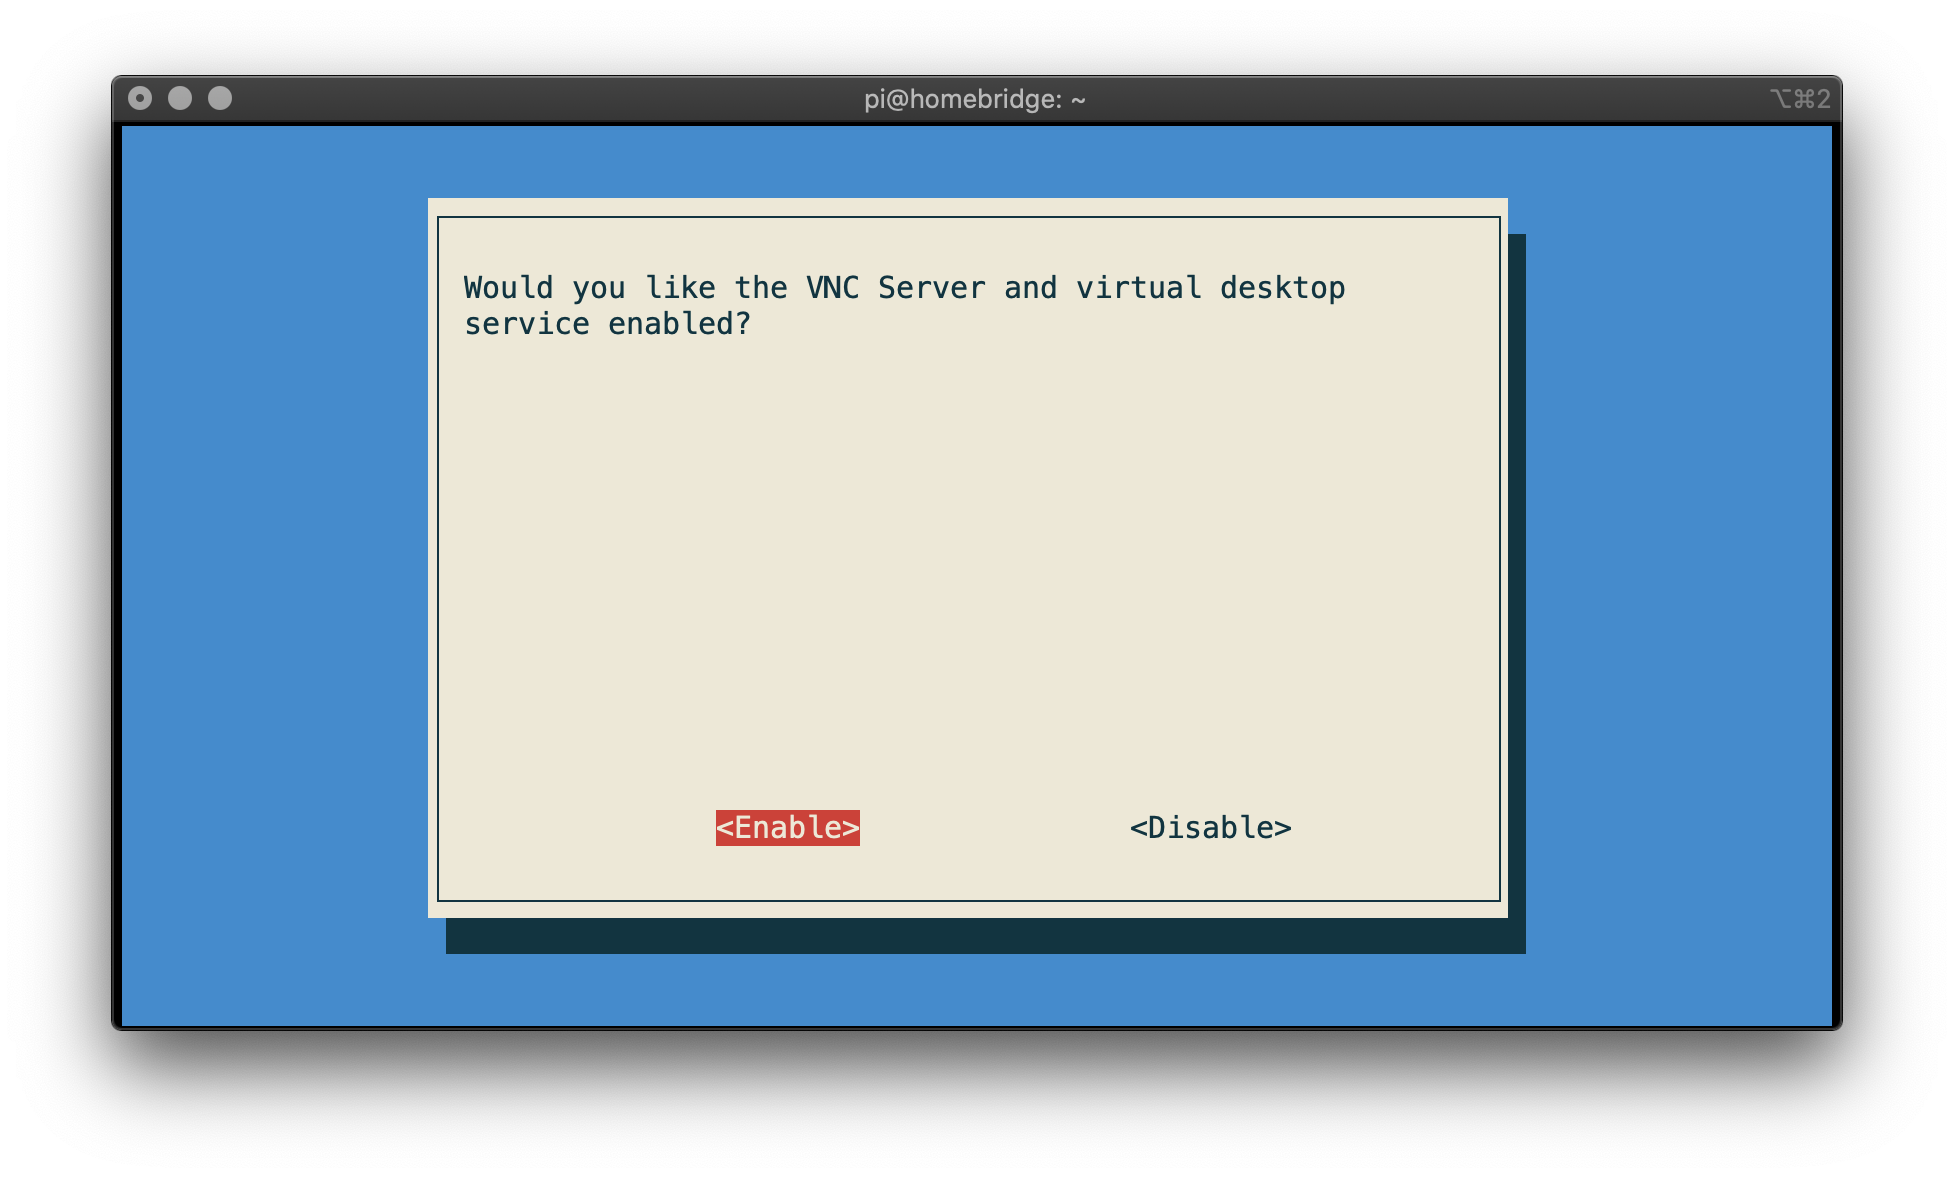
Select the Enable option:
The Raspbian OS Desktop and RealVNC server will now be installed and configured. Once configured you will see this screen which contains the IP addresses and hostnames you can use in the RealVNC Viewer.

Download and install RealVNC Viewer. Once installed enter the hostname or ip address of your Raspberry Pi plus the port 5912.
For example: homebridge.local:5912.

Accept the warning that may appear, then enter your pi user credentials, these are the same credentials you would use to SSH into your Raspberry Pi.
The default username is pi with password raspberry.

Once connected you will see the Raspbian Desktop:

Raspbian Lite does not come with a web browser, if you need one, you can install the Chromium browser by entering the following commands at the terminal:
sudo apt update
sudo apt -y install chromium-browser
See https://www.raspberrypi.org/documentation/remote-access/vnc/