Install Homebridge on Red Hat, CentOS or Fedora Linux
This guide provides step-by-step instructions to show you how to install Homebridge on Red Hat, CentOS or Fedora or other enterprise-linux based distros as a service so it will automatically start on boot.
- Prerequisites
- Installing Homebridge
- How To Uninstall Homebridge
- Multiple Instances
- Major Node.js Version Updates
- Configuration Reference
Before you get started, make sure you have the following ready:
- An enterprise-linux based machine, such as Red Hat, CentOS or Fedora.
- Access to the Terminal. This can be via a desktop Terminal app, or remotely via SSH. You will need the ability to copy and paste commands from this guide into the terminal.
- This guide is intended for a fresh install of Enterprise-based Linux, at the very least you should ensure you do not already have Homebridge or Node.js installed on your system before getting started.
Install the LTS version of Node.js from the official repository, as well as additional dependencies:
# install additional dependencies
sudo yum install -y gcc-c++ make net-tools python2 python3

# install build tools
sudo yum groupinstall -y 'Development Tools'

# test node is working
node -vInstall Homebridge and the Homebridge UI using the following command:
sudo npm install -g --unsafe-perm homebridge homebridge-config-ui-x
To setup Homebridge as a service that will start on boot you can use the provided hb-service command.
sudo hb-service install --user homebridge

This command will do everything that is required to setup Homebridge and the Homebridge UI as a service on your system, it will create the homebridge user if it does not already exist, and create the default Homebridge config.json under /var/lib/homebridge if it does not already exist.
When setting up Homebridge as a service using this command, the UI will stay online even if Homebridge is crashing due to a bad plugin or configuration error.
You should also add the Homebridge port, available from the Config tab once you login to the Homebridge UI.
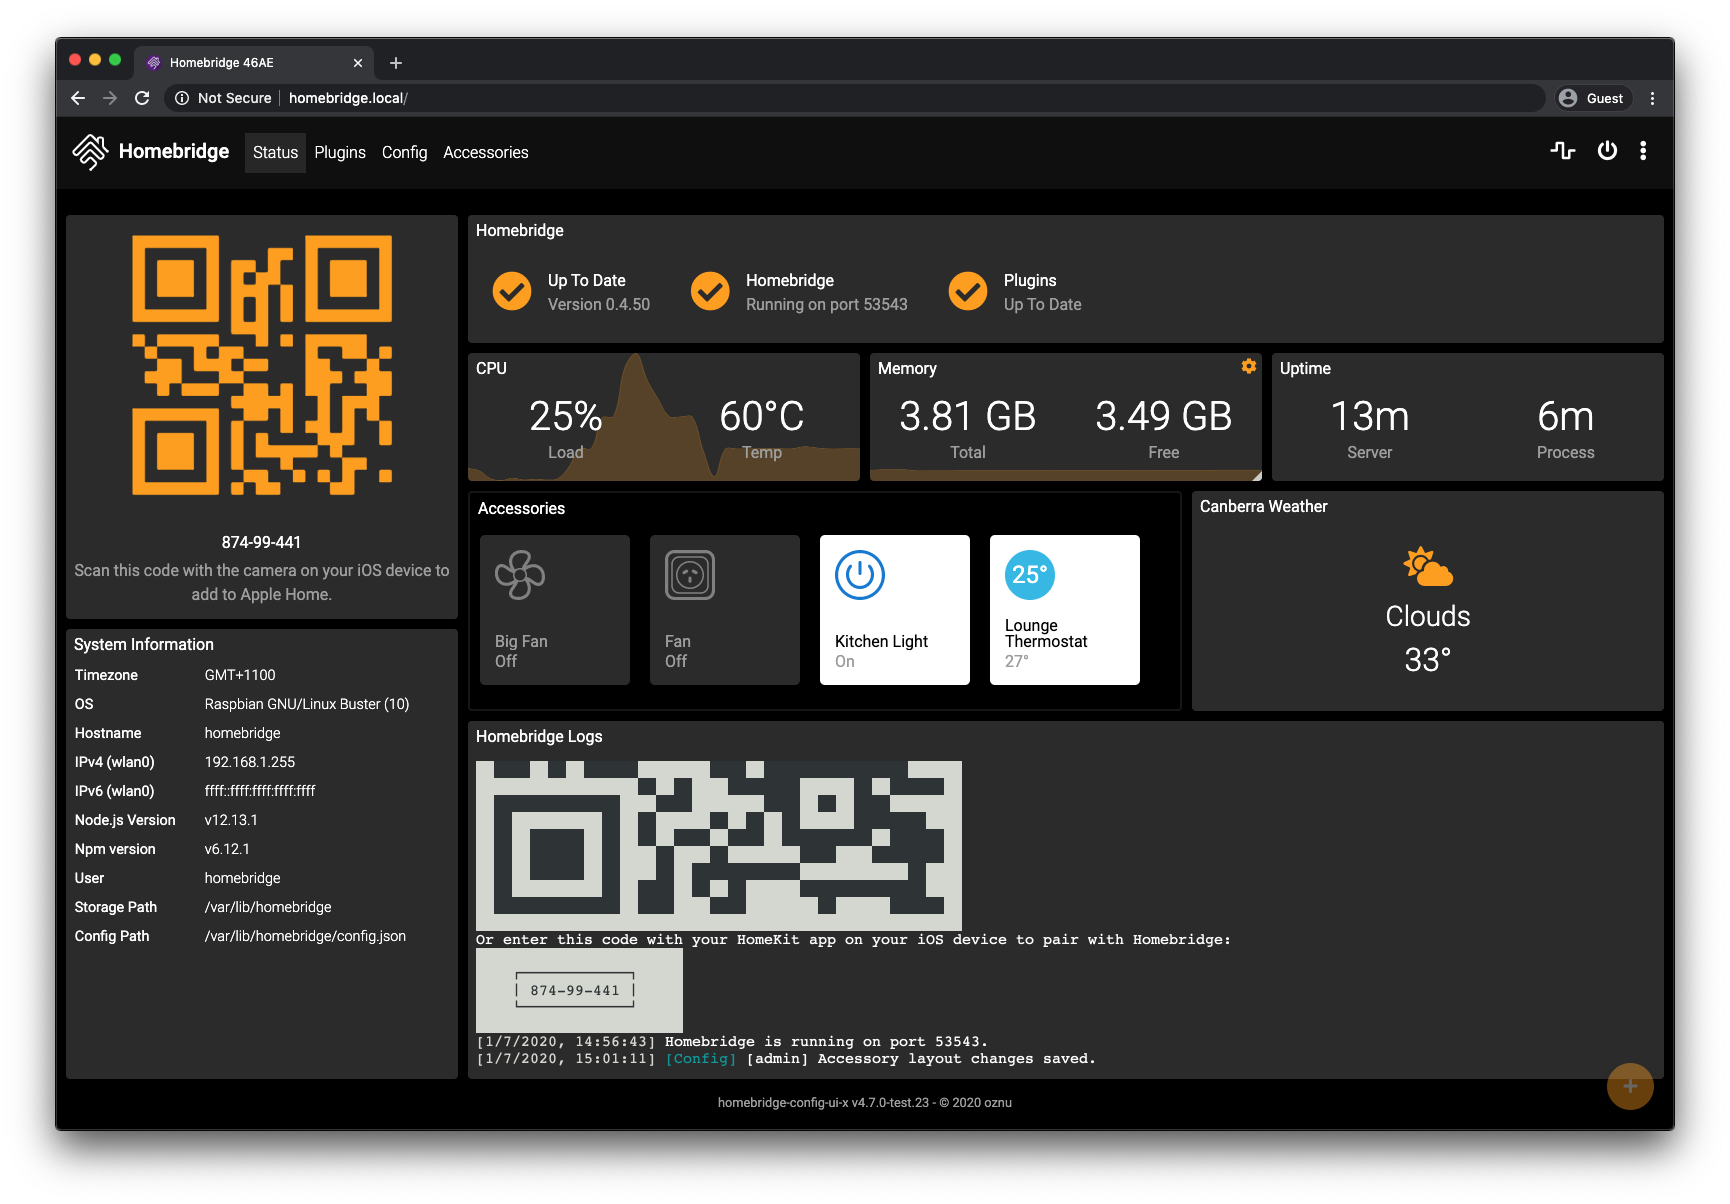
The Homebridge UI web interface will allow you to install, remove and update plugins, and modify the Homebridge config.json and manage other aspects of your Homebridge service.
Login to the web interface by going to http://<ip address of your server>:8581.
To find the IP address of your server you can run:
hostname -I

Review the Configuration Reference at the bottom of this guide.
To remove the Homebridge service run:
sudo hb-service uninstall
To remove Homebridge and the Homebridge UI run:
sudo npm uninstall -g homebridge homebridge-config-ui-x
💡 Homebridge now supports Child Bridges which are an easier to manage alternative to running multiple instances.
Some users like to run multiple instances of Homebridge.
The hb-service command makes this easy to do via the --service-name flag.
See the hb-service documentation for instructions.
It is recommended to run Homebridge on the current stable LTS version of Node.js. You can update Node.js to the current LTS version of Node.js by running:
sudo hb-service update-node This table contains important information about your setup. You can use the information provided here as a reference when configuring or troubleshooting your environment after setting up Homebridge using the instructions below.
| File Location / Command | |
|---|---|
| Config File Path | /var/lib/homebridge/config.json |
| Storage Path | /var/lib/homebridge |
| Restart Command | sudo hb-service restart |
| Stop Command | sudo hb-service stop |
| Start Command | sudo hb-service start |
| View Logs Command | sudo hb-service logs |
| Systemd Service File | /etc/systemd/system/homebridge.service |
| Systemd Env File | /etc/default/homebridge |
- Raspberry Pi
- Debian, Ubuntu
- CentOS, Fedora, Red Hat
- Arch, Manjaro
- macOS
- Windows 10 / 11 (Hyper-V)
- Docker
- Synology DSM 7
- Other Platforms
- Basic Troubleshooting
- Backup and Restore
- Child Bridges
- Config File
- Connect To HomeKit
- FFmpeg for Homebridge
- HomeKit Glossary of Terms
- iOS Homemanager App
- mDNS Options
- Remote Access
- Useful Links
- Basic Troubleshooting
- Config Options
- Enabling Accessory Control
- Enabling UI with Docker
- Homebridge Service Command
- Manual Configuration
- Reverse Proxy: Apache
- Reverse Proxy: Nginx and SSL
- Standalone Mode
- Swap From Standalone To Service Mode
- Developer Docs
- API Reference
- Plugin Templates
- Other Links (Internal)
- Other Links (External)