How to start Example app
For Mobile Messaging Plugin we've provided an Example app, which can be easily setup and started with your credentials.
As the first step, you will need to have an Mobile Messaging application profile set up in Infobip Portal for your account. If you already have it, then you can skip this section, otherwise:
-
Prepare your Firebase Cloud Messaging to get
google-services.jsonfile and Server API Key. -
Prepare your Infobip account to get your
application code:- Create new application on Infobip portal.
- Navigate to your Application where you will get the
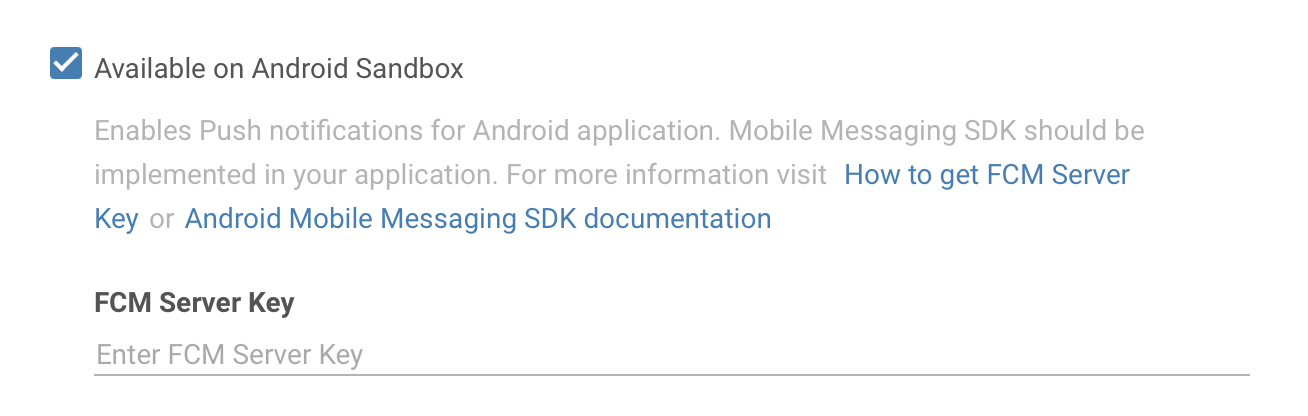
application code. - Mark the "Available on Android" checkbox.
- Insert previously obtained FCM Server Key (Server API Key).
-
Prepare your App ID, provisioning profiles and APNs certificate (APNs Certificate Guide).
-
Prepare your Infobip account to get your
application code:- Create new application on Infobip Push portal.
- Navigate to your Application where you will get the
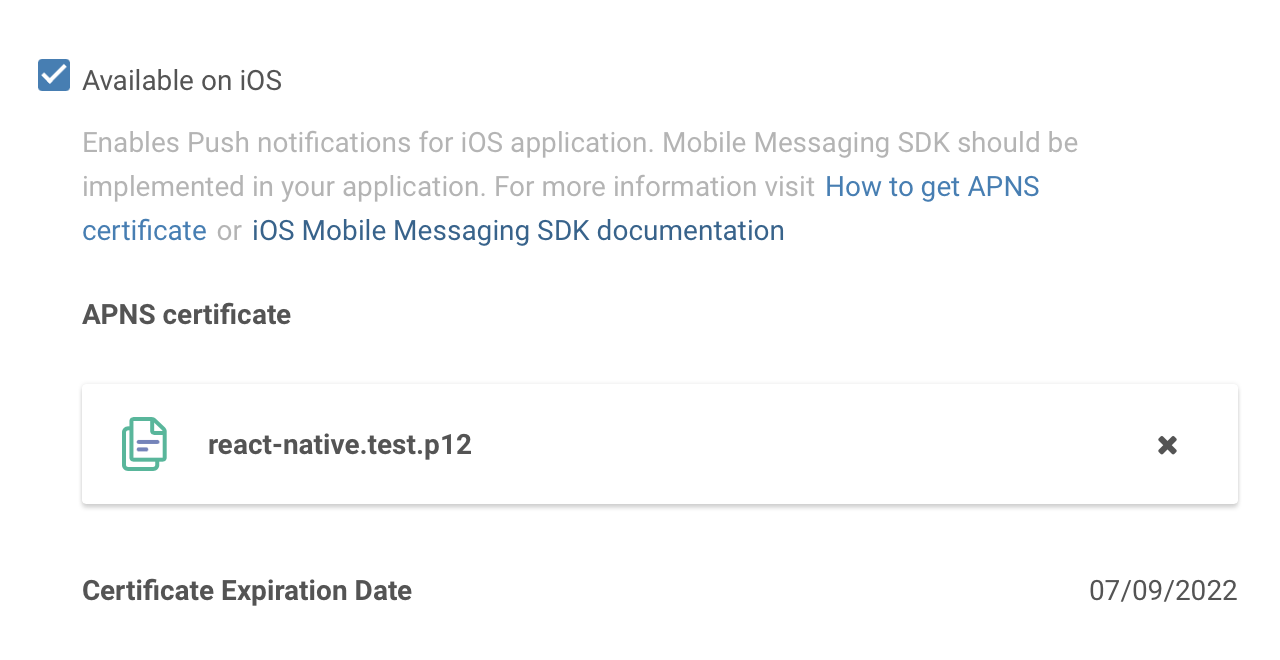
application code. - Mark the "Available on iOS" checkbox.
- Click on "UPLOAD" under "APNS Certificates" and locate the .p12 certificate you exported from your Keychain earlier.
- Clone plugin repository and navigate to the project folder.
- Run
flutter pub getto install dependencies. - Provide your
application codefrom previous step in/example/lib/main.dartfile:
await InfobipMobilemessaging.init(
  Configuration(
applicationCode: "Your Application Code",- Uncomment
apply plugin: 'com.google.gms.google-services'at the end of yourexample/android/app/build.gradlein order to apply Google Services Gradle Plugin. - Add
google-services.jsonyou obtained in previous step to theexample/android/appfolder as described inFirebase documentation.
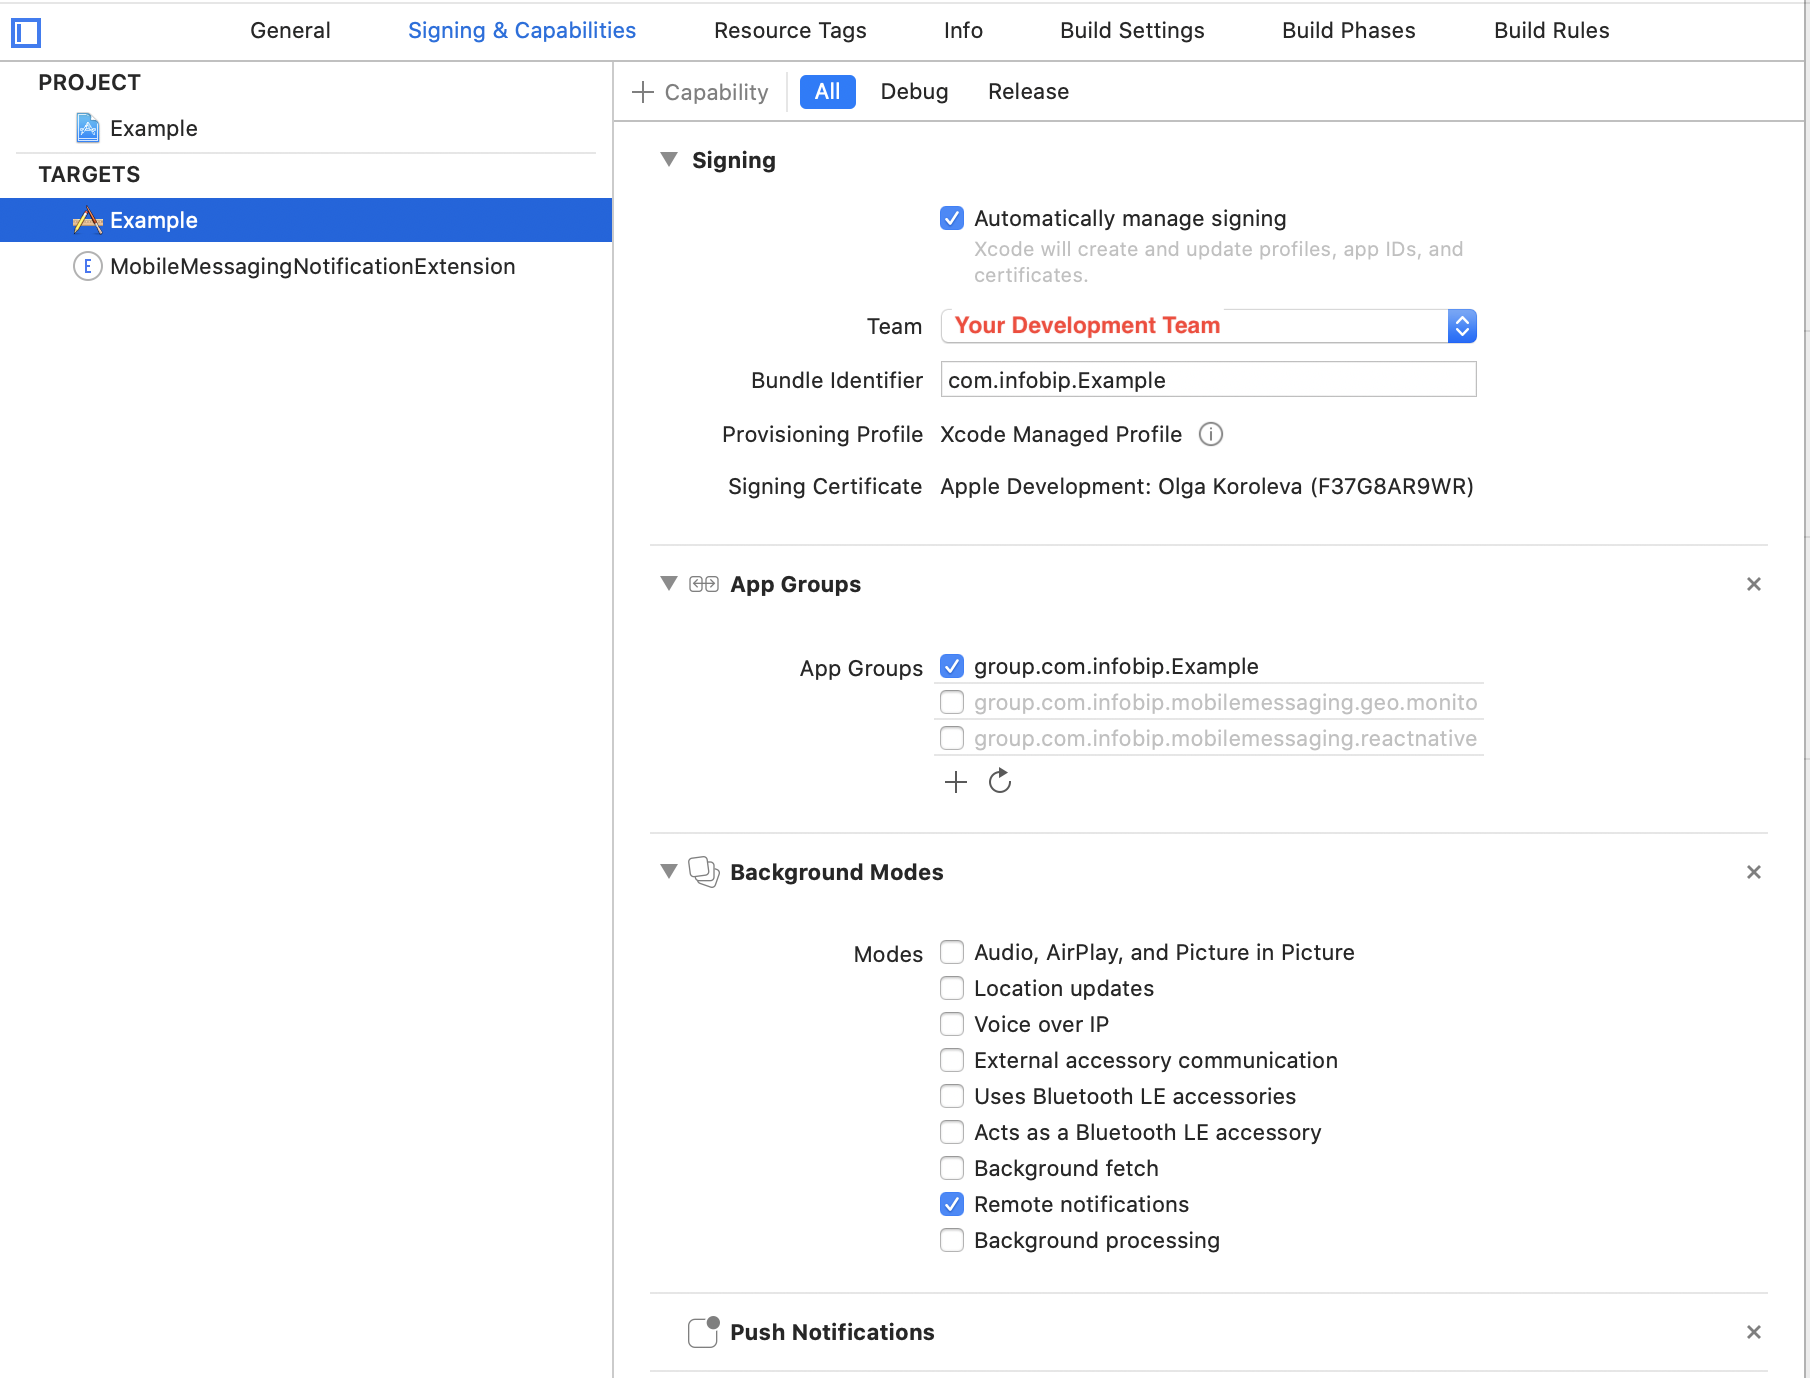
To complete setup for iOS you need to open install Cocoapod dependencies - run cd example/ios & pod update to install them. Then open the project in the XCode and select your development team for signing the app for Example target:
Within the example application we offer chat for testing all available In-app chat features first-hand, and for comparing its source code with yours, in case you are facing any issue in your implementation.
In order to test the In-app chat in example application follow instructions in In-app chat Intro.
Our In-app chat has different list of options, from the basic ways of presenting the In-app chat, to not forgetting the change of language for the UI, multiple threads feature, etc. We invite you to play with it and discover everything Livechat has to offer.
Within the example application we offer chat with calls for testing all calls features first-hand, and for comparing its source code with yours, in case you are facing any issue in your implementation.
In order to test the In-app chat with calls in example application follow instructions in WebRTC Calls and UI section.
Our calls UI has different list of options: ability to capture video through both, front and back camera, option to mute and use the speaker, ability to capture and share the screen of your mobile device, option to minimise the call UI in a picture-in-picture mode, and more. We invite you to play with it and discover everything Livechat calls have to offer.