Skip to content

OAuth Setup For Dialogflow Agent

Divakar Ungatla edited this page Oct 25, 2019 · 1 revision

OAuth Setup For Dialogflow Agent

Follow the below steps to setup OAuth for the dialogflow agent created from the previous step.

STEP 1 - Getting the Service Account key

1. Go to General section in Agent's Settings.

2. Under the GOOGLE PROJECT section, click on the name of the Service Account.

This will take you to the Google Cloud Platform Service Accounts page, but you first need to update the Service Account's role.

3. Go to Service Accounts under IAM and Admin Settings.

4. Click on the Create Service Account button at the top of the page.

5. In the pop-up enter a name, select a role (Dialogflow API Admin).

6. Check the Furnish a new private key option and select JSON for Key type and click CREATE.

7. Download of the JSON file will start. Choose a location to save it and confirm.

8. Once complete, you'll see a pop up with a confirmation message. Click Close.

STEP 2 - Using the key

In order to call the API using the key you just generated, you'll need to provide the key using the Google Cloud SDK.

  1. If you haven't already, install and initialize the Cloud SDK. Google Cloud Client Libraries need NOT be installed.

  2. Set the environment variable GOOGLE_APPLICATION_CREDENTIALS to the file path of the JSON file that contains your service account key. For use in future shell sessions, you should save this setting in an initialization file or system setting, such as in a .bashrc or .bash_profile file.

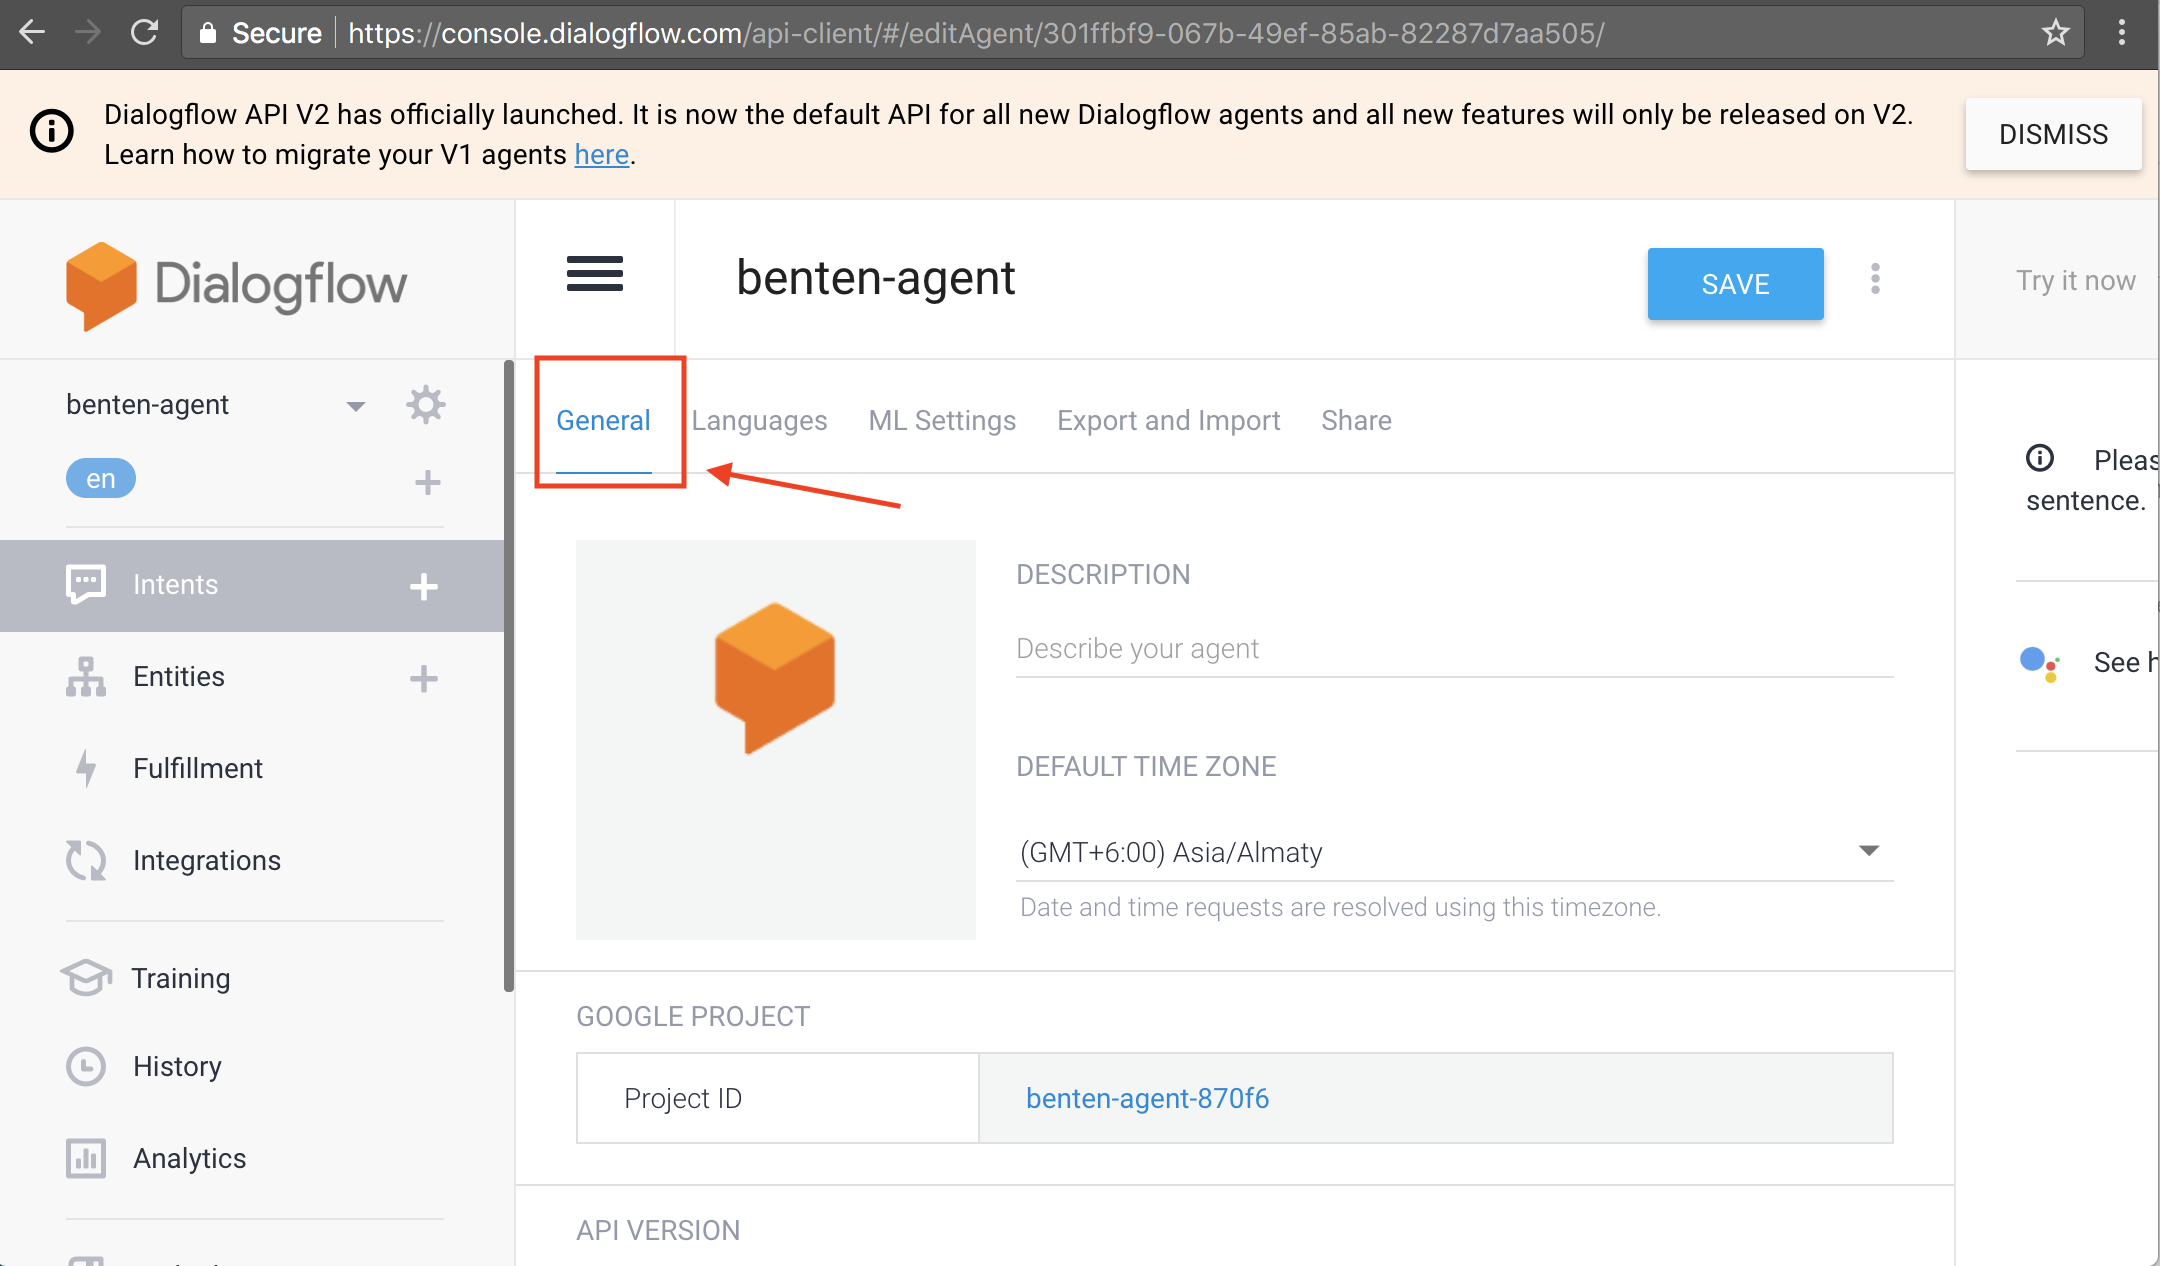
  3. Finally copy the Project ID from the agent's general settings. Only this Project ID will be used in Benten config.