This is a fork of jasoncoon's esp8266 fastled webserver that was adapted to control the colors of my DIY-Nanoleaf Replica.

FastLED 3.2.7 & 3.2.8 DOES NOT WORK
esp8266 2.5.0 and above causes compilation errors
Arduino IDE 1.8.9 and above might cause Sketch-Data-Uploading Issues
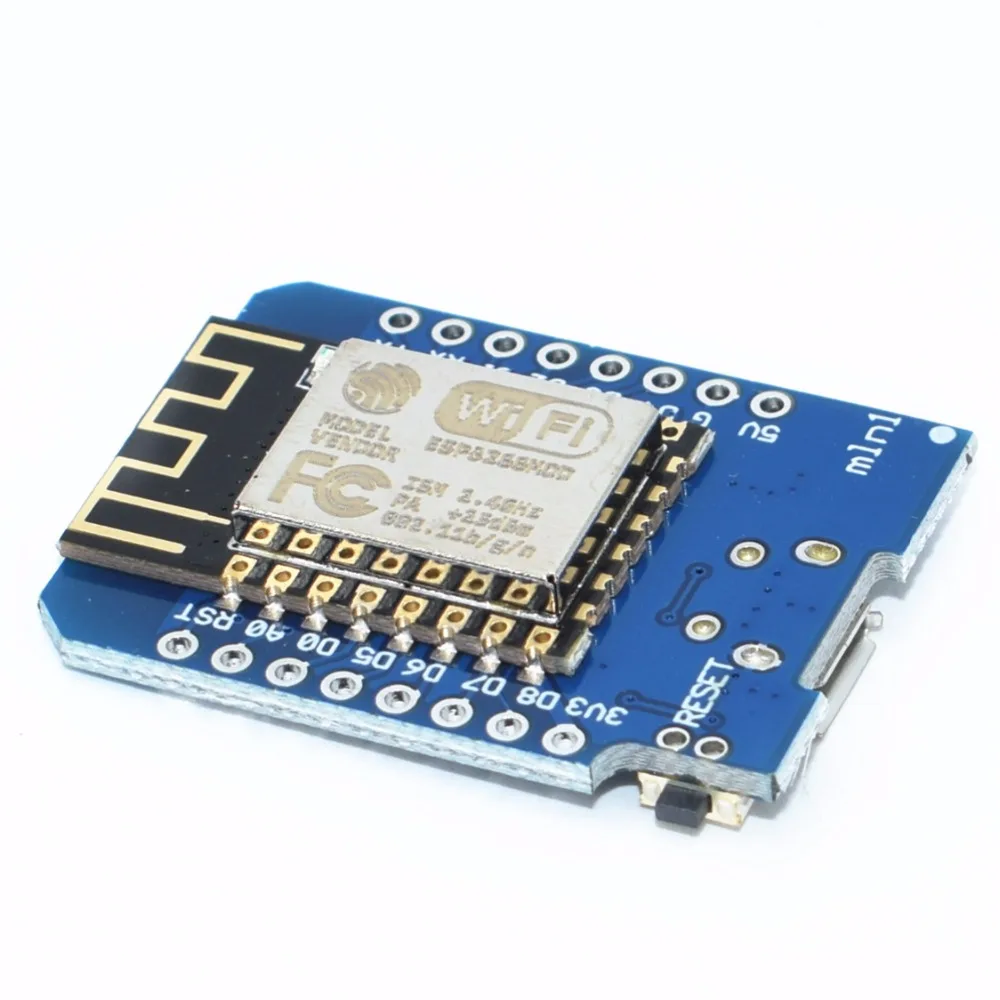
Wemos D1 mini is recommended, but any other ESP8266 variant should work too, but it might require an additional step-down converter.
Addressable Led Strip

I have used 12 led pixels per leaf → 1m of 60 leds/m = 5 leafs
I would recommend buying a strip with 60 leds/m or more.
WS2812b led strip, make sure you choose IP30 any other IP rating wouldn't make any sense and might not even fit.
Other (optional) hardware:
- 3.3V to 5V Logic Level Shifter (required if LEDs "glitch")
- Control the colors of individual leafs
- Adjust the brightness
- Change the display pattern
- Adjust the color
- Adapted patterns to look great on the DIY-Nanoleaf Replica
- OTA-Update support
- Node-RED integration ✅
- Simple Amazon Alexa integration ✅
- Custom pattern designer ✅
- Node-RED webinterface to store special patterns persistant ✅
- Node-RED integration ✅
- Simple Amazon Alexa integration ✅
- Nanoleaf voice control ✅
- Custom pattern designer ✅
- Node-RED webinterface to store special patterns persistant ✅
- Controlling multiple nanoleafs at once
- Advanced Amazon Alexa integration with custom skill (AWS account required, free)
these features will be optional and require additional hardware (any linux/windows device that is in the same network)

The web app is stored in SPIFFS (on-board flash memory).
The app is installed via the Arduino IDE which can be downloaded here. The ESP8266 boards will need to be added to the Arduino IDE which is achieved as follows. Click File > Preferences and copy and paste the URL "http://arduino.esp8266.com/stable/package_esp8266com_index.json" into the Additional Boards Manager URLs field. Click OK. Click Tools > Boards: ... > Boards Manager. Find and click on ESP8266 (using the Search function may expedite this). Click on Install. After installation, click on Close and then select your ESP8266 board from the Tools > Board: ... menu.
The app depends on the following libraries. They must either be downloaded from GitHub and placed in the Arduino 'libraries' folder, or installed as described here by using the Arduino library manager.
Download the app code from GitHub using the Releases section on GitHub and download the ZIP file. Decompress the ZIP file in your Arduino sketch folder. Rename the folder from esp8266-nanoleaf-webserver-master to esp8266-nanoleaf-webserver
The web app needs to be uploaded to the ESP8266's SPIFFS. You can do this within the Arduino IDE after installing the Arduino ESP8266FS tool. An alternative would be to install the Visual Micro plugin for Visual Studio.
With ESP8266FS installed upload the web app using ESP8266 Sketch Data Upload command in the Arduino Tools menu.
The most important thing to do is to set the amount of 'leafs' and the amount of led pixels that one 'leaf' contains.
For instance I use 12 leafs (triangles) with a total of 12 pixels in one leaf (=4 leds in each corner of the triangle).
#define LEAFCOUNT 12
#define PIXELS_PER_LEAF 12
Next enter the pin where the Data line is connected to, in my case it's pin D4 (you can either write D4 or 2).
#define DATA_PIN D4
Another important step is to create the Secrets.h file. Create a new tab (ctrl+shift+n) and name it Secrets.h, this file contains your WIFI credentials and it's structure must look like this:
// AP mode password
const char WiFiAPPSK[] = "WIFI_NAME_IF_IN_AP_MODE";

// Wi-Fi network to connect to (if not in AP mode)
char* ssid = "YOUR_WIFI_NAME";
char* password = "YOUR_WIFI_PASSWORD";
If colors appear to be swapped you should change the color order. For me, red and green was swapped so i had to change the color order from RGB to GRB.
You should also set the milli-amps of your power supply to prevent power overloading. I am using a 3A 5V psu so i defined 3000mA.
#define MILLI_AMPS 3000


It works with any language that is supported by Alexa and can be easily expanded to support more activities or patterns. How you want to call them (Nanoleaf, Nanoleafs, Nano, Triangles) must be set in the setup of the devices.
- Turn on/off
- Control Brightness
- Control Pattern Speed
- Set Color
- Set into Rainbow mode
- Enable Autoplay and set Duration
- Activate custom activities
Alexa, turn Nanoleafs on/off Alexa, set Nanoleafs 70% Alexa, dim Nanoleafs Alexa, Nanoleaf speed 20% Alexa, set Nanoleafs pink Alexa, turn Nanoleaf rainbow on Alexa, turn Nanoleaf Autoplay on Alexa, set Nanoleaf Autoplay 40
Alexa, Nanoleaf Default Alexa, Nanoleaf Mode 1 Alexa, Nanoleaf Mode 2 Alexa, Nanoleaf Mode 3
The Node-RED GUI is an addition to the regular UI that is running on the Wemos D1 mini. It allows to create and save custom patterns and also control all regular parameters same as the ESP8266 webserver. It can be accessed by any device.

In the Node-RED GUI you can easily create your nanoleaf setup by using the Nanoleaf Designer. It's easy to use and allows almost any design that is possible. But it might have still some minor bugs.


With the Nanoleaf Custom Pattern Designer you can create custom patterns with effects. Currently the individual leafs can be set to Static mode and Breathe mode that allows to set a phase shift and lets the leafs breathe. Flow-mode follows in the next update.


- Any device that runs Node-RED, examples would be:
- (recommended) Raspberry Pi
- Any Linux machine
- (instructions are provided for linux) Any Windows machine
- Any Amazon Alexa device for Alexa integration, works on Android and IOS too (OPTIONAL)
bash <(curl -sL https://raw.githubusercontent.com/node-red/raspbian-deb-package/master/resources/update-nodejs-and-nodered)sudo apt-get install nodejs npm -ycd $HOME/.node-red
npm install node-red-dashboard- if you get an error try:
npm install --unsafe-perm node-red-dashboard
npm install node-red-contrib-alexa-home-skill
npm install node-red-contrib-color-convert
npm install node-red-contrib-config- (recommended) Setup a static ip on your router
- or on your Raspberry Pi
To start Node-RED type into the shell:
sudo node-red-startConnect to the GUI by typing the following line into your browser:
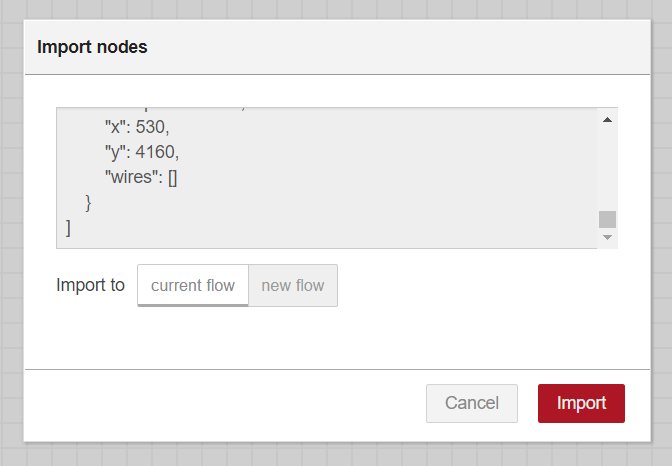
- Click on the 3 dashes in the top right corner → import → clipboard
- Copy the contents of NodeRED_flows.txt into the window and hit import
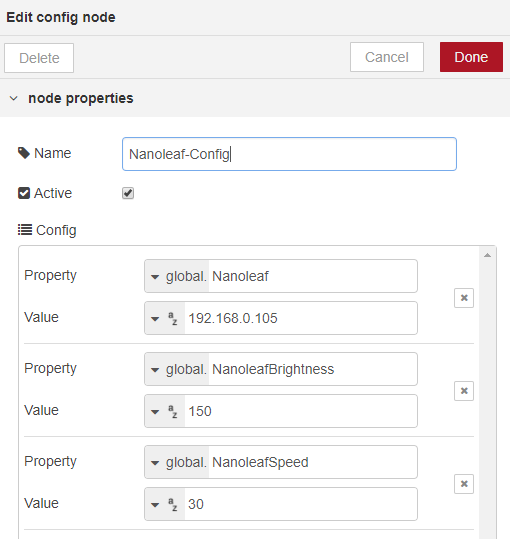
Edit the Nanoleaf-Config node to set the IP-Address.

Connect to the dashboard(website) of Node-RED by typing the following line into your browser:
The Alexa integration uses the Node-RED Alexa Home Skill Bridge to redirect the commands from alexa to Node-RED.
Head to https://alexa-node-red.bm.hardill.me.uk/newuser and create a new account.
Afterwards login into your account.
You have to create devices that are called by Alexa.
First create the devices that control a few devices that are used to turn on/off the nanoleafs and controls the brightness. I've called them "Nanoleafs", "Nanoleaf", "Nano" and "Triangles", but a single one would be enough too.
Click the Add Device button and choose. Repeat this step for all your names.
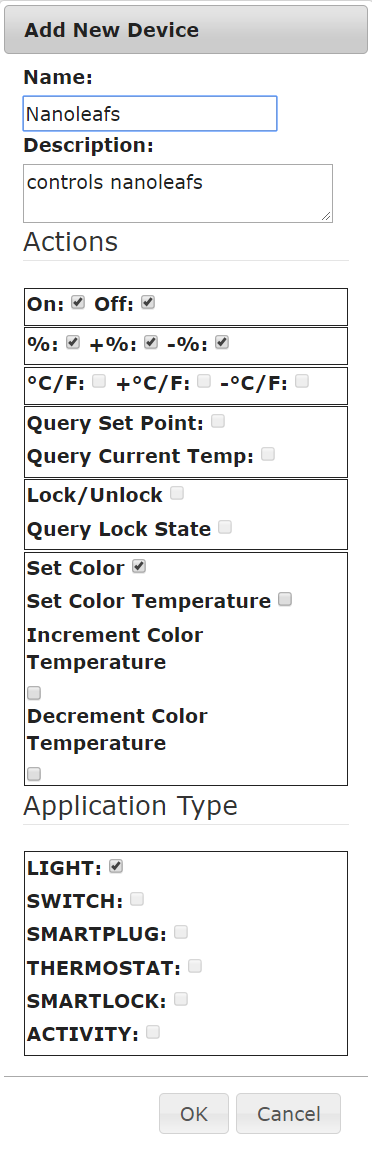

To control the autoplay functionality, create a device with On, Off, %, +%, -%, LIGHT.
To control the speed of the animations, create a device with %, +%, -%.
Now create activities by clicking Add Device and selecting On, Off, ACTIVITY.
I've created one to set the Rainbow pattern, one for my default settings and Nanoleaf Mode 1-3 for some custom settings.


Open the app on your phone or head to https://alexa.amazon.de and click on Skills.
Search for Node-RED and activate the skill. Afterwards you are prompted to login into your account that you have created the devices beforehand.

Click on any Alexa node in the flow, and click Add new alexa-home-configuration. Afterwards hit the refresh button next to the devices list.

Click the alexa skill nodes in the flow and select the corresponding devices. Delete all unused alexa nodes.
For me, it looked like this:

Speak to Alexa and say to her: Alexa, discover devices. (Just say it in english, it works on every device)
If everything worked correctly she should tell you after around 30 seconds that she has found new devices.
Patterns are requested by the app from the ESP8266, so as new patterns are added, they're automatically listed in the app.
The web app is stored in SPIFFS (on-board flash memory).
The web app is a single page app that uses jQuery and Bootstrap. It has buttons for On/Off, a slider for brightness, a pattern selector, and a color picker (using jQuery MiniColors). Event handlers for the controls are wired up, so you don't have to click a 'Send' button after making changes. The brightness slider and the color picker use a delayed event handler, to prevent from flooding the ESP8266 web server with too many requests too quickly.
The only drawback to SPIFFS that I've found so far is uploading the files can be extremely slow, requiring several minutes, sometimes regardless of how large the files are. It can be so slow that I've been just developing the web app and debugging locally on my desktop (with a hard-coded IP for the ESP8266), before uploading to SPIFFS and testing on the ESP8266.
The firmware implements basic RESTful web services using the ESP8266WebServer library. Current values are requested with HTTP GETs, and values are set with POSTs using query string parameters. It can run in connected or standalone access point modes.