02. Quick Start
I want to show you a step-by-step example of how to create the form and the catalog page using the Custom Tables.
Let's create the "Appointments" form page as an example.
This form will have the following fields: Full Name, Email, and Date.
We will also have a Catalog View page to see the list of submitted appointment applications.
Additionally, the website will send a notification email to the owner of the website.
The first thing to do is to create a new table. Next, we need to add fields to our table.
Then we create the Form, Catalog, and Email Layout.
And the last thing is to create the Menu Items to make the form and the catalog visible on the website.
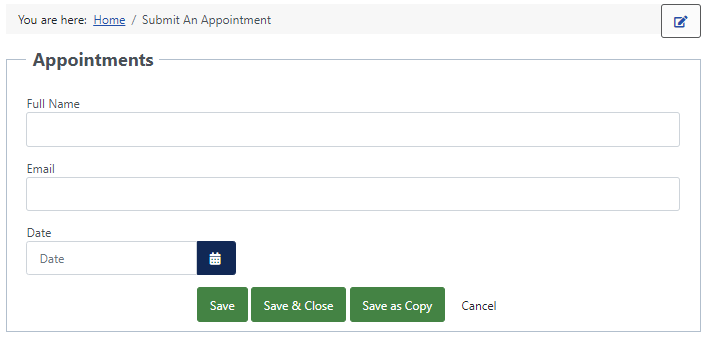
The submit form:

The Catalog Page:

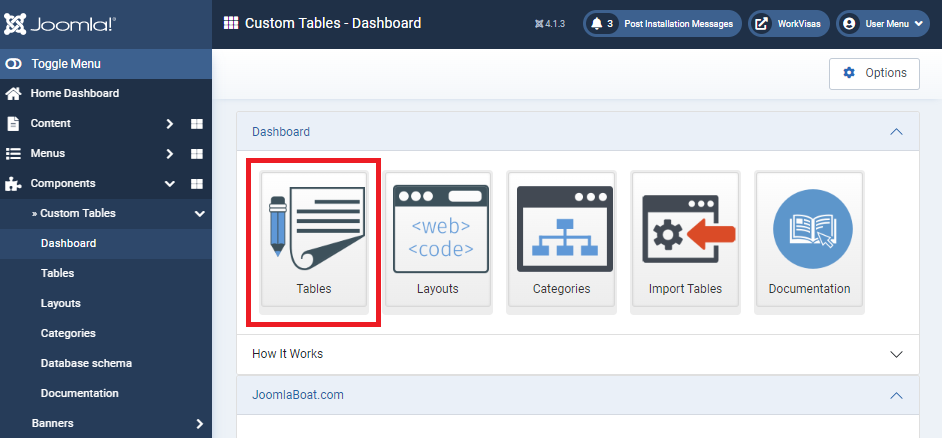
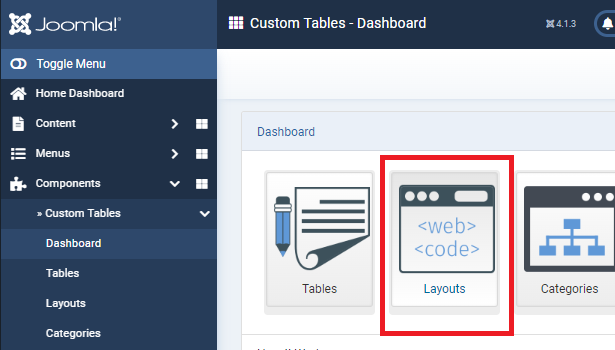
To Create New Custom Table, go to Components / Custom Tables. Click on the Tables section icon.
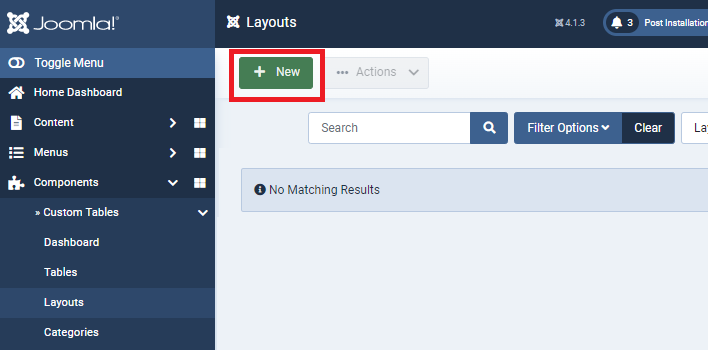
Then click on the [New] button.

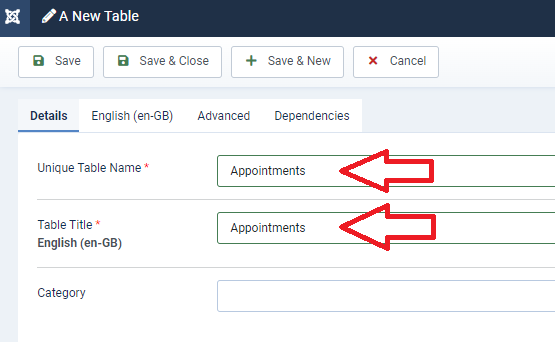
Fill in the form. "Unique Table Name" is how the table will be identified in the system. "Table Title" is the translatable name of the table that will be visible to front-end users, if set so.
If you have a multilingual website, then more "Table Title" fields will appear - one per each language. The "Category" field is to organize tables.
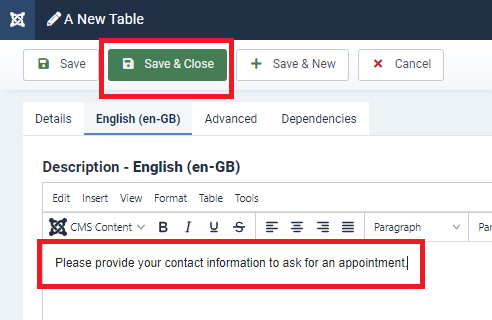
You can also add a description to your table - it will also be visible to the front-end user if set so.
When done - click "Save and Close".
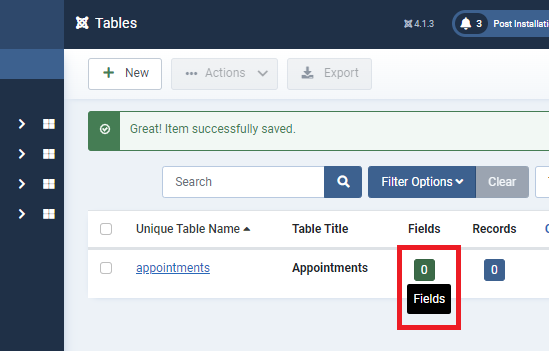
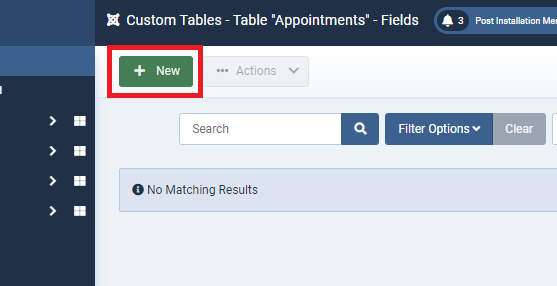
Now we have an empty table. Click on the Fields (0) link to manage the Table Fields.
Click on the [New] button to create a new field. Fill up the form and click Save.
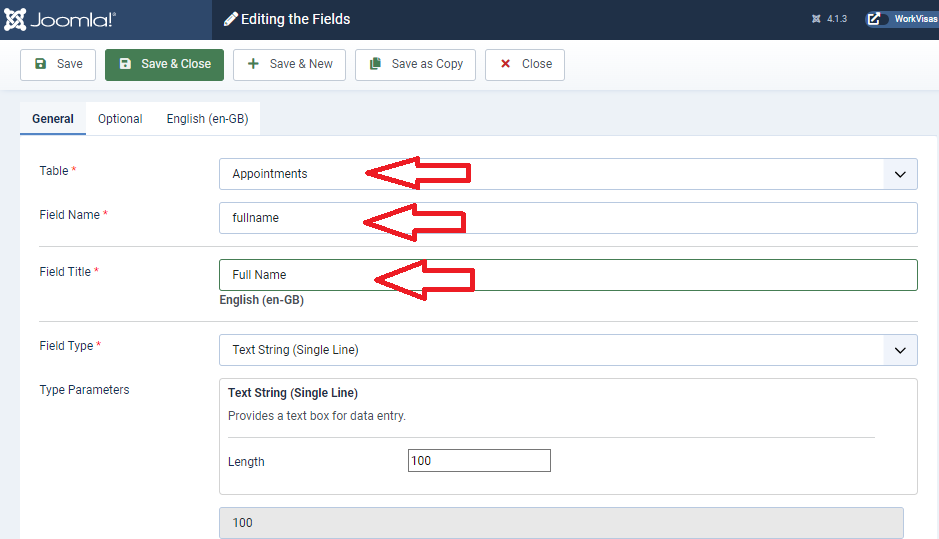
Create a "fullname" field. Fill in the form. Save it and create more fields.
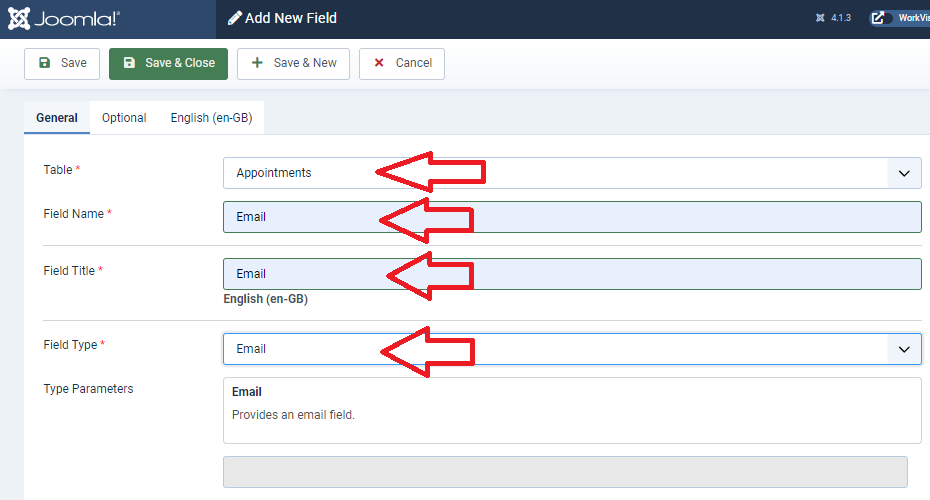
Create "email" field.
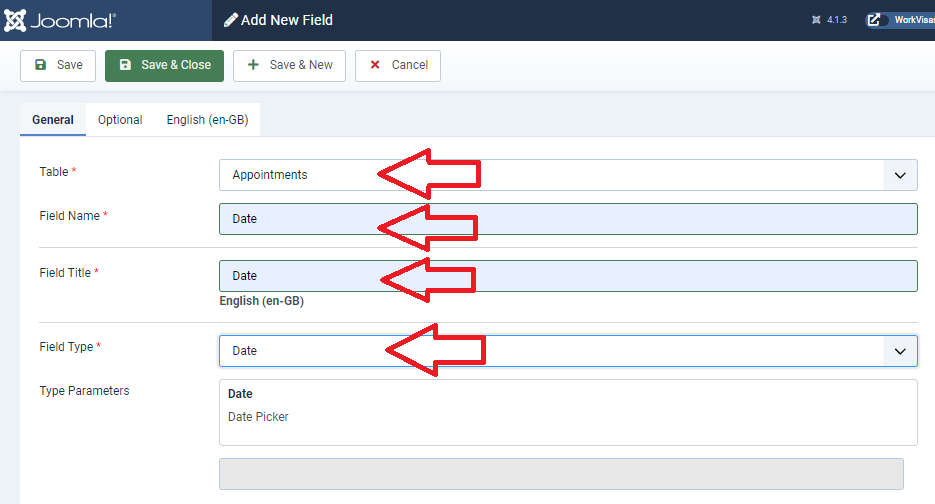
Create "date" field.
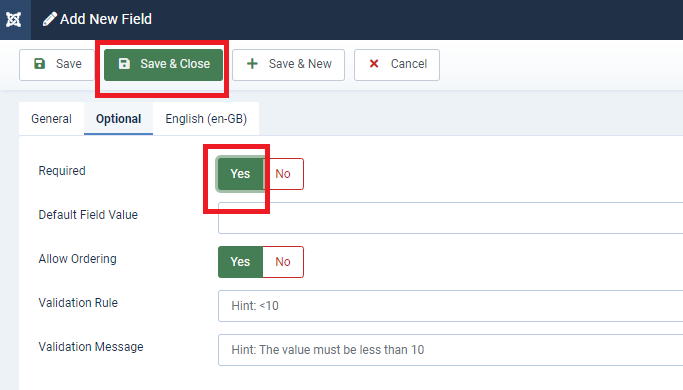
You can set additional options if needed.
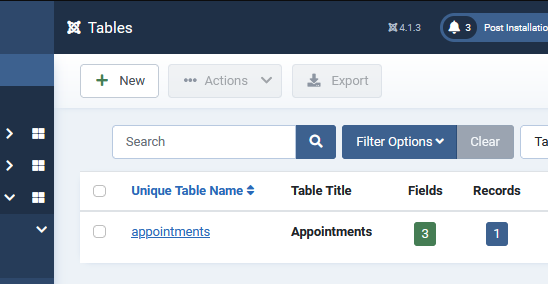
Now, we have three fields.

The Layout is how the parts of the Custom Table are arranged on the rendered HTML page.
In Custom Tables we use Twig Tags that will be replaced with the content from the database or generated by the rendering process. Example: {{ table.title }} - This will be replaced with the current table title - "Appointments".
Let's move on and create our first Layout.
Click on the [New] button to create a new Layout.
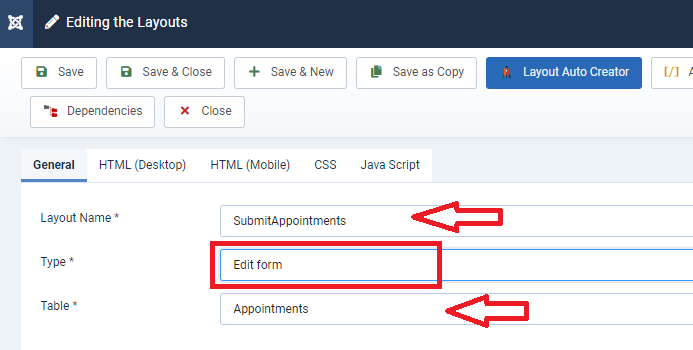
Enter the Layout name "SubmitAppointments", that will be the unique name of our layout since it will be used as the identifier name to find the Layout.
Select the Type: The kind of page it will be used on. We need a layout for Submit Form page so select "Edit Form" type.
Choose the table for which this layout should be used.
Now you may use "Layout Auto Creator" to generate the layout based on the type and fields your current Custom Table has.
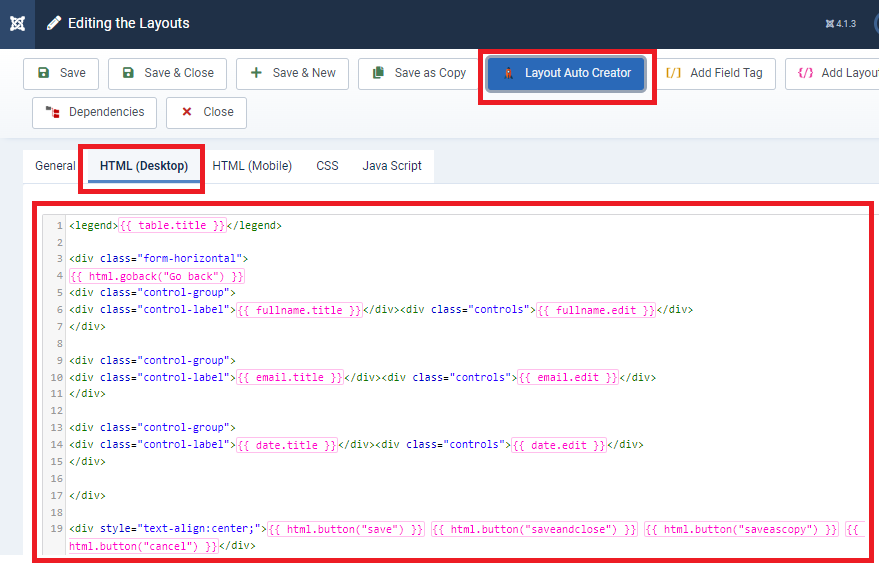
Most of the Tags have their parameters. For example, the {{ html.button("save&close") }} has the parameters "type", "Button Label", "Custom Redirect Link" Ans "CSS class".
Simply double-click on a Tag to see what parameters it has.
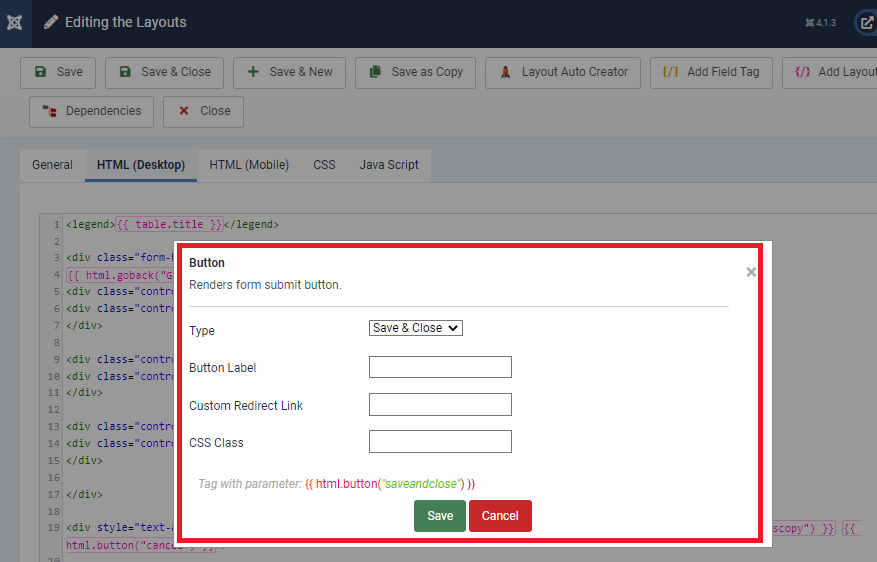
In the "Custom Redirect Link", you can add a link to redirect the visitor to the Home Page for example.
When you finish editing the Layout - Save it.
Now we have the Edit Form Layout.
A Catalog Layout is a form of table data output to show submitted records.
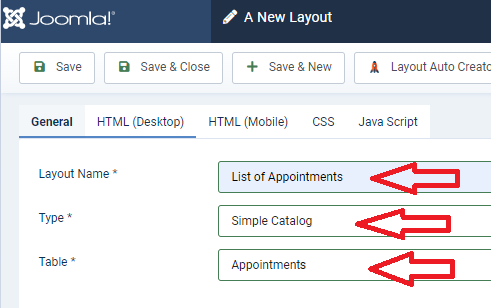
Click on [New] button to create a new Layout, and enter the Layout Name "List of Appointments" for example.
Select Type - "Simple Catalog".
Click on "Layout Auto Creator" to generate the Simple Catalog layout.
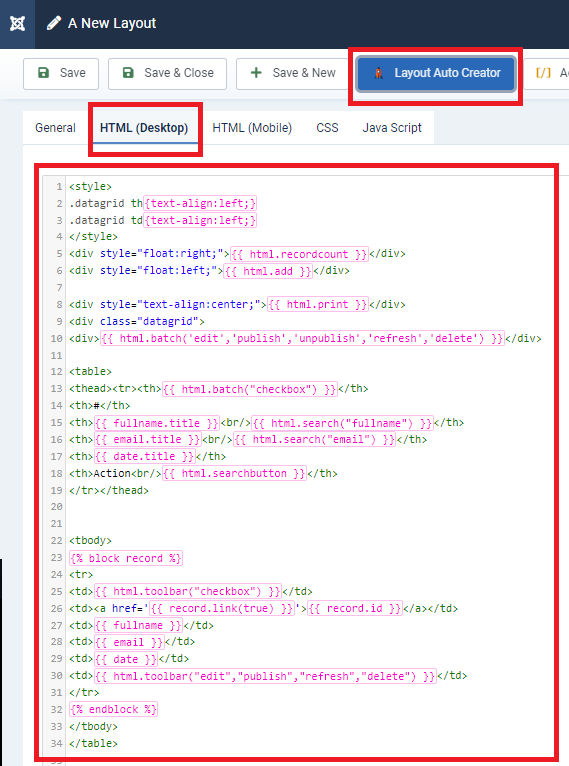
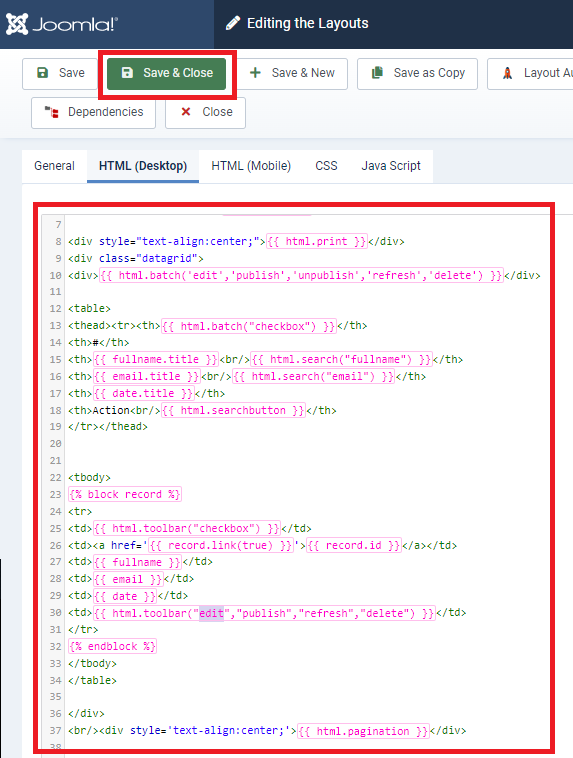
Click on {{ html.toolbar }} which is on line 30, to personalize the buttons you want to have there. When you finish - Click on "Save and Close".

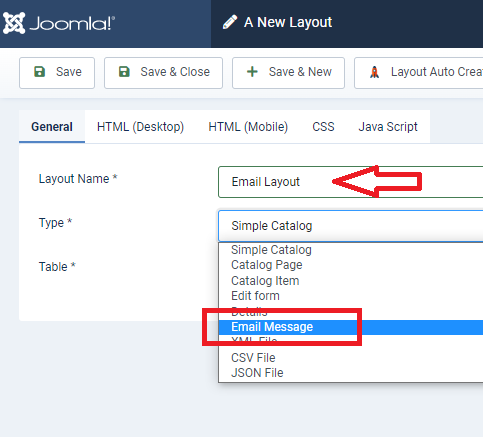
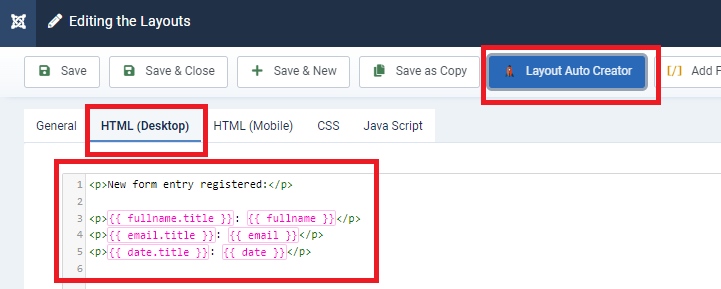
Also, Create an "Email Layout" - It will be sent to an email provided in the Menu Item (Will be explained later) after form submission.
Now let's set up the front-end. We will use Menu Items to create front-end pages.
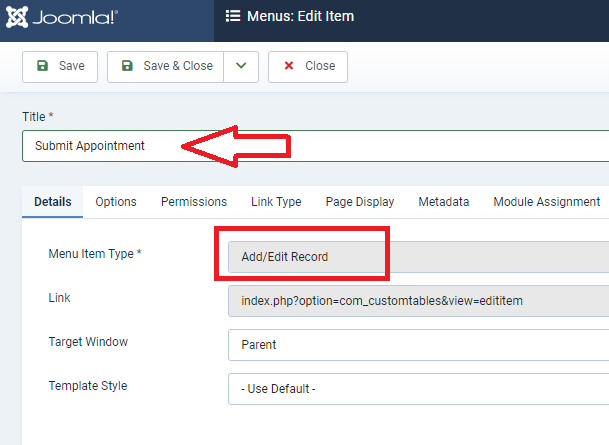
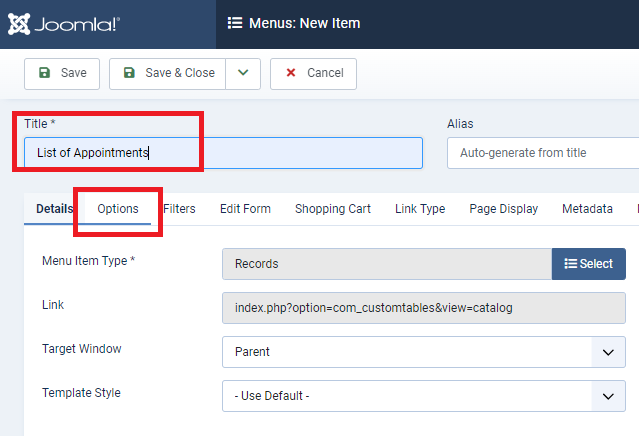
First, create a new Menu Item, and enter the Menu Title.
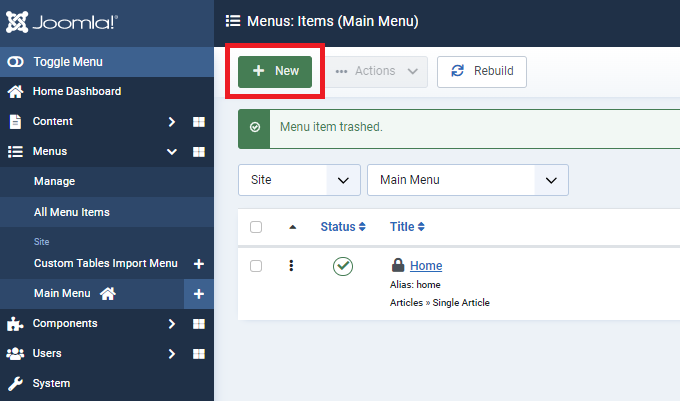
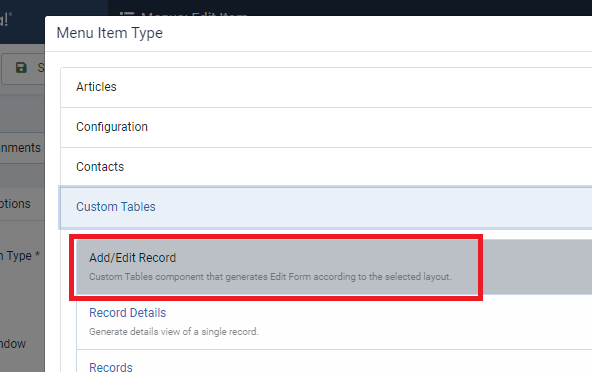
Select Menu Item Type. We need Custom Tables - Add/Edit Record (This is the submit Form page)
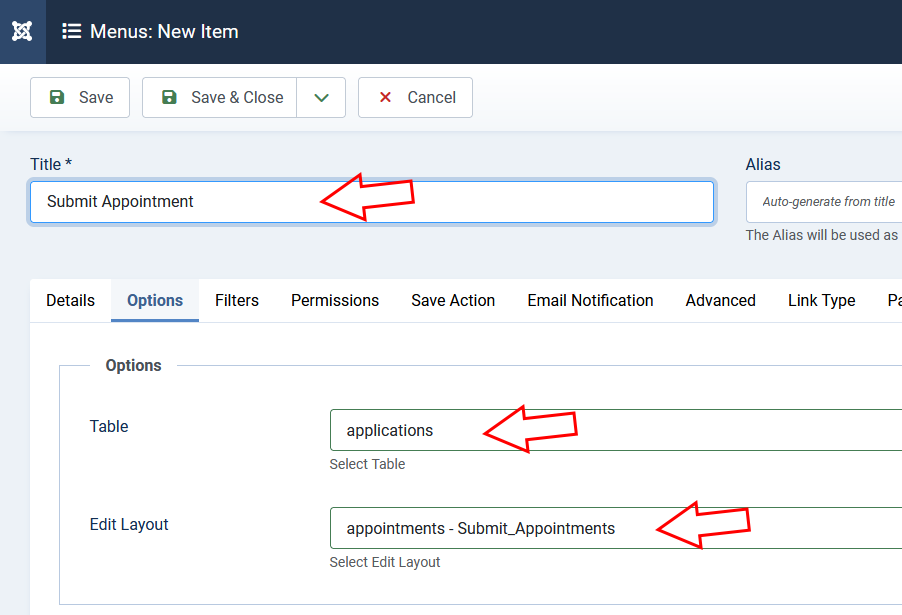
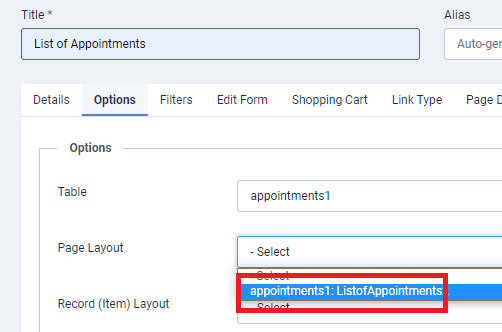
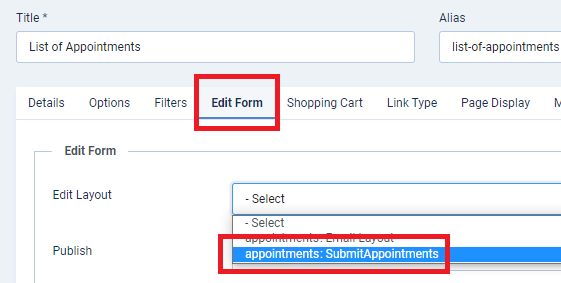
Go to the "Options" Tab, Select the Table, and Edit Form layout.
Go to the Permissions Tab, set "Guest can add new records" and set "Who may add content" to Public - to let unregistered users submit the form.
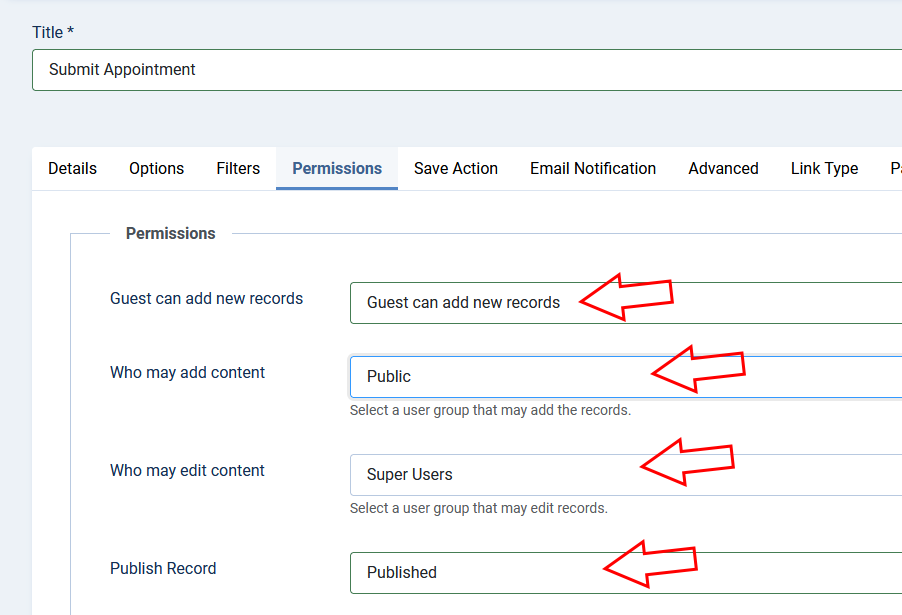
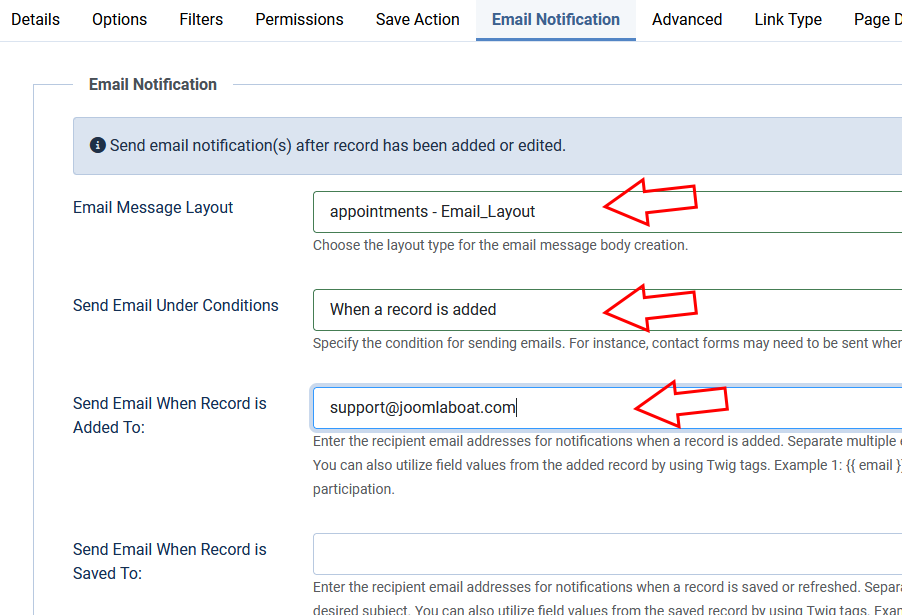
Go to the Email Notification Tab and select "Email Message Layout".
Set "Send Email Under Conditions" to "When a record is added"
To "Send Email When Record is Added To:" type the email address where you want an email to be sent.
Save it.
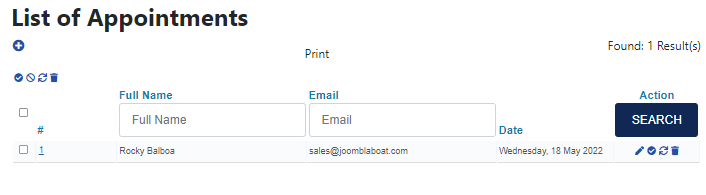
Now it's time to see how it looks in the front-end. Open in the front-end the menu item you just created. It should look like this:

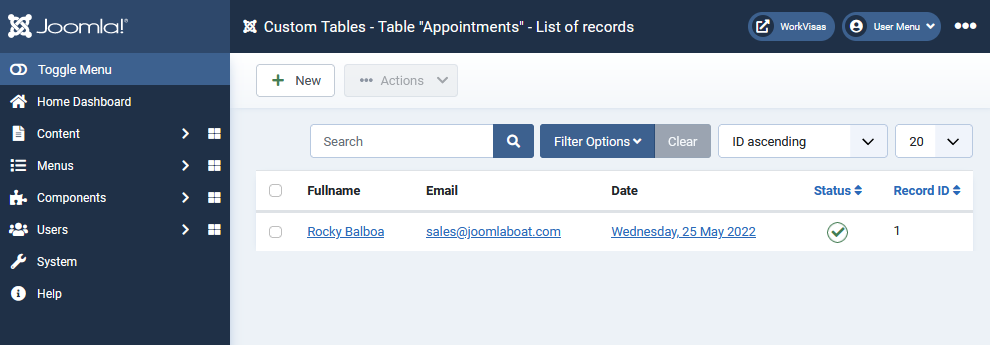
The record is saved and you can see it in the back-end.
You will receive an email after submitting this form.
Try to change/add various parameters Layout to familiarize yourself.
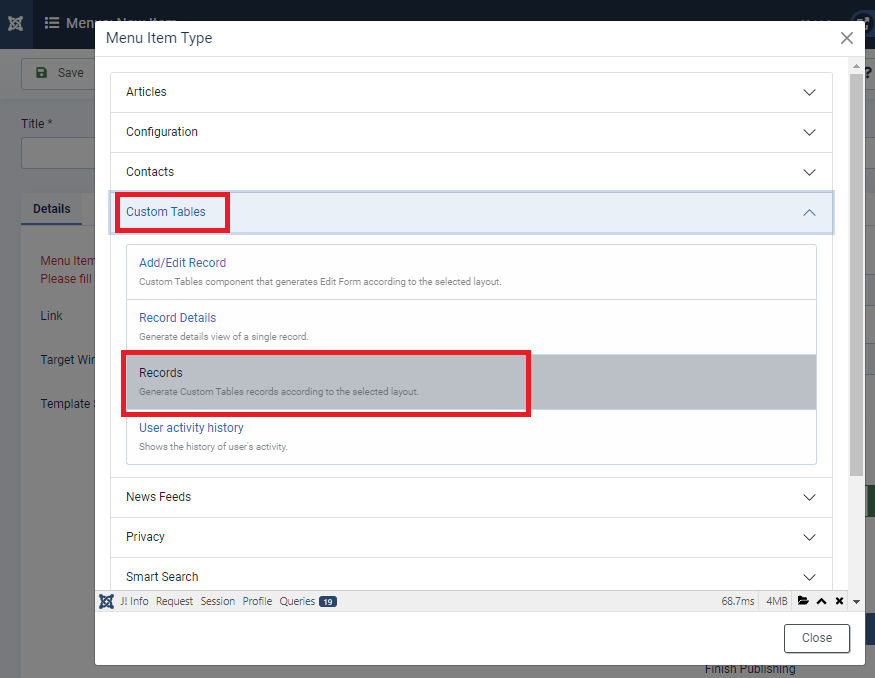
To view submitted records we have "ListOfAppointments" layout. Create a menu item with Custom Tables/Catalog type to have it in front-end.
Set who may view this Menu Item

By default, the new table comes with just two fields: "id" (int(10)) where a unique record ID is stored, and "published" (tinyint(1)) which will mark a record as published/visible (1) or unpublished/hidden (0). These two fields cannot be changed or deleted.