06. Menu Item Types
Complete list of Menu Item parameters, not all of them used in Add/Edit menu item type or Record Details.
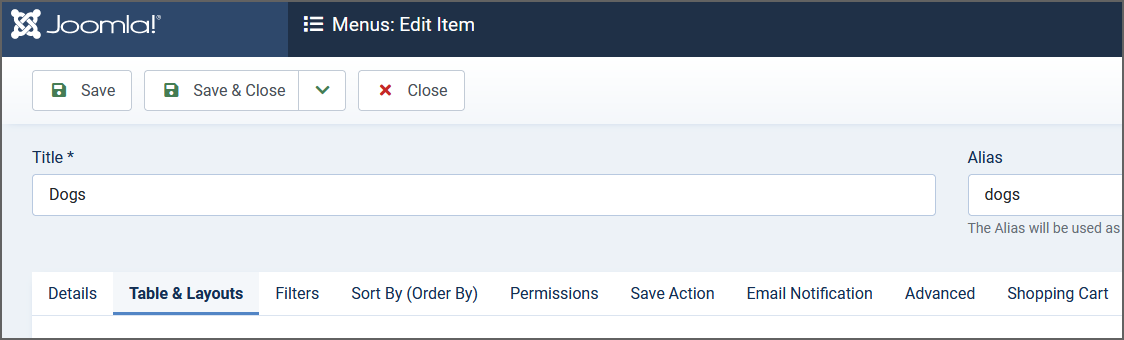
Basic menu item parameters needed to render the page.
- Table - Select the Table to read the records from. You can create a new table at Components/Custom Tables/Tables.
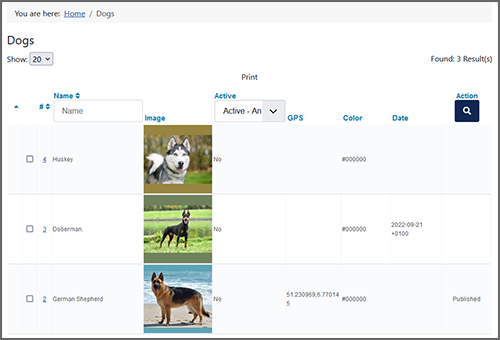
- Page Layout - Select Catalog Page Layout. This parameter is available on Custom Tables - Records menu item type.
- Item Layout - Item Layout. This parameter can be used on Records menu item and if Page layout type is Catalog Page not Simple Catalog.
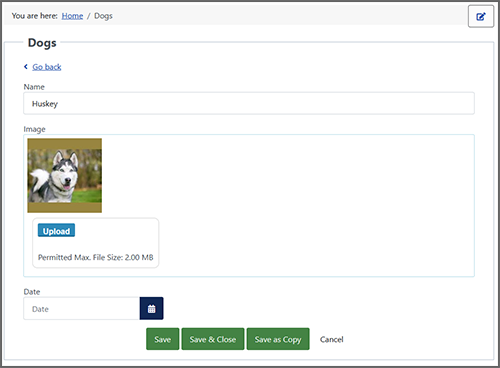
- Edit Layout - Select Edit Form Layout. This parameter is available on most of the Custom Tables menu item types because the edit form can be opened from the Records (catalog) page, or even as the modal form.
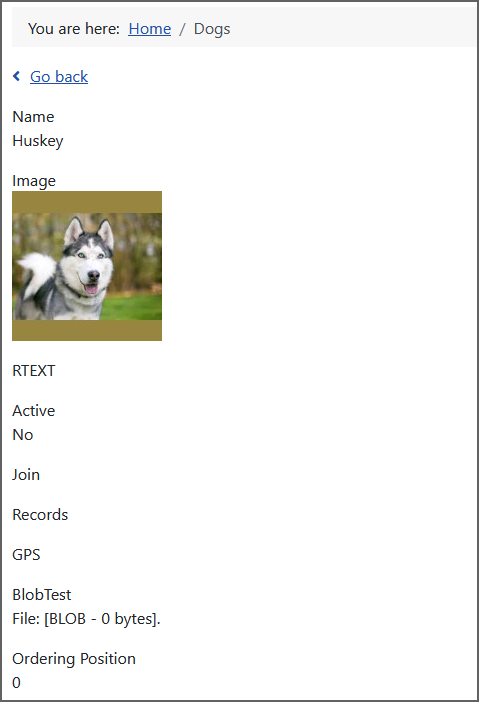
- Details Layout - Select Record Details Layout. This parameter is available on Record Details and Records menu item type pages.
Filter or 'where clause' is used to extract only those records that fulfill a specified condition. Also, a Limit clause to specify the number of records to return.
- Search Parameter - Field to search in = (or < or <= or > or >= or != and == 'exact match') value (or Twig tag as {{ user.id }} for example ) to have more then one condition use 'and', 'or' to get a value from the URL query parameter use {{ url.getint('param_name') }} tag or equivalent. Example 'color={{ url.getstring('string') }}' this will read value 'color' from the url query. To get the current date use {{ 'now'|date('m/d/Y') }} or {{ 'now'|date('Y') }} for the year or {{ 'now'|date('m') }} for the month. Also you can format the date using MySql date_format() format specifiers, example 1: {now:%m}. Example 2: 'birthdate:%m%d' to get the month and the day of the field value.
- Show published records - Additional filter to show published or unpublished records.
- Author user id field. - The 'User' type field name - checks if a record belongs to the current user. The table must contain the user type field. There is the option to find out if a record belongs to the current user through parent tables. Syntax example: 'user or parents(children).user'. In this case, there will be two checks: first, it will check if the record belongs to the current user, and then it will check if the record belongs to any parent record that belongs to the current user. At least one check must be positive.
- User Join Table - Table that contains record's user ids
- User Join User ID Field - Field that contains user id
- User Join Field - Field that contains record's user ids
- Group By - Field name to group results by.
- Limit clause - the number of records per page. - The LIMIT clause is useful on large tables with thousands of records. Returning a large number of records can impact performance. 0 means to not limit - to show all the records.
Sort By parameter is used to sort the result-set in ascending or descending order. The ORDER BY keyword sorts the records in ascending order by default. To sort the records in descending order, use the desc keyword.
- Default sort by field - Enter the field name to sort by and select ascending or descending order. Example 1: 'title desc' where 'title' is the field name and 'desc' is the keyword to set the descending order (z-a) Example 2:
title asc. Note that the keywordascis not necessary. Example 3:title. This can be overridden in the font-end using the Order By select box - {{ html.orderby }} tag. - Forced sort by field - Same as Sort By but cannot be overridden in the font-end.
Specify what is allowed for selected user group.
- Guest can add new records - Public user group, logged out or unregistered users can add new records. This is useful for contact forms. Use {{ html.captcha }} tag to stop the spam.
- Who may add records - Select the user group that may add the records.
- Who may edit records - Select the user group that may edit records.
- Who may publish records (Admin) - Select the user group that may publish and unpublish records.
- Who may delete records - Select the user group that may delete records.
- Default Publish Status - Publish status set to new records
What to do when a new record is added or when record was edited.
- Custom Return To - Visitor will be redirected to this link after record added or saved. This field may contain Twig tags and even record field values. Example: {{ fieldname }} to get the field value.
- Record Saved Message - This message will appear above the content (Joomla notification message box) after record is saved or added.
Send email(s) after record has been added or edited.
- Email message Layout - Select the Email Message type layout to create the message body.
- The condition when to send the email - The contact forms, for example will have to be sent when the website visitor adds the record, not every time administrator edits it - changing the published status counts as editing.
- Send Email Conditions - Example (That's PHP syntax): 'approved=1 or name==Mark'
- Record added - send the email to - More than one email can be used, separate them with the comma. To specify the email subject use the colon character Example: 'test@yahoo.com:Thank you for participation' Also you may use the field value from the saved or added record using Twig tags. Example 1: {{ email }} Example 2: test@yahoo.com,test@gmail.com, {{ email }} Example 3: {{ customeremail }}:Thank you {{ name }} for participation
- Record saved - send the email to - Same like above. The email will be sent when the record is saved, not added. This is useful for contact forms. The email can be sent to both emails if 'On Conditions (Works on refresh too)' selected.
- The field where to save the Email Sent Status (1/0) - Field Name where to save the email sent status. Should be int or checkbox type. 1- sent, 0- not sent.
Advanced settings, post processing and other.
- Allow Content Plugins - Let content plugins parse output content.
- Required Label - Character or a text to show next to required field if there is one.
Parameters related to Shopping Cart functionality - available on Records menu item type page.
- Shopping Cart Only - Show Items in the Shopping Cart Only
- Cart Updated Return To - The link where to redirect after shopping cart has been updated.
- Message: Cart: Item Added - Notification box message text to show when after an item has been added to the shopping cart.
- Message: Cart: Item Deleted - Notification box message text to show when after an item has been deleted from the shopping cart.
- Message: Cart: Updated - Notification box message text to show when after the shopping cart has been updated.