Authentication with openId
DaAPI uses OpenId (OIDC) to authenticate users, both the web application and the API endpoints.
DaAPI is shipped with a built-in OpenID compatible server, thanks to IdentityServer4. An external implementation can replace this server.
Currently, there is no way to archive this via a central configuration file or command line parameters. You need to changes files manually. However, providing an easy way is on our roadmap.
DaAPI assumes that a valid token has the scope "daapi". Make sure that the OpenID server issues a token with the scope "daapi".
The "appsettings.json" in the project directory "DaAPI.Host" has a configuration section for "OpenIdConnectOptions". Here you can change it to another external server. Set the value "IsSelfHost" to false, to skip the user initializing phase during setup.
The appsetting.json will be part of the application. Hence, you can change this file either before compilation or later, before starting the application.
The web application uses a separate configuration file. The file is not "embedded" into the application itself. It is requested from the server hosting the application. The file is found in the "DaAPI/src/DaAPI.App/wwwroot/_configuration/OidcClientConfig.json". You can change the URLs based on your needs.
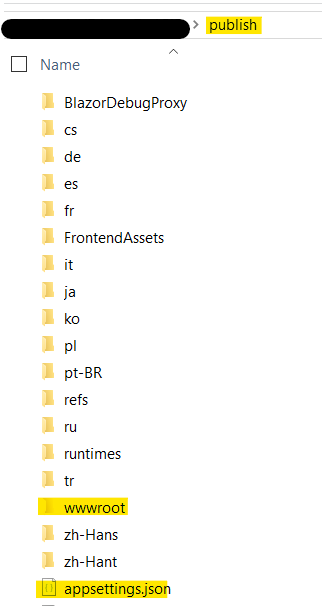
The API part and the web application part could be hosted in two different instances. However, the default build process uses one instance to serve both needs. If you want to change the URLs before the build, this will be reflected in your output. If you build first, go into the publish directory wwwroot/_configuration/OidcClientConfig.json to make your changes.