Alexa Talking to Home Assistant (The Skill)
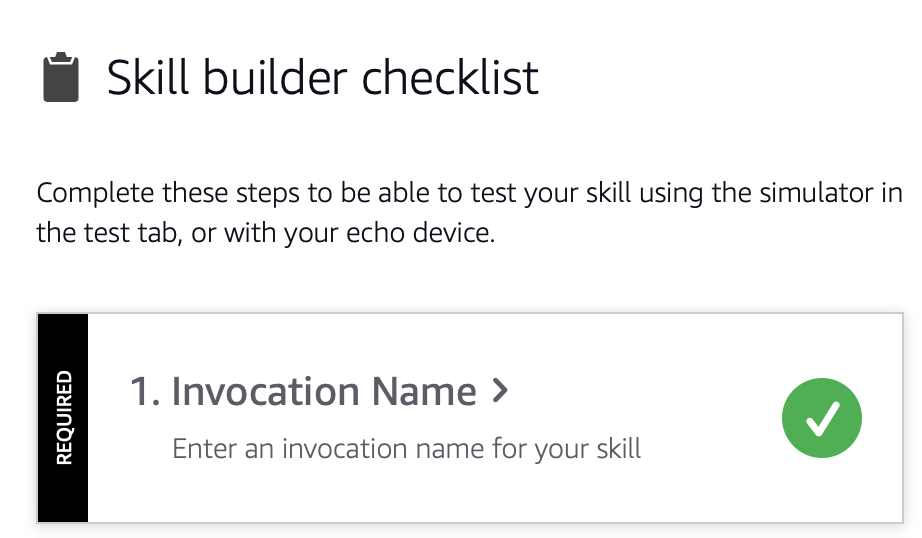
- Import the skill
- Configure the skill
- Check the connection
You will use an automatic import directly from GitHub. Screenshots show it step by step.
You did follow along the previous steps.
- Your Amazon developer Account is set up
- The HACS Alexa Media Player integration is up and running
- Your Home Assistant system is accessible from outside and you know the URL
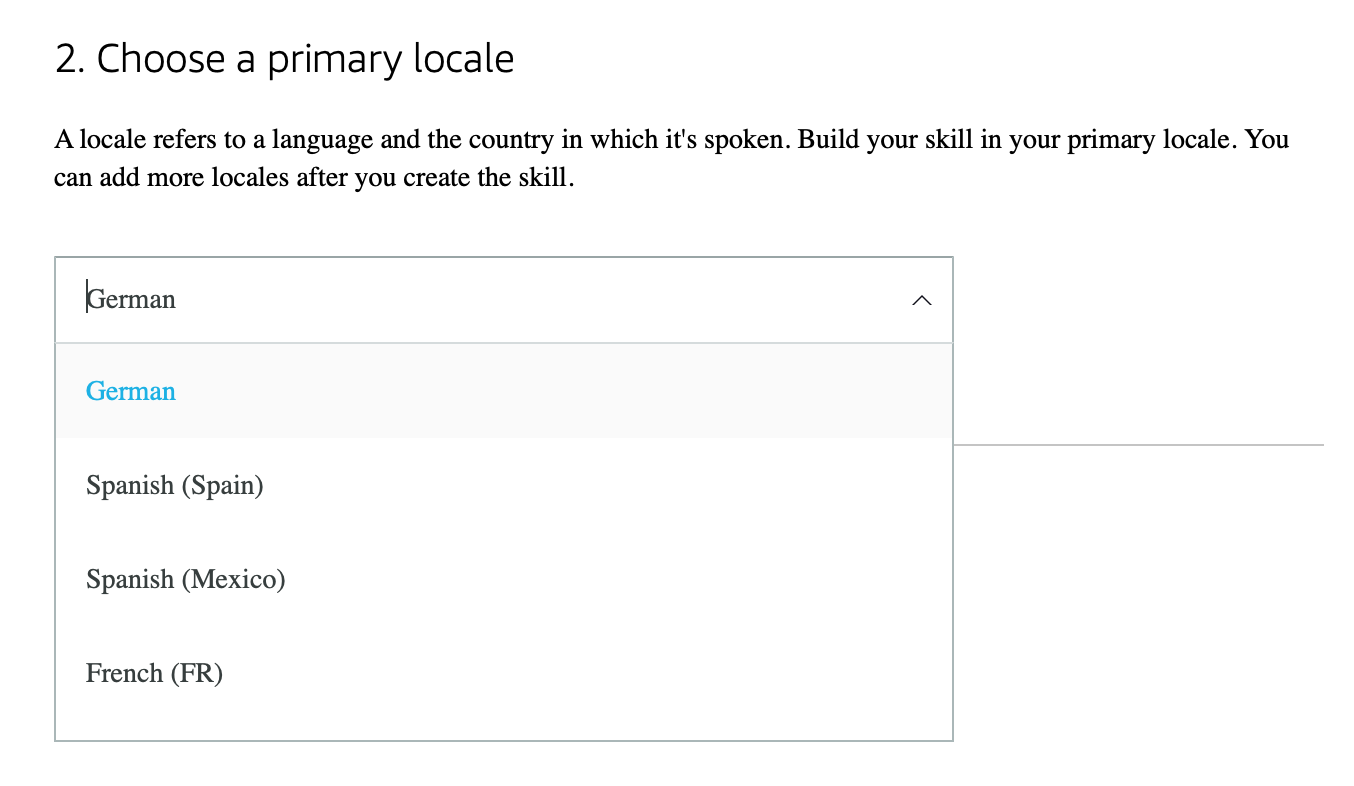
- You decided for a language aka the local code of Alexa
- You created and loaded
input_text.alexa_actionable_notification
Now get acquainted with token creation. You find it within your administrators profile.

If you want to use account linking instead, you don't need a token.
Check if there interaction model for your language.
As of 2024-04-24 the following languages are supported:
- German (de-DE.json)
- British English (en-GB.json)
- American English (en-US.json)
- Spanish (es-ES.json)
- French (fr-FR.json)
- Italian (it-IT.json)
- Brazilian Portuguese (pt-BR.json)
If there is an interaction model available, you will be able to import it directly. If it is not, choose en-US, aka English (US), during the creation of your skill and NOT your language. Later on, you can do the translation into your speech within the Alexa developer console.
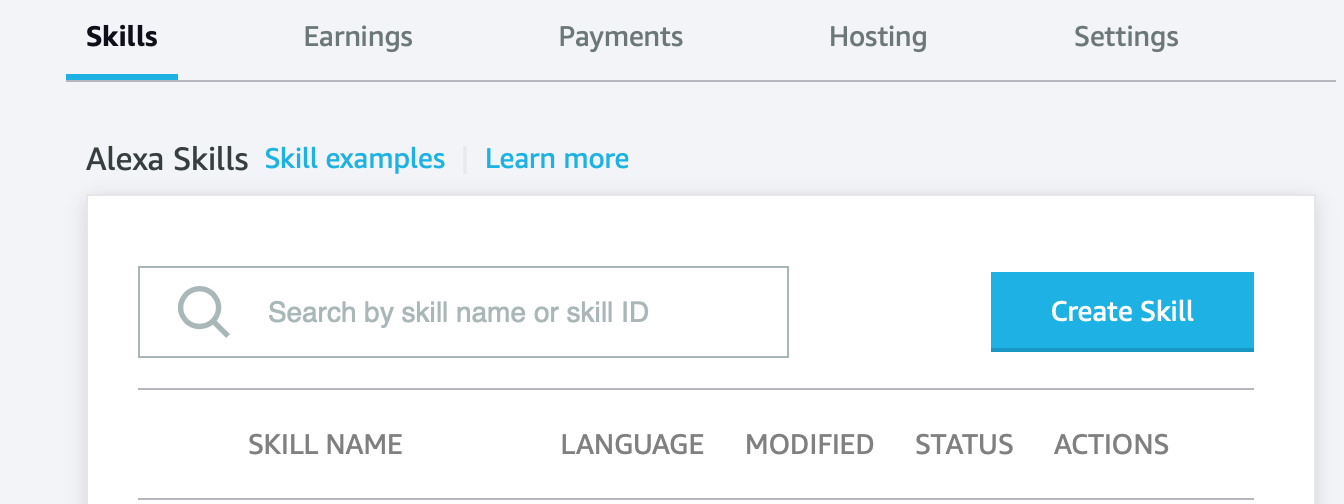
Navigate to https://developer.amazon.com/alexa/console/ask and login with the same credentials you use for your Alexa devices.
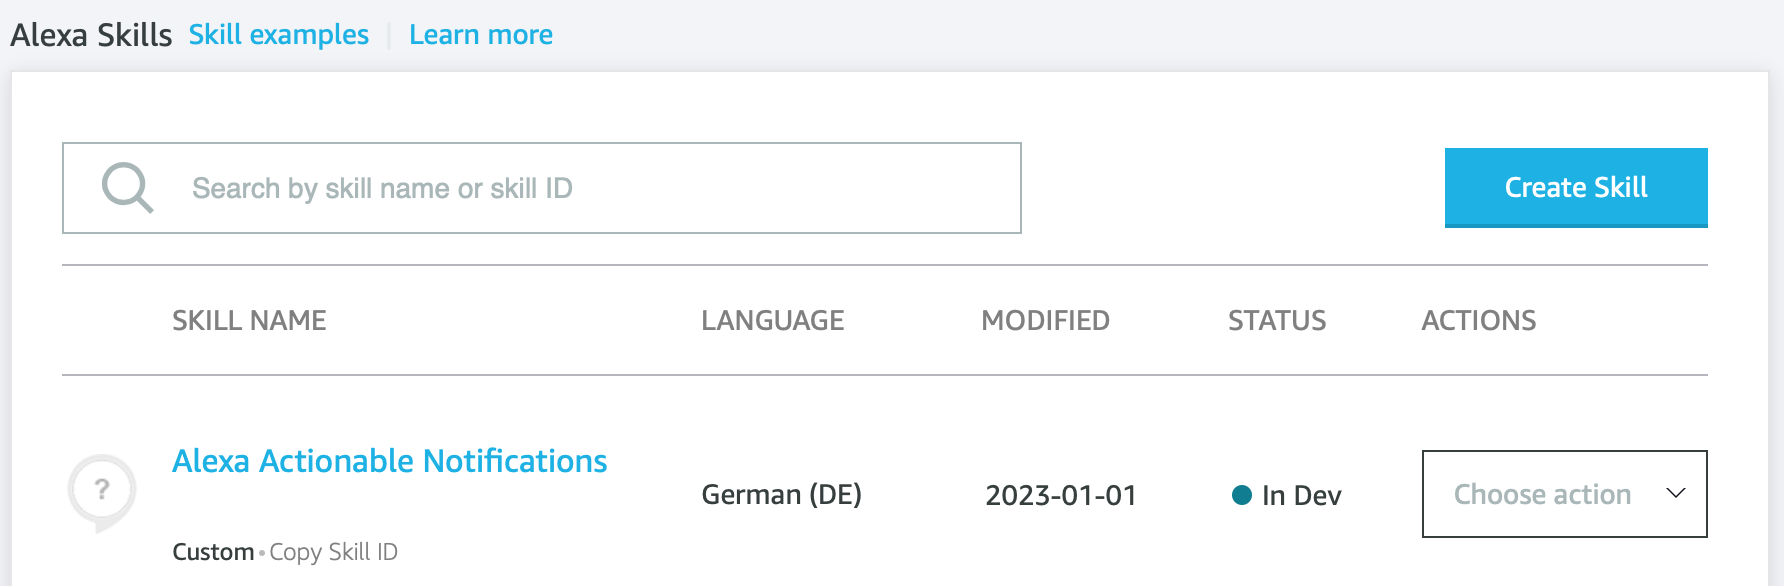
Click the button "Create Skill" in the upper right hand corner.
Click the button "Next" in the upper right hand corner.
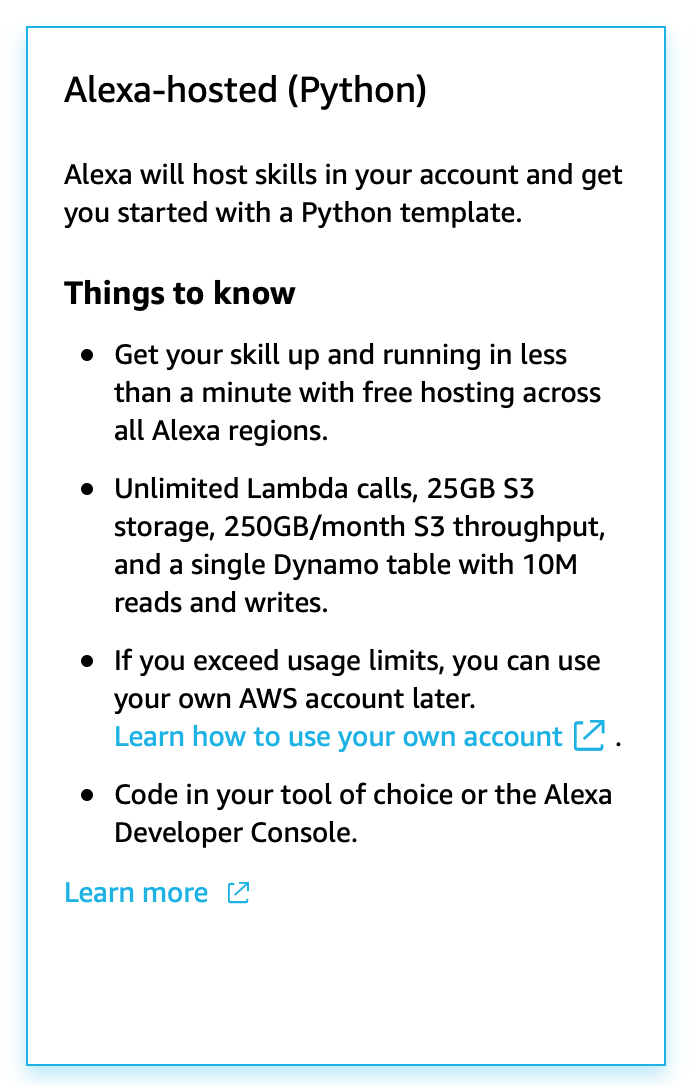
In the following selections choose Other" > "Custom" > "Alexa-hosted (Python).

Click the button "Next" in the upper right hand corner.
Note: Importing the skill no longer works due to the requirement for external libraries.
From the following options choose Start from Scratch

At this point the skill will be created and should finish in a minute or two and the Build > Custom screen will be shown.
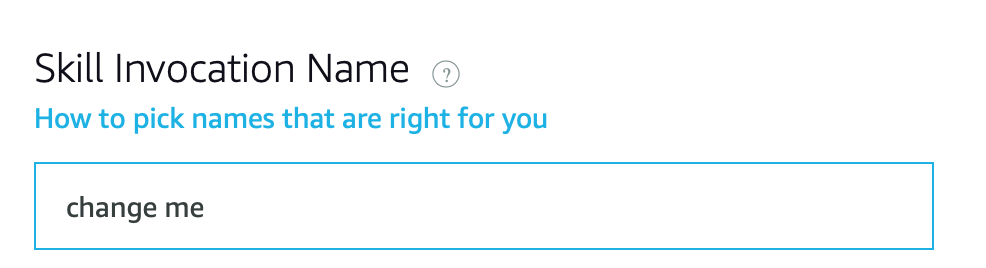
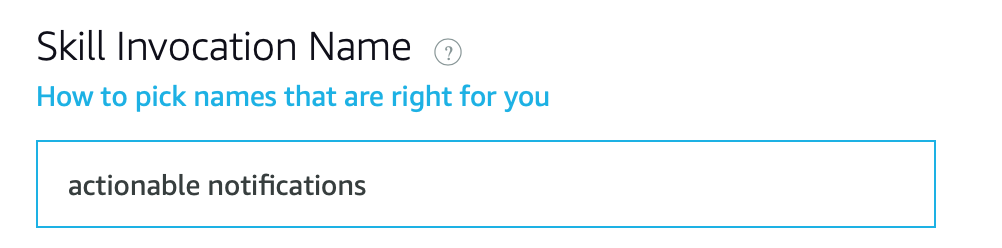
In the menu, choose Invocations > Skill Invocation Name. The Skill Invocation Name defaults to "change me" during the import. Set it to an invocation name of your choice. To help Alexa detect what you speak, it may be a good idea to use words of your language instead of our proposed "actionable notifications".
It is not that important, because the skill is calling us, we don't call the skill by its name. Anyway you have to change it to make it testable and it has to be unique to your Alexa's installed skills. During testing it may be necessary to figure out which name is working for you and you can come back here and edit, save & build.
Before:
After:
Expand the Interaction Model menu item
In the repository go to Interaction Models Folder and open the json file containing your interaction model and past it to the editor. Make sure the language you selected in the editor matches the one your importing from the repository.
JSON Editor. Double-check that your invocation name has been set. This is the file that holds all the code of your language specific interaction model and you can edit it in this central place. All parts of the graphical user interface of the interaction model are writing to it.

Click the "Save Model" button at the top
Click the "Build Skill" button at the top
After a short while, building of the model will finish. We now can test that it is addressable.
Open Test > Development and change Test is disabled for this skill. from Off to Development. Within the Alexa Simulator use your language to open the skill with it's invocation name. In English you would type "open actionable notifications" if the given name is "actionable notifications".
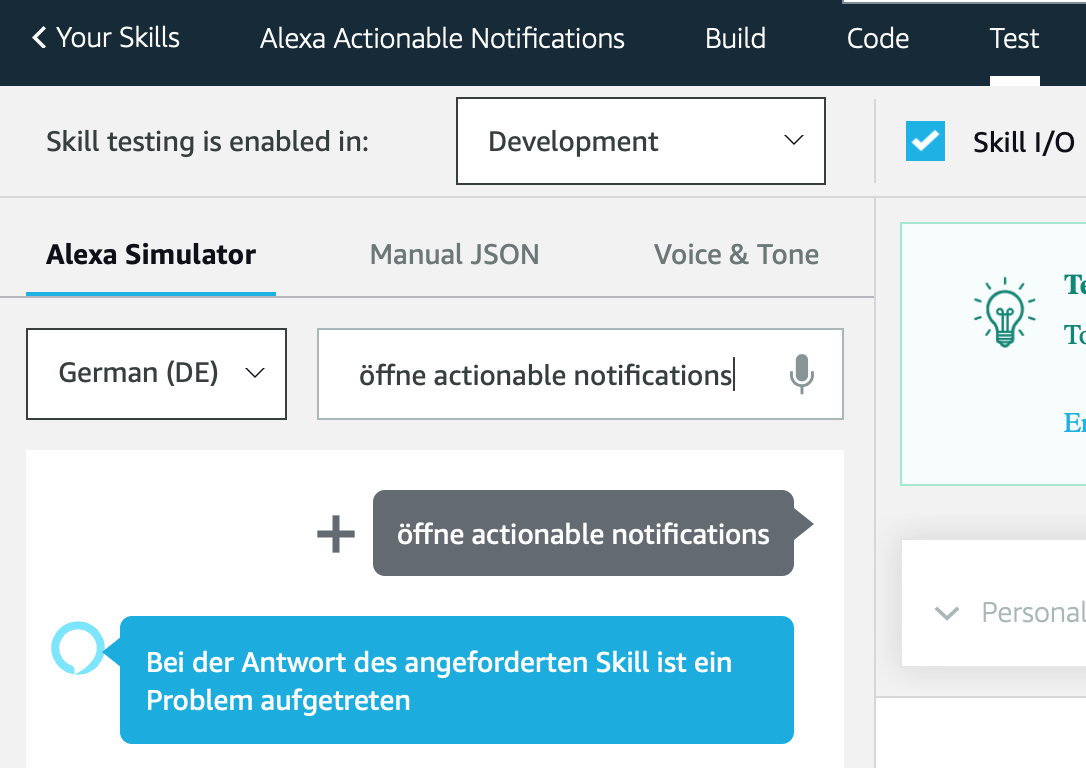
It should complain about the answer of the skill. That proves that the skill is addressable. It still does not work, because the code has not been configured yet. If it doesn't relate to the skill at all, it is not addressable and you have to check your setup.
Open the latest release of the skill and download the zip file AlexaActionsNoBinaryLinux.zip.
Go to the code editor of your skill and click Import Code.

Select the zip file you downloaded and it should display something like this

Now select the folder named lambda. Optionally you can unselect any folder that has dist in it as those are not required and doing so will possibly prevent you from having to do this process twice.
If Alexa complains that there are too many files, you might have to do this in 2 steps where you select half of the folders from within lambda and then do the same for the rest.
After you finish importing everything you should be able to see the code in the editor and it should look something like this

If it looks like everything is imported than you can move to the next step.
Open Code > Skill Code > lambda > lambda_function.py.
Edit the variable HOME_ASSISTANT_URL and replace the example URL with the external URL to your Home Assistant installation.
In case you don't possess a valid certificate, you may want to set VERIFY_SSL to False. If you use the "Duck DNS" addon with "Let's Encrypt" your certificate should be valid though.
Optionally, create a long lived token within Home Assistant and insert it into the TOKEN variable. If empty, you will have to use account linking which you can find under Build > TOOLS > Account linking.
Click the "Deploy" button in the upper right hand corner.
When the deployment of the model has finished, we can now test that it can speak to our Home Assistant system. Open Test > Development. Within the Alexa Simulator use your language to open the skill with it's invocation name. In English you would type "open actionable notifications" (if the given name is "actionable notifications")
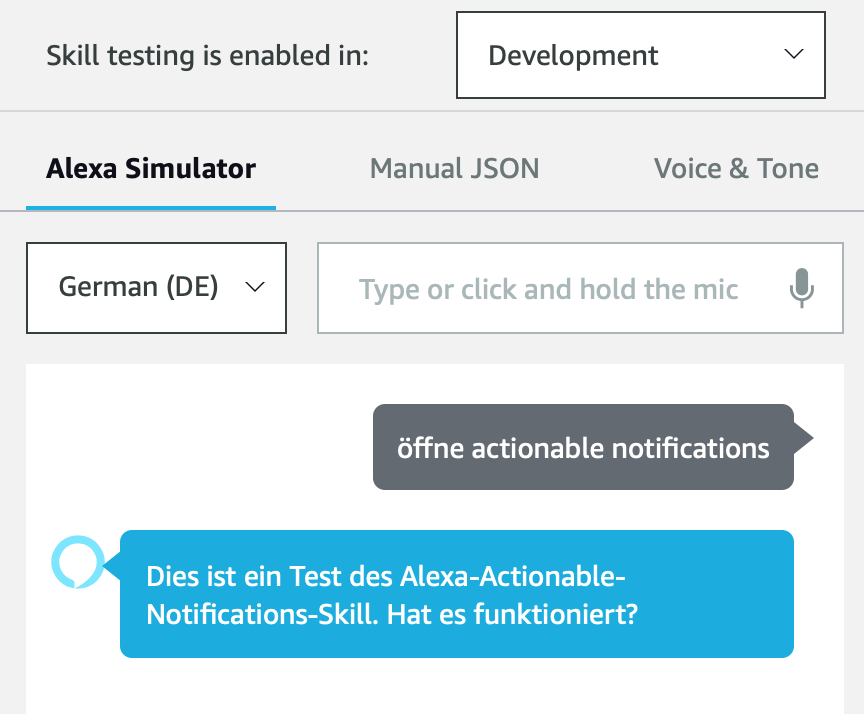
We should now get a response speaking the content of input_text.alexa_actionable_notifications, that we setup earlier in Home Assistant. If all is working correctly, the Skill will connect to your Home Assistant system and will speak the content of your `input_text. If it didn't you have start from the beginning and check everything thoughly! Or delete the Skill and try again!!
-
If you're skill doesn't work you might need to import with binaries so try again but with the zip file named
AlexaActionsWithBinary.zip. Note: There is a 100 file import limit and you might need to break up the import into multiple smaller selections by repeating the import process multiple times. -
Don't get confused by a bunch of messages! There are just a lot of asynchronous tasks going on. Provisioning of the resources may take a little longer than one minute. If it doesn't seem to finish within two minutes, though, head back to https://developer.amazon.com/alexa/console/ask/ and see if your new skill is already listed.
Head to the next step: Home Assistant Talking to Alexa (The Script)