Advanced Configuration
- No jumper (default): 3 seconds
- Jumper A15-B3: 2 seconds
- Jumper B3-B4: 4 seconds
- No jumper (default): Medium volume
- Jumper B5-B6: Low volume
- Jumper B6-B7: High volume
- No jumper (default): Disabled
- Jumper A9-A10: Enabled
Below shows how to set the jumpers to reduce the switching delay and quieten the speaker.
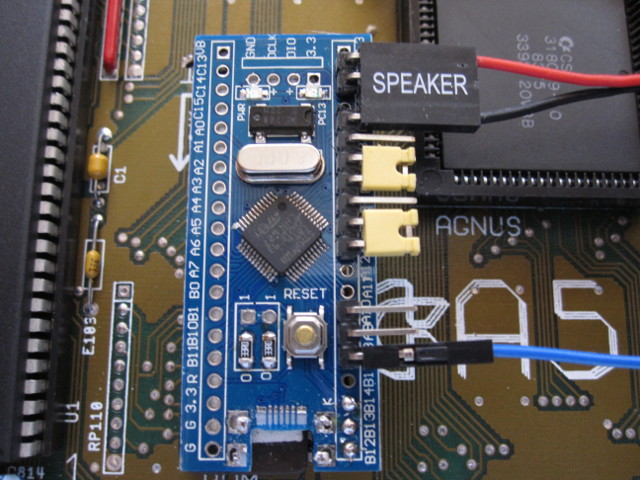
And this is how to increase the switching delay and the volume.
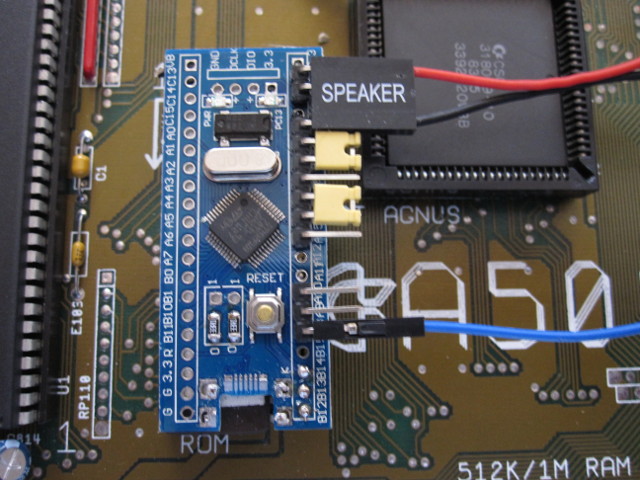
These are just two examples: All settings can be adjusted independently.
The switcher includes a setup menu accessible via serial line. To access this feature, first remove the switcher from your Amiga.
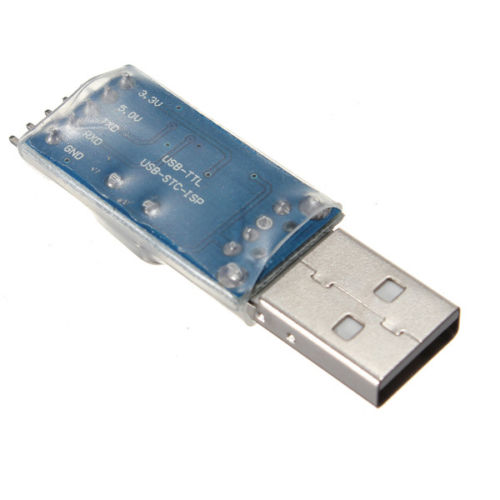
Wire up a USB-TTL serial adapter, such as shown below. These are available for around £1 on Ebay. My own experience is with the PL2303HX-based adapters, which are automatically detected and initialised in Linux. In Windows the correct Prolific driver is installed, but since the cheap adapters are using cloned chips, the driver may fail to initialise the device. In this case the driver must be replaced by an older version and auto-update disabled for the driver, as described here.
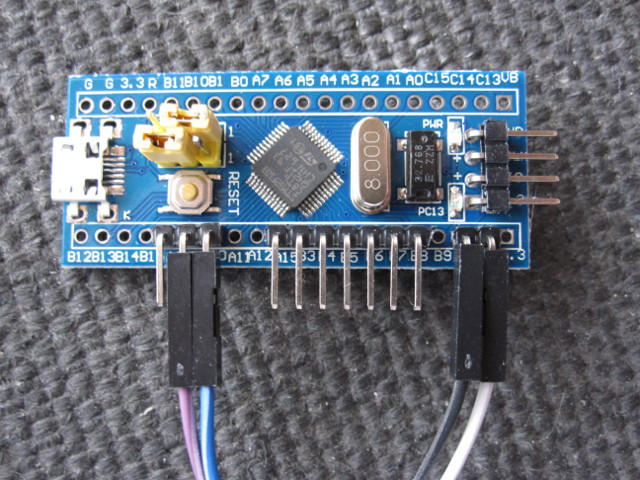
Attach the Dupont jumper cables supplied with the USB-TTL adapter as shown. In this example the cables connect to the following USB-TTL pins: White to GND, Black to 5V, Purple to RXD, Blue to TXD.
Connect to the console via a serial terminal at 115200 baud, 8 data bits, no parity, 1 stop bit. On Windows you could use PuTTY, among many other options. On Linux, you can use Python's miniterm utility:
# sudo miniterm.py /dev/ttyUSB0 115200
Install a jumper across B4-B5, and press the switcher reset button. You will see a welcome text, current configuration, and a setup menu. From here you can change:
- The number of images to switch between (2-8)
- The physical ROM bank assigned to each image slot (banks 0-7)
- Fine-grained control over reset delay
- Fine-grained control over speaker volume
- Length of long beep, or disable long beep
- Image-recall default setting
Other options include the ability to save or discard your new configuration, and to switch to the MCU's built-in bootloader (for entirely reflashing the switcher firmware).