This version of the project has been deprecated. Please see the new pure-Javascript version for the latest code.
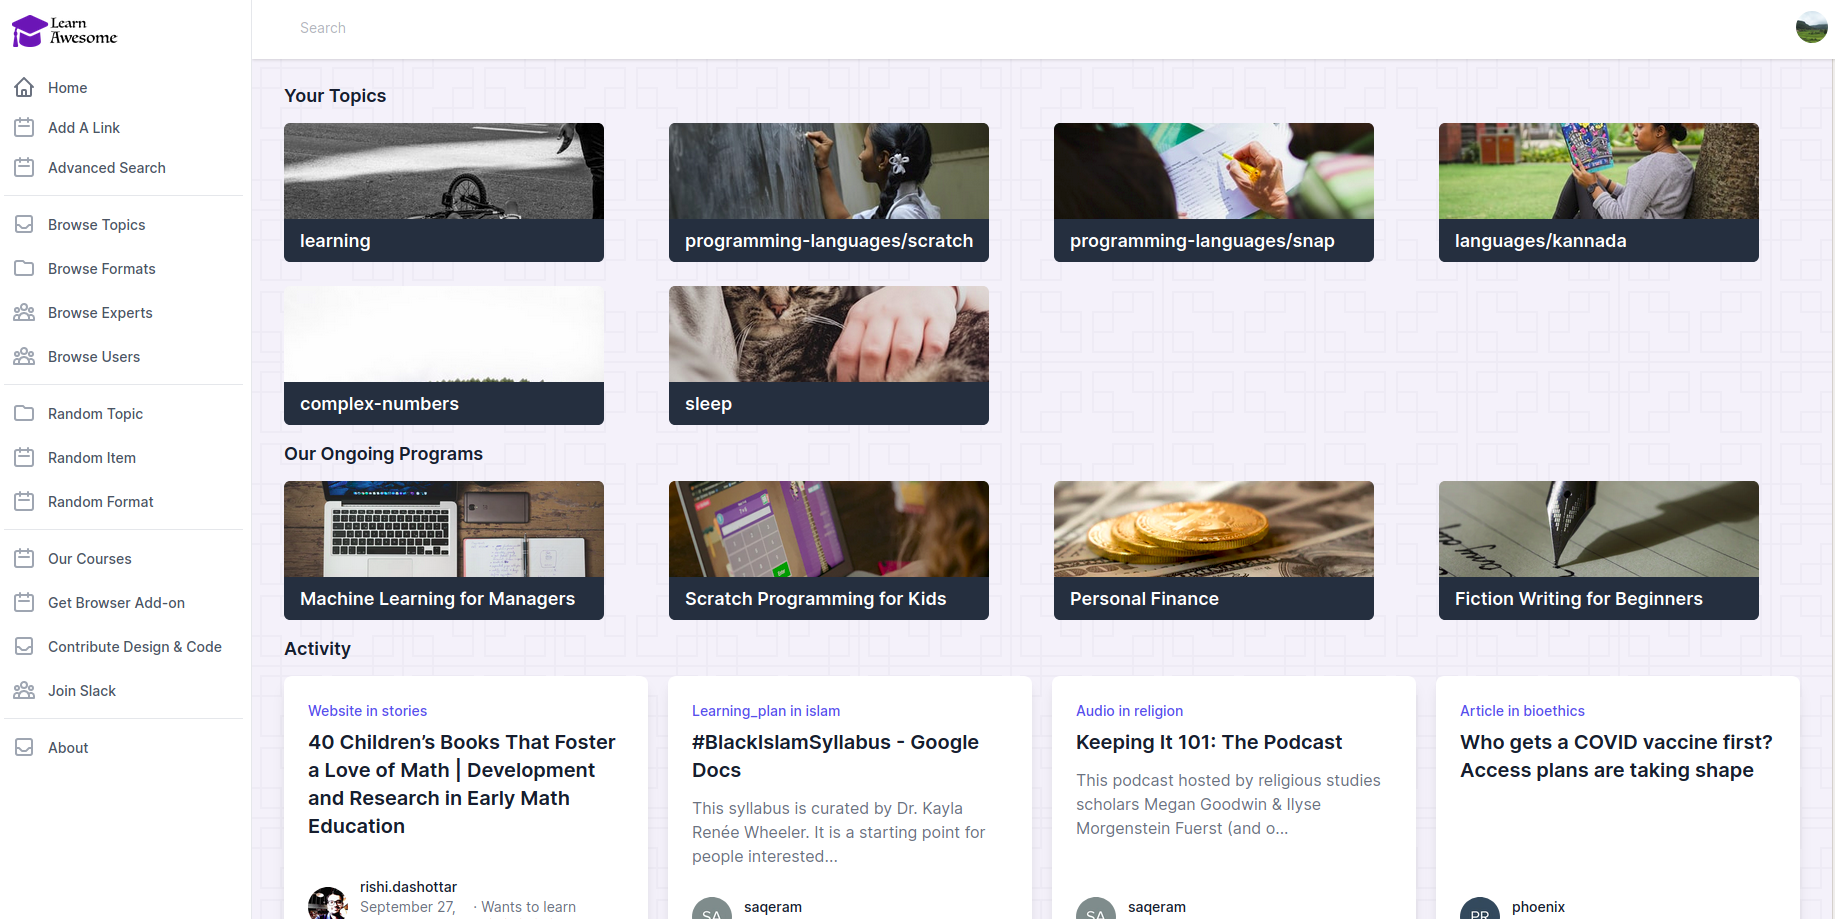
Awesome learning resources organized by topics, formats and difficulty. Optimal learning paths for any topic.
This is the code that powers https://learnawesome.org
This is built using Ruby, Rails, PostgreSQL, Tailwind CSSm and AlpineJS.
For development, please come to Slack.
There are multiple ways to run this app locally:
Develop with GitPod
If you have an account with gitpod.io, you can simply visit this URL to get a complete coding environment with everything pre-configured: PostgreSQL, Ruby, NodeJS. The database will already be pre-loaded with seed data and GitPod will open the webapp in a separate browser window (make sure that popup is not blocked by your browser).
As you can see in .gitpod.yml, this will open all necessary tools in terminal: Main Rails server process, Rails console, Postgres console, Background job process etc.
LearnAwesome uses Auth0 for logging-in and because GitPod gives you dynamically generated URLs, those will not be pre-approved. Therefore, login/signup in your GitPod instance will not work currently. We need to figure out a solution for this.
This is the easiest way to start hacking on and contributing to the LearnAwesome codebase.
Run as a Docker Dev Environment
You must have Docker Desktop installed with Dev Environment feature supported.
In Docker Dashboard -> Preferences -> General, the checkbox for "Use Docker Compose V2" must be SWITCHED OFF.
Now choose Docker Dashboard -> Dev Environments -> Create -> Local Directory -> Choose the root folder of this project.
Launch VS Code container for the app, open a new terminal and run ./entrypoint.sh
This will set up database, run migrations, insert seed data, and start puma on port 3000 and port 8443 with HTTPS.
The config for this method is picked from .docker/docker-compose.yaml and not the docker-compose.yml in project's root directory.
Develop locally with Docker Compose
Run docker compose up --build and access on https://localhost:8443/
The config for this method comes from docker-compose.yml in project's root directory.
Develop locally with Docker
You may need to put some values in .env.dev
First, let's create a network so containers can find each other by name:
docker network create dev-network
If you don't have postgres running somewhere already, install and start it:
docker run -d --name pg13dbhost --net dev-network --restart always -p 5432:5432 -v ~/pg13dbhost:/var/lib/postgresql/data -e POSTGRES_USER=learn -e POSTGRES_PASSWORD=learn -e POSTGRES_DB=learndb postgres:13.3
Note that:
- run creates a new container from specified image
- -d = detached/background mode
- name will be the hostname to be used either with --link or in user-defined networks
- --restart always will restart this container any time Docker is started, such as for a laptop reboot
- -p 5432:5432 : will expose this postgres on your docker host
- -v creates a volume for persisted data
Redis is no longer required but if you want, you can run that as well:
docker run -d --name redis6host --net dev-network --restart always -p 6379:6379 -v ~/redis6host:/data -e REDIS_PASSWORD=learn redis:6.2.4
Now you can start the app while linking to these containers and overriding some environment variables:
docker build -t learnawesome .
docker run -it -p 8443:8443 --env-file .env.dev --net dev-network --link pg13dbhost:pg13dbhost --link redis6host:redis6host -e DATABASE_HOST=pg13dbhost -e AUTH0_DOMAIN=learnawesomedev.eu.auth0.com -e AUTH0_PUBKEY=pubkey -e AUTH0_PRIVKEY=privkey learnawesome
Using docker-compose.yml, the above two commands can also be run by:
DATABASE_HOST=pg13dbhost AUTH0_DOMAIN=learnawesomedev.eu.auth0.com AUTH0_PUBKEY=pubkey AUTH0_PRIVKEY=privkey docker compose up --build
Now, the app can be accessed at https://localhost:8443
In production, port 8443 will not be exposed and therefore, SSL proxy over port 3000 will be needed.
To get shell access in the container, run docer exec -it <container_name> /bn/bash. All the environment variables will be already set so commands like rails console or rake db:seed can be run easily.
Local install
bundle install
rake db:drop db:create db:migrate db:seed
To import some data:
rake import:import['public/data1.json']
rake import:import['public/data2.json']
rake mrb:import_experts
Set-up caching in dev:
rails dev:cache
Set up SSL certificate for local development. See this article
Start the app with some secrets:
# These two lines are not needed in local development unless you're testing ActivityPub flows
export ACTIVITYPUB_PRIVKEY=`cat private.pem`
export ACTIVITYPUB_PUBKEY=`cat public.pem`

SECRET_KEY_BASE= AUTH0_DOMAIN= AUTH0_PUBKEY= AUTH0_PRIVKEY= bundle exec puma

The app can be accessed at https://localhost:8443/

Don't use http://localhost:3000/ for local development because it leads to weird issues with SameSite, non-Secure cookies

Either use your own Auth0 tenant (which needs some configuration) or contact us to get the values of the above environment variables.
For GraphQL clients, first send the user to https://learnawesome.eu.auth0.com/login?client=h5wMQw9p9MsN53nkY4YeN08mv3Ao1mnB&protocol=oauth2&response_type=token%20id_token&redirect_uri=http://localhost:3000/callback&scope=openid%20profile
After successful login/signup, user.authinfo will have a field called id_token.
The value of that token can be used as the Authorization header with Bearer prefix. This ensures that user can only perform permitted operations via graphQL api.
We have starting adding automated Browser testing via Capybara.
# To setup browser for automated selenium testing
bundle exec rake webdrivers:chromedriver:update
Then:
bin/rails test:system
Production Environment
We use CapRover to deploy LearnAwesome on a web app. A postgresql instance is already provided by the platform, so we only need to run the app container (defined in Dockerfile). This is specified in captain-definition file in the project root directory.


