Installing NI Software
This guide will walk you through the steps to install National Instruments supplied software and drivers for your NI myRIO. Though LabVIEW isn't technically required to use MEL with myRIO, we do this to ensure that your myRIO firmware is up to date with the latest version of NI RT Linux. It's also probably a good idea to have NI MAX at your disposal to aid in the configuration of your myRIO (e.g. connecting to a wireless network, obtaining IP address, etc.).
The easiest way to get started is to download and run the LabVIEW 2018 myRIO Software Bundle Web Installer using the default options. Alternatively, a full list of myRIO required and optional software can be found here. You will need a valid serial number to install the software
Note: Rice University students can find the site wide LabVIEW serial here.
After you have finished installing the software, power your myRIO and connect it to your computer via USB. Open NI MAX and locate your device under Remote Systems. If Firmware Version is less than 6.0.0f1, click Update Firmware and select myRIO-1900_6.0.0.cfg. Login to your device if prompted (if unsure, try admin as the username and leave the password blank).

Once the firmware has been update, expand your device under Remote Systems, right-click Software and select Add/Remove Software. Under LabVIEW Real-Time 18.0.0, select NI myRIO 18.0 - May 2018 and select Next. Leave all options as default but select NI-Watchdog 18.0.0 under Protocols and Buses. Complete the installation.

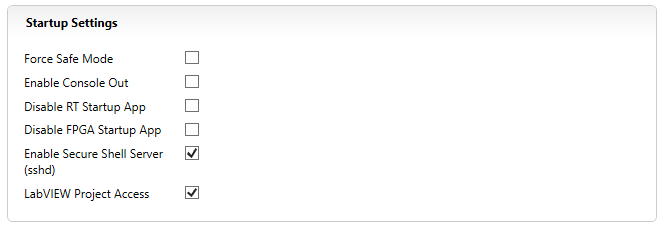
Back in MAX, under Startup Settings select Enable Secure Shell Server (sshd).
You may wish to update the device time on the Time Settings tab found near the bottom of MAX. Finally, click the Save icon at the top of MAX. The device will reboot.