Raspberry Pi setup
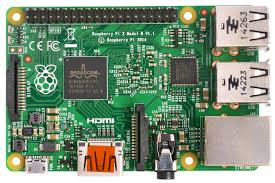
- Raspberry Pi
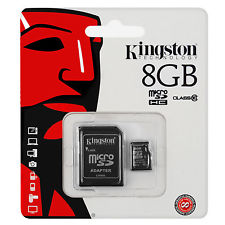
- micro SD card
First you have to download raspbian image. Download it from here. Download Page
After downloading the .zip file, unzip it to get the image file (.img) for writing to your SD card. Then, write the image to microSD card. From here on instructions are for Linux only. If you use other OS, please see the official guidance.
=====
Please note that the use of the dd tool can overwrite any partition of your machine. If you specify the wrong device in the instructions below, you could delete your primary Linux partition. Please be careful.
-
Run
df -hto see what devices are currently mounted. -
If your computer has a slot for SD cards, insert the card. If not, insert the card into an SD card reader, then connect the reader to your computer.
-
Run
df -hagain. The new device that has appeared is your SD card. The left column gives the device name of your SD card; it will be listed as something like/dev/mmcblk0p1or/dev/sdd1. The last part (p1 or 1 respectively) is the partition number but you want to write to the whole SD card, not just one partition. You therefore need to remove that part from the name, getting, for example,/dev/mmcblk0or/dev/sddas the device name for the whole SD card. Note that the SD card can show up more than once in the output ofdf; it will do this if you have previously written a Raspberry Pi image to this SD card, because the Raspberry Pi SD images have more than one partition. -
Now that you've noted what the device name is, you need to unmount it so that files can't be read or written to the SD card while you are copying over the SD image.
-
Run
umount /dev/sdd1, replacing sdd1 with whatever your SD card's device name is (including the partition number). -
If your SD card shows up more than once in the output of df due to having multiple partitions on the SD card, you should unmount all of these partitions.
-
In the terminal, write the image to the card with the command below, making sure you replace the input file
if=argument with the path to your.imgfile, and the/dev/sddin the output fileof=argument with the right device name. This is very important, as you will lose all data on the hard drive if you provide the wrong device name. Make sure the device name is the name of the whole SD card as described above, not just a partition of it; for example,sdd, notsdds1orsddp1, andmmcblk0, notmmcblk0p1.
dd bs=4M if=2016-05-27-raspbian-jessie.img of=/dev/sdd -
Please note that block size set to
4Mwill work most of the time; if not, please try 1M, although this will take considerably longer. -
Also note that if you are not logged in as root you will need to prefix this with
sudo. -
The dd command does not give any information of its progress and so may appear to have frozen; it could take more than five minutes to finish writing to the card. If your card reader has an LED it may blink during the write process. To see the progress of the copy operation you can run
pkill -USR1 -n -x ddin another terminal, prefixed withsudoif you are not logged in as root. The progress will be displayed in the original window and not the window with thepkillcommand; it may not display immediately, due to buffering. -
Instead of
ddyou can usedcfldd; it will give a progress report about how much has been written. -
You can check what's written to the SD card by dd-ing from the card back to another image on your hard disk, truncating the new image to the same size as the original, and then running
diff(ormd5sum) on those two images. -
The SD card might be bigger than the original image, and
ddwill make a copy of the whole card. We must therefore truncate the new image to the size of the original image. Make sure you replace the input fileif=argument with the right device name. diff should report that the files are identical.
dd bs=4M if=/dev/sdd of=from-sd-card.img
truncate --reference 2016-05-27-raspbian-jessie.img from-sd-card.img
diff -s from-sd-card.img 2016-05-27-raspbian-jessie.img-
Run
sync; this will ensure the write cache is flushed and that it is safe to unmount your SD card. -
Remove the SD card from the card reader.