Getting Started
To get started with the nCine you first have to download it.
The straightforward way is to download a binary distribution, so you don't have to compile the framework and its dependencies by yourself.
The nCine-artifacts repository hosts all the artifacts generated by GitHub Actions.
GitHub Actions is the continuous integration pipeline of GitHub, it will automatically compile the nCine at each commit and save a binary distribution in the repository.
The nCine-artifacts repository contains different branches, one per each combination of platform and compiler.
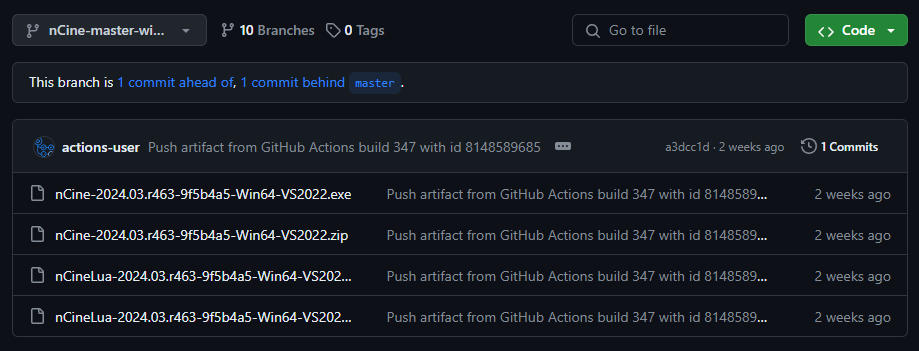
Let's say we are on Windows, the correct branch would then be nCine-master-windows-vs2022.
This branch contains four files: two of them are the Lua-specific versions (nCineLua- prefix), and the other two are targeted at C++ development (nCine- prefix).
Each version comes as a .exe and a .zip file.
The first one is an installer, use it if you want to install the framework in the system.
The second one is a portable archive that you can decompress wherever you want.
Let's download the portable .zip archive, it is a more flexible solution and will make the process easier.
After the download is completed, you can extract the archive contents wherever you like.
If you are on macOS, the branches will be nCine-master-macos12-appleclang and nCine-master-macos14-appleclang.
The first branch is for macOS 12 and Intel machines, while the second one is for macOS 14 and AppleSilicon machines.
Both hosts a .dmg file that you can download and mount. Inside you will find and nCine application bundle that you can copy in the Application directory (for a system-wide installation) or wherever you want (for a portable experience).
Now that you have nCine on your machine, it is time to start using it.
You can script your games in Lua, or create native games using C++ with Visual Studio 2022, Visual Studio Code, or Qt Creator.