Howto: Installing and configuring the OpenStack commandline tools on Windows
Apart from the OpenStack web interface you can also use command line tools to interact with OpenStack. This HOWTO explains how to install the command line clients, and explains how to use these in a Powershell command prompt on Windows.
-
Download the latest Python 2 release from the Python website: http://python.org/downloads/windows/ (If you would like to install Python 3.5.* and the machine you install too doesn't have VS 2015, you will need to install it with the C++ Common Tools checked otherwise the nova client and other installations through pip may fail)
-
After clicking the most recent Python 2 release, choose to download the Windows X86-64 MSI Installer
-
Install Python by double-clicking the MSI package that you just downloaded and completing the installation wizard.
-
Add Python to your PATH environment variable by:
-
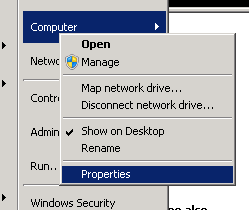
Opening the Computer settings
-
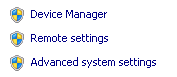
Choosing ‘Advanced system settings’
-
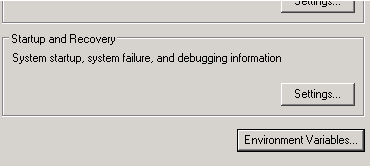
Clicking on ‘Environment variables’
-
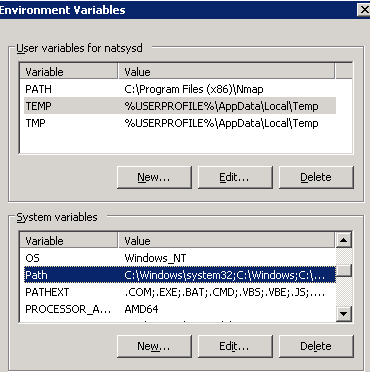
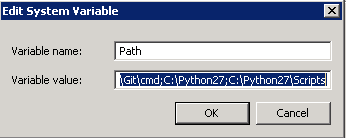
Looking up the Path variable in the System variables list and clicking Edit:
-
Add ‘;C:\Python27;C:\Python27\Scripts’ at the end of the line (don’t forget the semicolon) and click OK:
-
-
Close the remaining Windows.
-
Install the OpenStack clients, pip is installed by default in recent python windows versions and can be found by default in the c:/python27/scripts directory:
pip install python-openstackclient
After succesfull installation you will have to download the OpenStack RC file for the project you want to manage
- Log in to the OpenStack dashboard
- Open the project you want to manage
- Open the menu Access & Security and the API Access tab:
- Click on Download OpenStack RC File and save the file in a convenient place
Linux and OSX users can use the downloaded RC file, a small BASH script, natively. Windows / Powershell have to use a simple Powershell script.
-
Download the Source-OpenRC.ps1 script and save it locally.
-
Start Powershell
-
Run the script, and give the path to the downloaded RC file as an argument:
H:\Downloads\Source-OpenRC.ps1 H:\Downloads\project-openrc.sh
-
When asked, enter your password.
Now you've installed and configured the everything you can start using the command line tools.
-
Start Powershell
-
Test if everything is working with a simple list command:
nova list
-
If you've started with an empty project you'll get output like this:
+----+------+--------+------------+-------------+----------+
| ID | Name | Status | Task State | Power State | Networks |
+----+------+--------+------------+-------------+----------+
+----+------+--------+------------+-------------+----------+
-
Check the OpenStack documentation or use the help command, for example:
nova help
nova help list