

After this lesson, you will be able to:
- Create a static Angular application with Angular CLI.
- Build an Angular application with one component.
- Build an Angular application with two nested components.
- Build an Angular application using nested iterators.
- Fork this repo.
- Clone your fork into your
~/code/labsfolder.
Upon completion, run the following commands:
$ git add .
$ git commit -m"done"
$ git push origin master
Navigate to your repo and create a Pull Request -from your master branch to the original repository master branch.
In the Pull Request name, add your campus, name, and last name separated by a dash "-".
All the files in the different folders you have, being these folders one per iteration.
In this lesson we are going to work with Angular 2 for the first time. The goal here is to work over three small projects where you are going to practice all what we have learnt.
The starter code is composed of three different folders, called iteration-1, iteration-2, iteration-3. The only folder that has something inside is the iteration-1 folder, that contains a project created with the Angular CLI.
As you may noticed, this lesson is composed of three different iterations. In each iteration we will cover a different project. In the first iteration we provide you the basic skeleton of the app, while in the other two iterations you will have to create it.
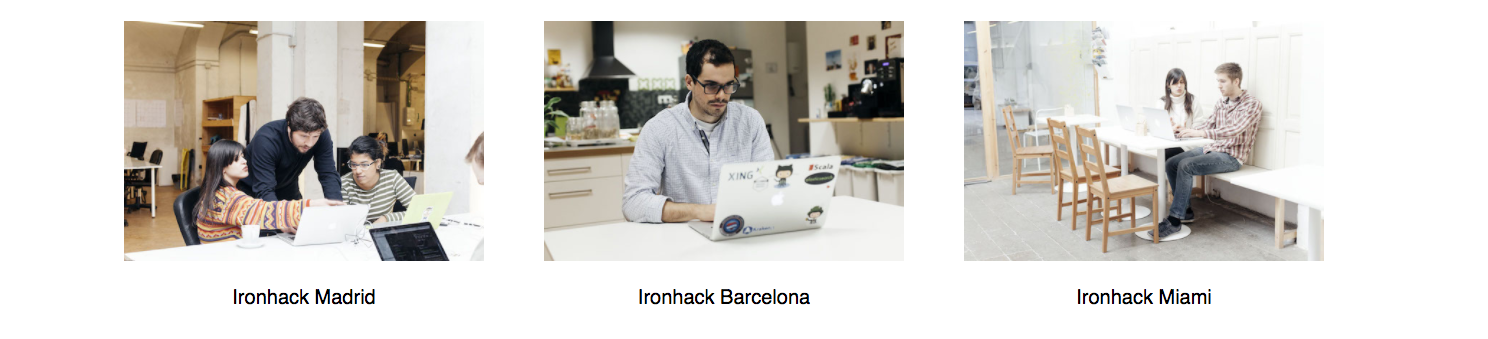
In the first iteration we are going to build a photo album. Imagine you have an album at home. On it, you can find a photo and its description. This is what we are going to build.
We will build this album over the AppComponent component. The album will have three photos and their descriptions, and it's not necessary to have an Array to store this values.
Easy, right? Add some styles to the page to see the different photos as better as you can show them :)
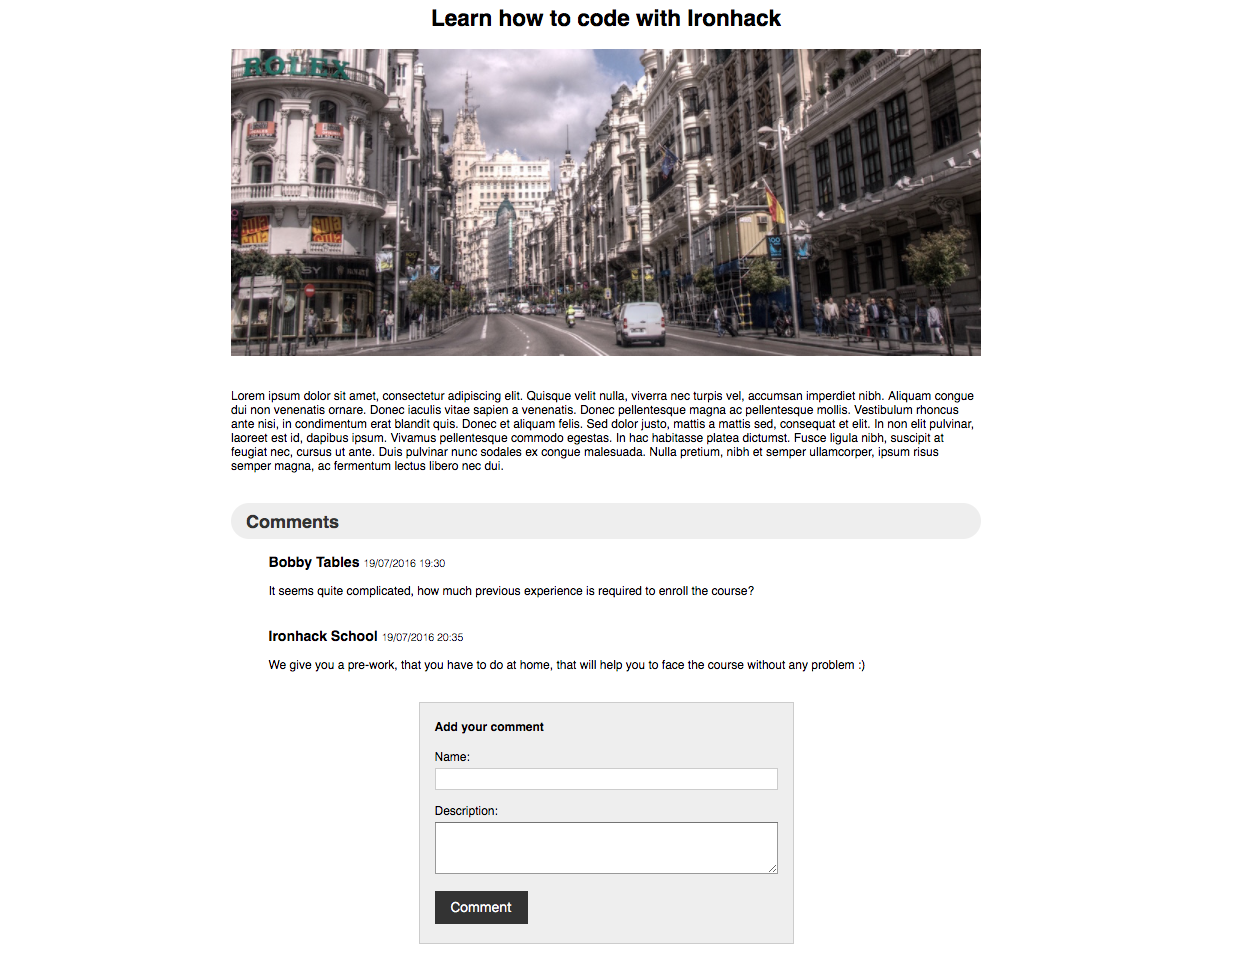
In the second project of this lesson we are going to create a blog article with comments. We are going to create two different components:
- The
maincomponent will contain the article, composed by atitle, animage, and adescription. - The
commentscomponent, that will contain several comments (feel free to add as many comments as you want).
At the bottom of the comments, we will add a comment form to add some reality to our article. We can't have comments without a form!
The first thing you will have to do is to generate the project with Angular CLI.
Last, but not least, we are going to create a Dashboard with the last NBA Champions. In this case, we will need to create one component, that will contain an array of Championships, with the following fields:
yearof the championship.- Name of the
championteam. - A
champion_urlto show the team badge. - A list with the best players of the champion team, called
best_players
You can find the full list of NBA Champions in wikipedia. In our application we have to show, at least, three of them. The result could be something like that:
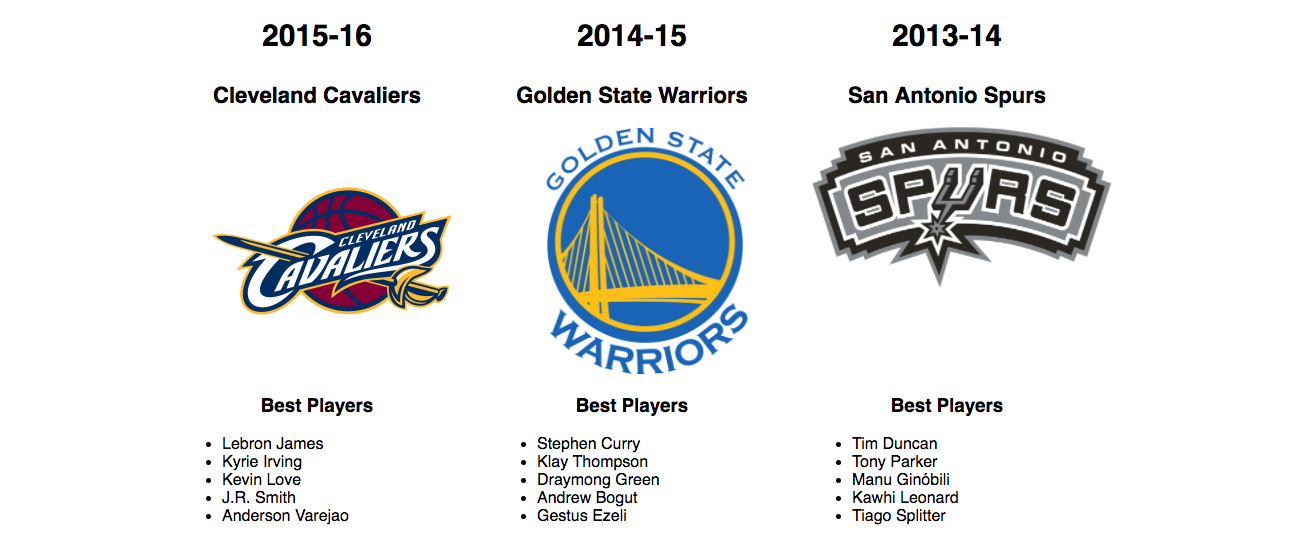
Note that we are iterating over two different arrays to show all the information: Championships and best_players of every team.
/Happy coding!