Start Stop local MongoDB server with Eclipse
MongoDB IDE gives you the capability to start/stop a local MongoDB server and display server logs in the Eclipse Console :
On other words, you can define a MongoDB server as Mongo runtime and start it by calling the /bin/mongod.exe (or mongod.sh) process file with an Eclipse Launch (start button generate an Eclipse Launch which do that).
Install MongoDB Server is very easy. To do that :
- Download MongoDB MongoDB Server by choosing the well distribution according your OS.
- Unzip the distribution on your hard disk.
After installing a MongoDB server, you can reference this server in the Mongo Runtimes preferences. To do that, go to the Window/Preferences menu and click on MongoDB IDE/Mongo Runtimes node :
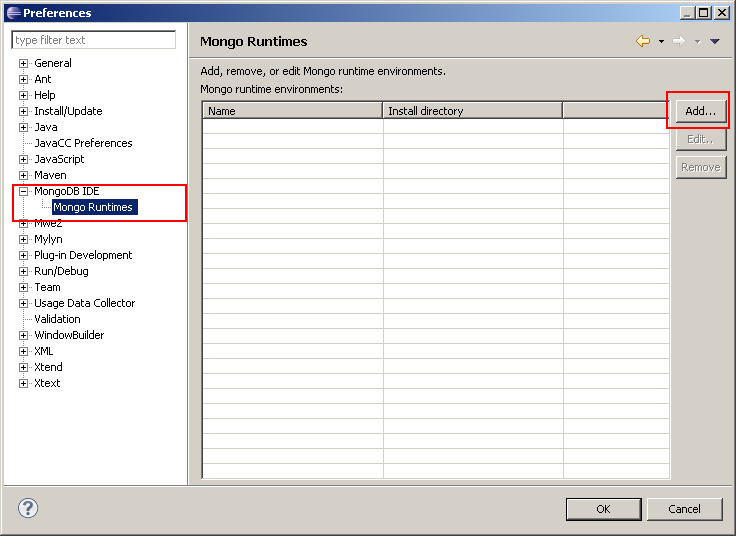
Click on Add... button to open the New MongoDB Runtime Environnment dialog:
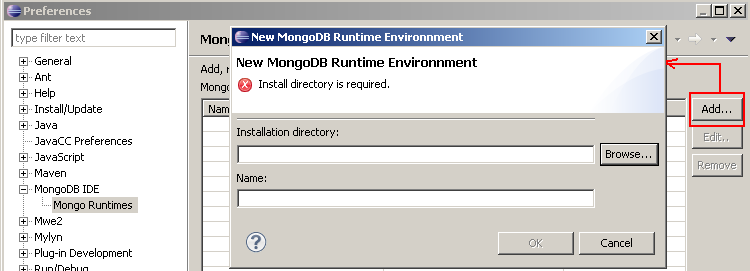
Click on Browse... button of the dialog to select the well home directory (this home directory must contains a /bin folder which contains mongo.exe (or mongo.sh) and mongod.exe (or mongod.sh) process files.) on your local MongoDB server:
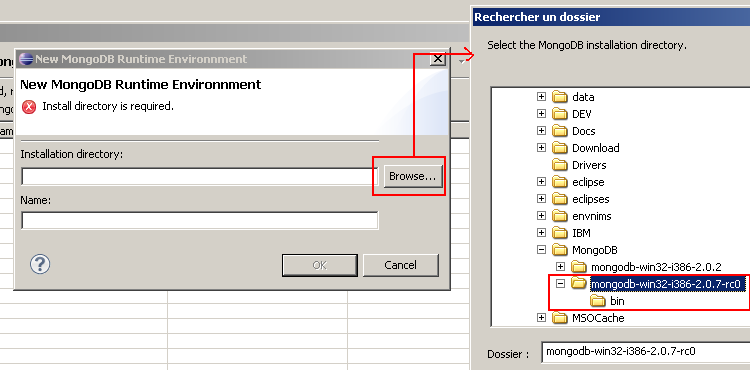
After selecting the well home directory, the name field should be fill automaticly with the version of the MongoDB server (the /bin/mongo.exe is called with -version parameter to get the version of the server) :
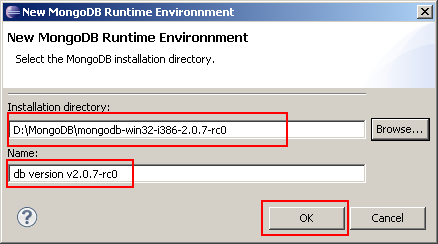
Click on OK button to close the dialog and display in the Mongo Runtimes list the new runtime :
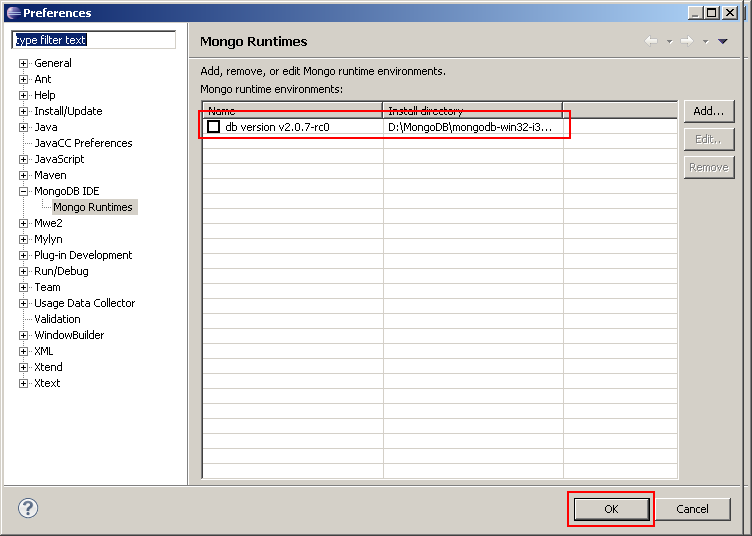
Click on OK button of the Preferences page to save the runtime.
After opening the MongoDB Explorer View
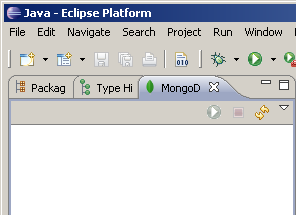
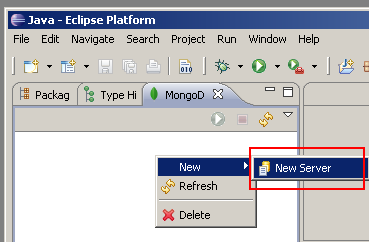
you can create the local MongoDB server with the New Server wizard. To open this wizard you can click on right mouse button of the view and select New/New Server menu item :
or by going to the File/New/Other... menu item and select MongoDB IDE/New Server menu item :
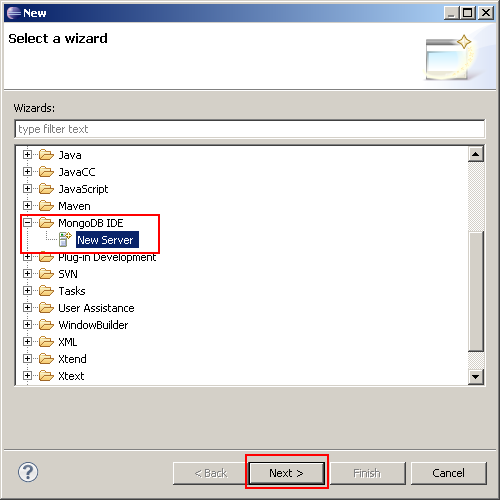
the New Server wizard appears :
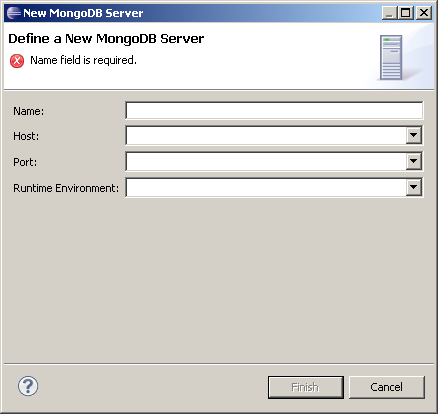
To define a Local server, you must :
- select localhost for the host.
- select a runtime environnment.
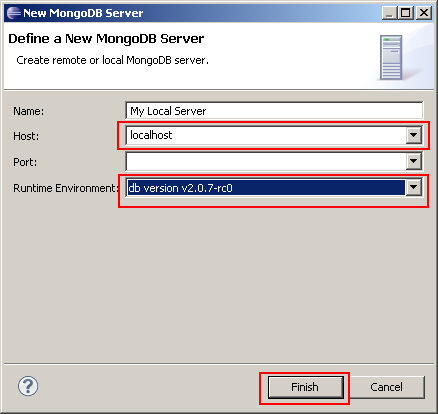
Click on OK button to close the wizard and register the new server. The MongoDB View Explorer is refreshed with the new server :
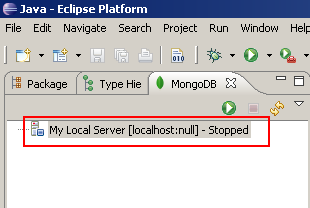
At this step you can start the local server by clicking on start button :
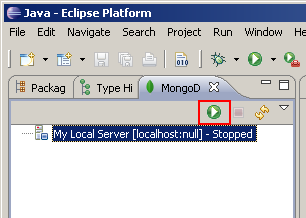
This start button :
- starts the local server by calling the /bin/mongod.exe (defined by the runtime)
- try to connect (with Mongo Java Driver) to this local server.
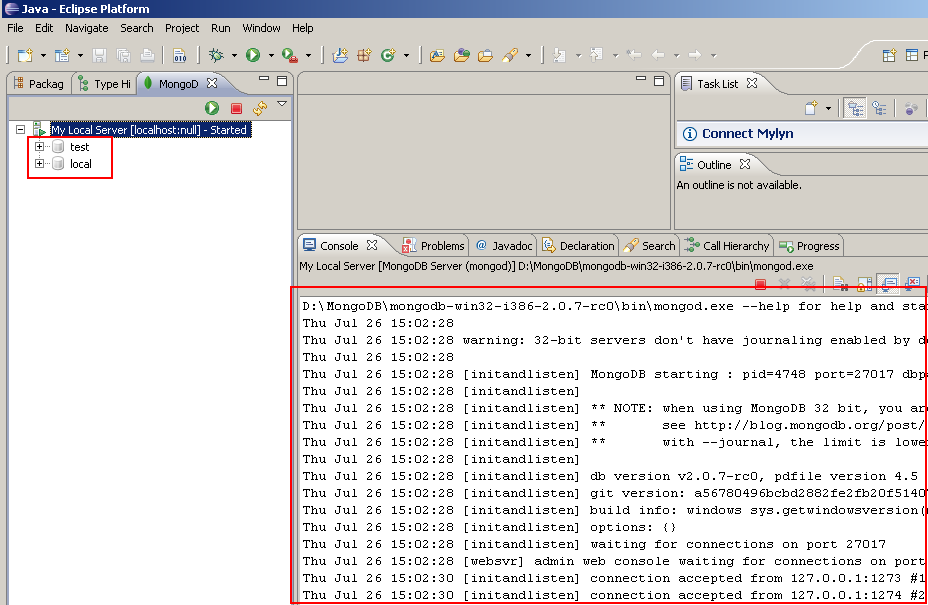
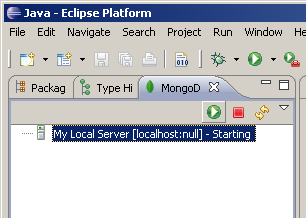
While this step, server state is starting :
Once the connection can be done, server state is started and databases of this server appears:
You will notice that Eclispe Console displays logs of the server.