#GSoC Project 2014: ##Access to geoprocessing tools with gvSIG 2.x Scripting Framework Working for gvSIG and OSGeo Foundation
BETA Version Developing:
Valid parameters of the algorithms for use:
- Vector Layer
- Raster Layer
- Table
- String, boolean and number types
- Selection
- Multi parameters
###gvpy: USER GUIDE in English (Not updated) https://github.com/oscar9/gvpy/blob/master/gvpy_user_guide.md
All the options needed for launch geoprocess from the Scripting Framework
###gvpy: GUÍA DE USO en Español (Updated) https://github.com/oscar9/gvpy/blob/master/gvpy_guia_de_uso.md
Todas las opciones disponibles para lanzar geoprocesos desde el Módulo de Scripting
See one good example using gvpy! Go to the the folder
/example/inside this repository
##Install ###Developing for gvSIG 2.x
Do you want to know more about what am i doing? Visit my project page: [gvpy project] Or read all my weekly reports in my blog: [weekly reports]
How install gvpy?
- You just need gvSIG 2.x
- Download
src/gvpy.py, you don't need more. - Move
gvpy.pyto C:\Users[name]\gvSIG\Plugins\org.gvsig.scripting.app.extension\lib - Open gvSIG 2.1 Desktop, and go to Scripting Composer or Jython Console
- Write before your script:
import gvpy
##Test Now try to use it:
- You can download:
src/test_import_gvpy.py - Create a new View in a new Project
- Open gvSIG 2 - Tools - Scripting Composer
- Copy text inside
test_import_gvpy.py& Paste inside a new script, execute! - Commets in every line of code inside test_import_gvpy.py, this will help you to understand how it works
###Src folder:
###gvpy_library + gvpy_algortihms = gvpy
That means, access to shortcuts for coding inside gvsig, and access to geoprocess algorithms
Developing access to SEXTANTE and gvSIG-geoprocess. This library will allow you to launch one geoprocess with your jython script.
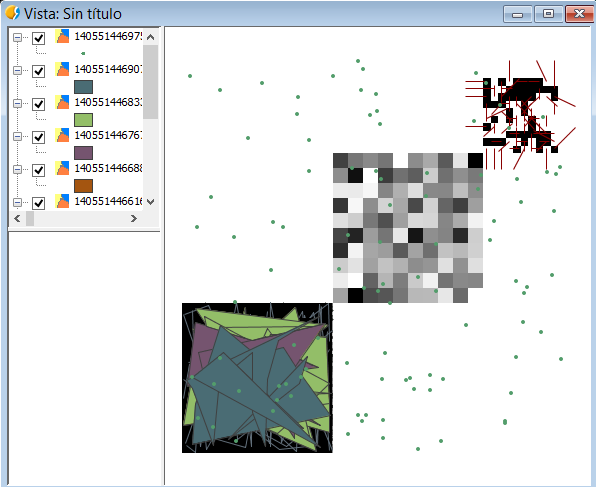
    r = gvpy.runalg("perturbatepointslayer", LAYER = currentLayer(),MEAN = 5, STDDEV = 5 )
    r = gvpy.runalg("generaterandomnormal", EXTENT = [0,0,0,500,500,0], CELLSIZE=10, MEAN =0.5, STDDEV = 0.5)
v = gvpy.runalg("randomvector", 20, 1, EXTENT=gvsig.currentView(), PATH = "C://gvsig//random_vector.shp")(I will develop this part in the next weeks) For now, this library will be to develop easy access to the scripting functions. With less code will be more easy, and more powerful.
#####Ex: Shortcuts for gvSIG Scripting
    #New shape
    layer3 = newLayer(layer,"C:/gvsig/polygon_shape", 3)
    #Add new features
    addFeature(layer1, "point", "04",[0,10])
    addFeature(layer2, "line", "01", [[50,80],[150,50],[100,10],[0,10],[50,80]])
    #New Line
    addFeature(layer3, "polygon", "01", [[50,80],[150,50],[100,10],[0,10],[50,80]])
    #New polygon
    #Modify all values in one column
    modifyFeatures(layer1, "field1", "Points_gsoc")
    modifyFeatures(layer2, "field1", "Lines_gsoc")
    #Modify schema
    addField(layer1,"Name")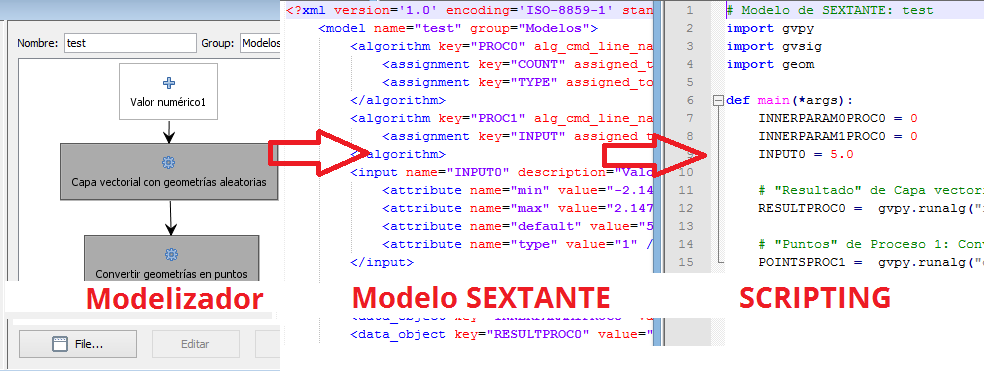
removeField(layer1,"Name")UPDATE: Now is inside gvpy! Just execute
gvpy.model2script(pathModel, pathNewScript)
Script for gvSIG 2 that allows export from SEXTANTE.model to Python Script with one click.
#Info You can find more info about what is gvpy here: http://oscar9.github.io/gvpy/
And my weekly reports: http://masquesig.com/category/gsoc-2/