Intel Edison with ERF XRF stick
This repository lets you communicate with the Medtronic pumps in alternative ways. See https://github.com/oskarpearson/mmeowlink/wiki for more information on the available options.
This option, the Intel Edison with ERF stick, is currently the smallest available option. However, it also requires the most work, and is pretty expensive. It requires soldering skills, and there are numerous reports of people destroying hardware in the build attempt, requiring additional purchases.
The outcome, though, is pretty small compared to other alternatives.
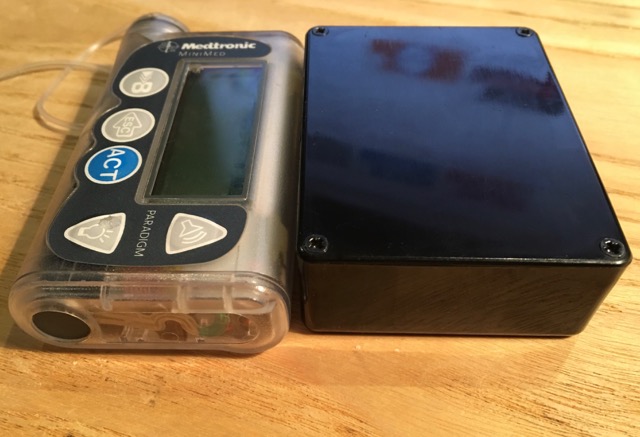
Including the battery, the setup weighs 90g (3.2 oz)
Inside the box, I've used double-sided Velcro tape to hold the components in place.
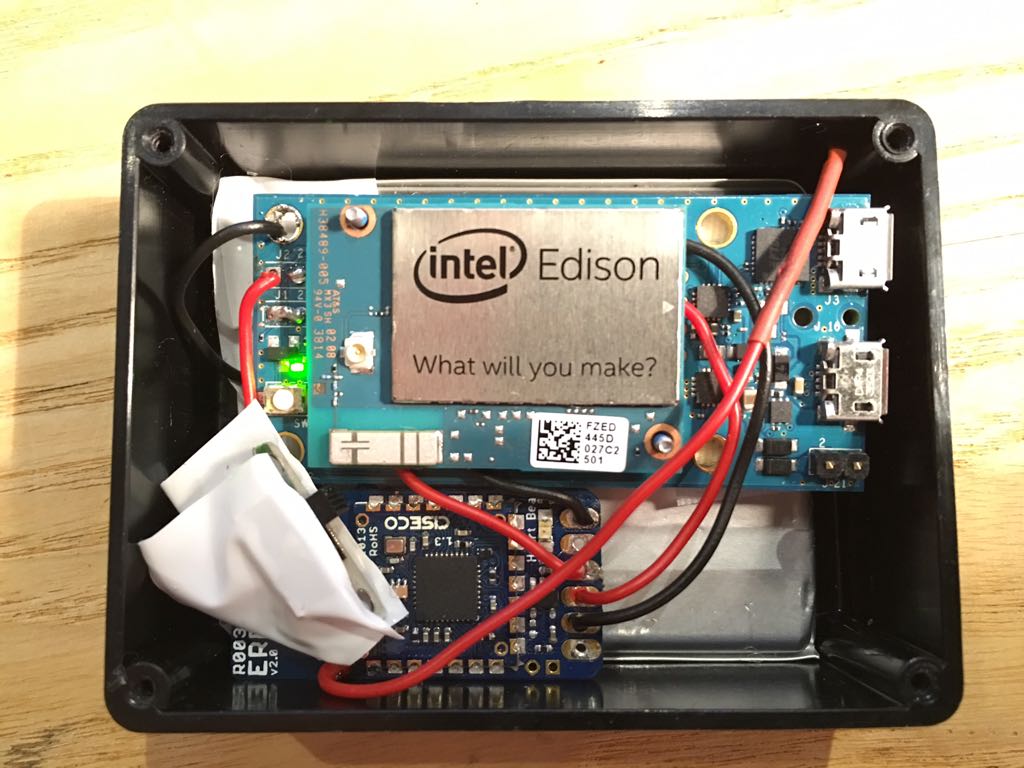
In this case, I've added an extra antenna unit that may or may not increase range. You don't need to do this, but it may help.
- Note that I've manually bridged J1/2 with solder so that I could make the board flatter, and soldered onto the lipo connector (J2). This isn't recommended if you can find a battery that connects securely to those pins and a box to hold it.
PLEASE update this with known-good products from outside the UK if you know of thems.
- WirelessThings ERF Module - if you're outside the UK this can take a while to arrive. Chat to local users on Gitter too, and see if someone has one available near you with the firmware already written to it. Note: The ERF is discontinued. Several successful rigs have been built with the XRF instead.
- Intel Edison Compute Module - Get it from [Amazon] (http://www.amazon.com/gp/product/B00PTVSVI8?dpID=51yqQB46DIL&dpSrc=sims&preST=_SL500_SR135%2C135_&refRID=6AE996400627CC0KPY52&ref_=pd_rhf_se_s_cp_2), Adafruit, Sparkfun or your nearest provider.
- Battery - The example setup above uses a 2000mah LIPO battery. This battery lasts in the region of 20 hours. It's best to buy from a reputable supplier, since they are prone to catching fire. Make sure that it includes a protection circuit to protect over-discharge. NEVER connect the battery to the Edison base board the wrong way round. Ideally you want a battery that has a 10k ohm thermistor for temperature protection by the Edison too.
- A box - You probably want to buy this last, and in-person from a shop, where you can try and find a box that fits the completed setup. The box above is a 75x56x25mm box from Maplin but you can almost certainly find one from a local supplier if you aren't in the UK.
- Double-sided Velcro stickers to hold the pieces in place in the box.
- A craft knife or drill to cut a hole into the box that you can fit the micro-USB cable through.
- A soldering iron, solder, flux pen, and solder sucker
- A Third Hand to hold things while you solder.
- Test Hooks Alternative to connect to the ERF. You can get away with this if a few of you can hold things as you write the firmware but it'll make your life easier.
- You can get away without a Breadboard if you've got help to hold things, but it'll make your life easier if you have one.
Additionally, you will need the core item required for all firmware writing:
- A programmer for the ERF/XRF stick - the CC-Debugger or GoodFET or Adafruit GoodFET. Note that you should only need this once. Ask other users in your area if they have one, or check with a local Hackspace.
To build and write the firmware, you need access to a Linux system. You can use a Raspberry Pi for this if you want - just make sure it has a big enough SD card (8GB or above is probably best)
-
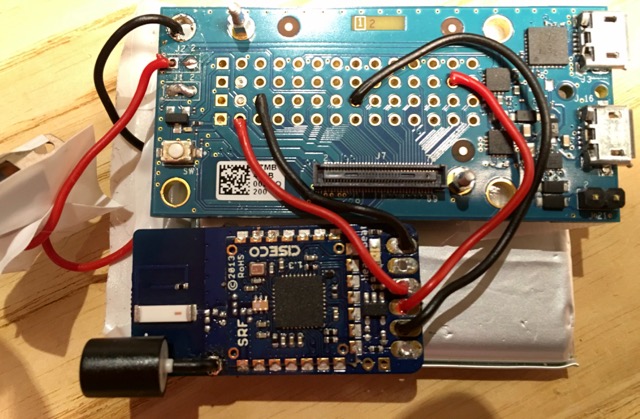
Solder connectors to the Intel Edison Base Board, and assemble your rig. See the diagrams above for the ERF. For the XRF:
Edison - XRF
J20/2 --- 1
J18/13 --- 2
J19/8 --- 3
J19/3 --- 10