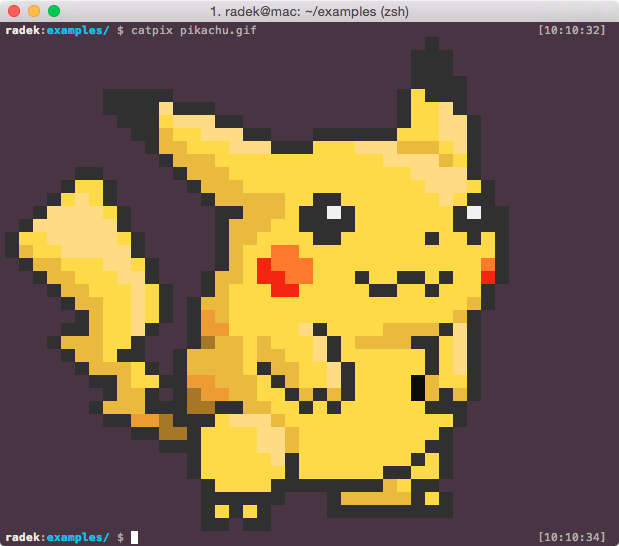
Renders images in the terminal.
It will handle most image formats (png, jpg, gif, bpm and many more). As long as ImageMagick can read it, catpix can too. By default, it will scale them down to fit the width of your terminal. You can set the same for the height of the image and also center it by providing custom options (see Usage below).
On the inside, catpix uses rmagick to read and scale images and the tco gem to map its colours to the extended 256 colour palette in the terminal. A pixel is approximated as two spaces, so you might get weird results in case your font has different proportions.
It can render full resolution photos, although it takes a while and the resolution is obviously limited. Here's a photo of some flowers in my window, straight from my phone and rendered in the terminal:
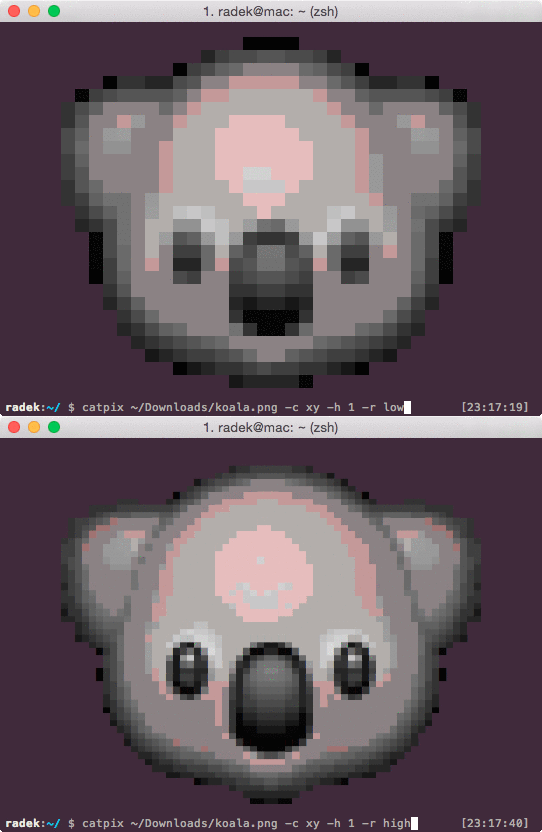
Catpix can render images in two resolutions. If you terminal supports unicode, it will use the upper half block to dispplay one pixel. Otherwise, a pixel will be approximated as two spaces. The detection is automatic, but you can also force one or the other via options. The higher setting has four times as many pixels as the lower one. See how do they compare below:
The gem will install the catpix command on your system that you can use
directly from shell. To print an image simply pass the path to it as the
first argument:
$ catpix pokemon.gif
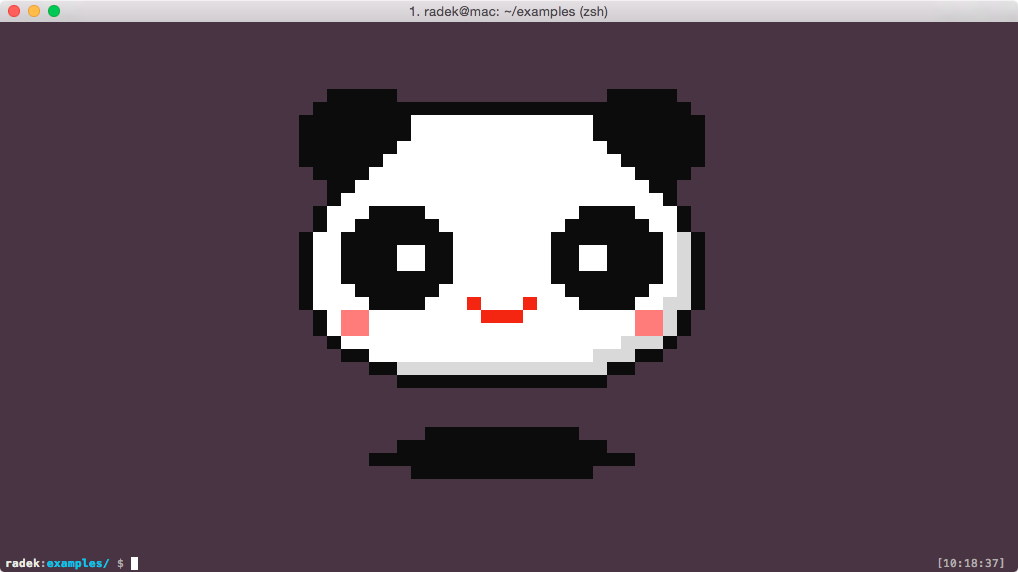
Use the -c flag to center it (x for horizontal and y for vertical centering):
$ catpix panda.png -c xy
Add -w or -h to scale it down. These two options require a factor of the
size of your terminal. If you want to limit the size of your image to half of
your terminal window use:
$ catpix trophy.png -w 0.5 -h 0.5
And finally, if your image has any fully transparent pixels, you can specify
background colour to be rendered behind and around the image. Use -b to
specify the colour and -f to make it fill the margins around the image if
it's centered:
$ catpix tux.png -b "#00ff00"      # RGB is fine
$ catpix tux.png -b green          # tco aliases work too
$ catpix tux.png -c xy -b green -f # fill the margins around the image too
$ catpix tux.png -c xy -r high     # enforce high resolution
The Ruby API consists of only a single function called print_image:
require 'catpix'

Catpix::print_image "pokemon.png",
  :limit_x => 1.0,
  :limit_y => 0,
  :center_x => true,
  :center_y => true,
  :bg => "white",
  :bg_fill => true,
  :resolution => "low"
See the documentation at RubyDoc for more detail.
Use gem to install Catpix from RubyGems:
$ gem install catpix
If using bundler, add this line to your application's Gemfile:
gem 'catpix'
And then execute:
$ bundle
Radek Pazdera <me@radek.io> radek.io
- Fork it ( https://github.com/[my-github-username]/catpix/fork )
- Create your feature branch (
git checkout -b my-new-feature) - Commit your changes (
git commit -am 'Add some feature') - Push to the branch (
git push origin my-new-feature) - Create a new Pull Request


