WebXR Changes
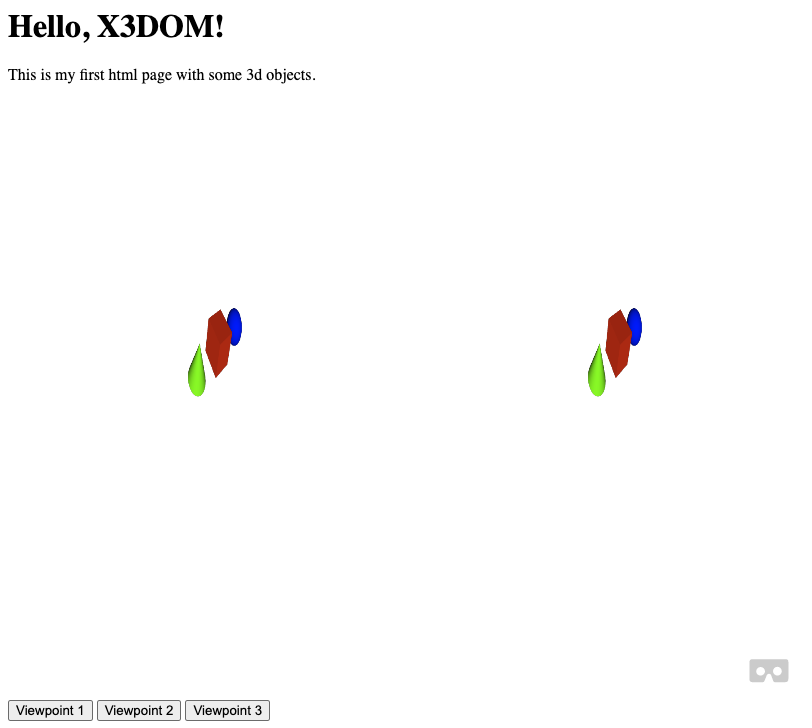
Welcome to the x3dom wiki!
This document is related to the WebXR integration in x3dom. Please refer to this wiki for the original x3dom wiki.
After following the WebVR to WebXR migration guide, the webxr branch in in x3dom repo contains the code that supports WebXR features
- Enter into VR mode at the current active viewpoint in the scene

- Use the trigger button of your headset controller to move in the environment. The controller orientation specifies the direction.
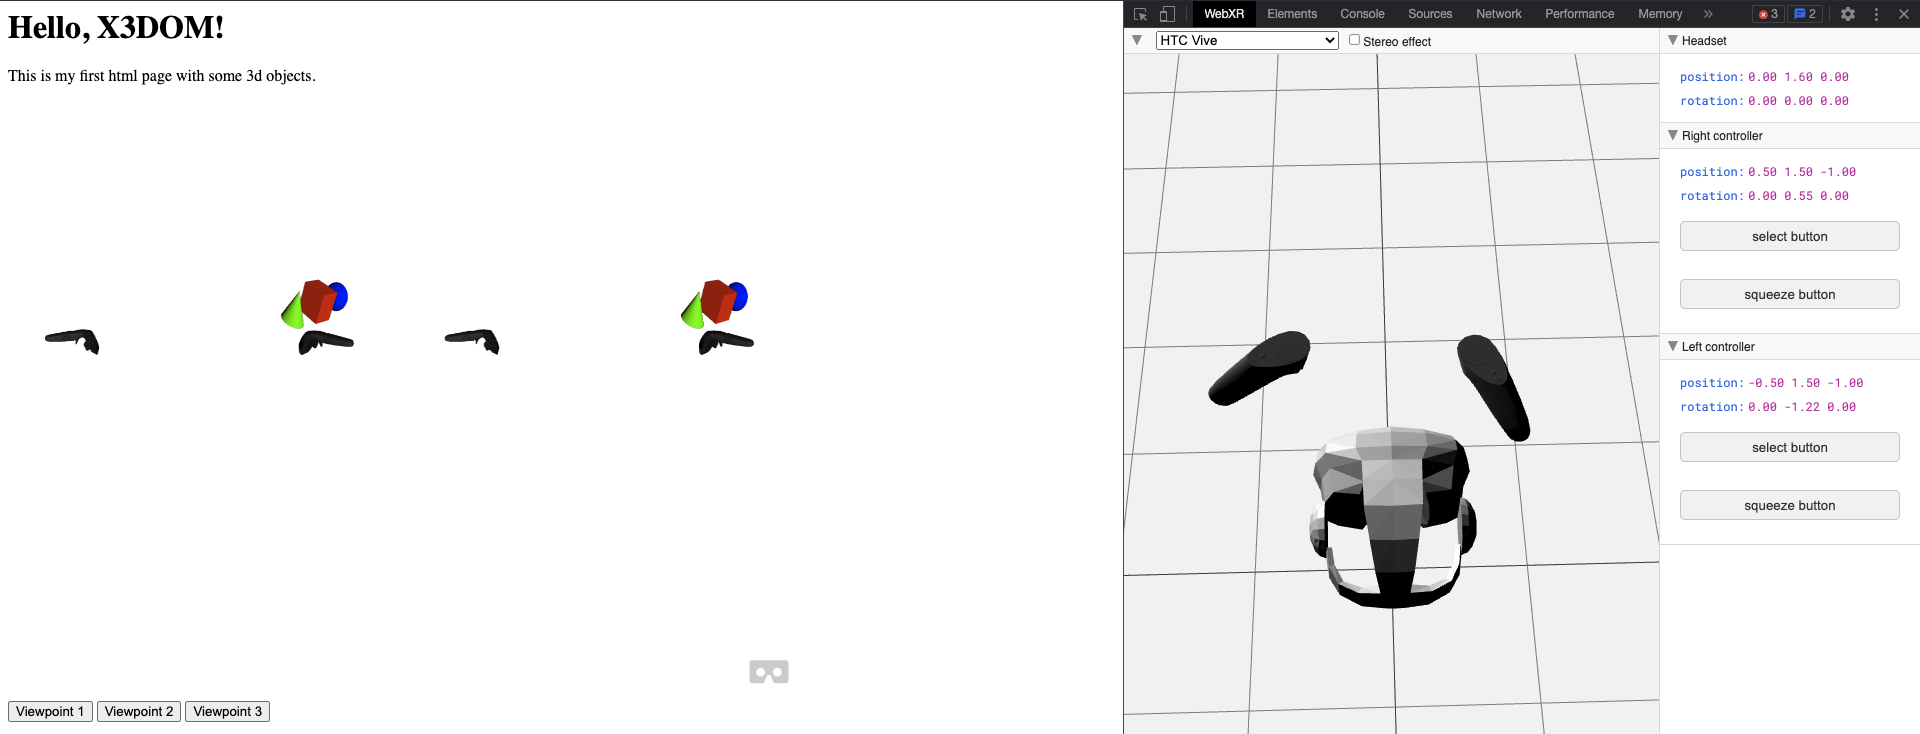
You can use WebXR emulator extension to try the features without any VR headset.
VR Session
In the below code, we utilize the WebXR API to request a VR session and set up a WebGL rendering context for the VR environment. We also fetch the view matrix to get current viewpoint details.
navigator.xr.requestSession( "immersive-vr" ).then( ( session ) =>
        {
            session.requestReferenceSpace( "local" ).then( ( space ) =>
            {
                const xrLayer = new XRWebGLLayer( session, this.gl.ctx3d );
                session.updateRenderState( { baseLayer: xrLayer } );

                this._oldCanvasWidth  = this.canvas.width;
                this._oldCanvasHeight = this.canvas.height;

                this.canvas.width  = xrLayer.framebufferWidth;
                this.canvas.height = xrLayer.framebufferHeight;

                this.gl.VRMode = 2;
                this.xrReferenceSpace = space;
                this.xrSession = session;
                this.doc.needRender = true;

                var mat_view = this.doc._viewarea.getViewMatrix();
                var rotation = new x3dom.fields.Quaternion( 0, 0, 1, 0 );
                rotation.normalize();
                rotation.setValue( mat_view );
                var translation = mat_view.e3();

                const offsetTransform = new XRRigidTransform( {x: translation.x, y: translation.y, z: translation.z},
                    {x: rotation.x, y: rotation.y, z: rotation.z, w: rotation.w} );
                this.xrReferenceSpace = this.xrReferenceSpace.getOffsetReferenceSpace( offsetTransform );

                this.xrSession.addEventListener( "end", () =>
                {
                    this.exitVR();
                } );

                session.requestAnimationFrame( this.mainloop );
            } );
        }
session.requestReferenceSpace( "local" ).then( ( space ) => {...}
This line requests a reference space for the VR session. The "local" reference space is requested, which means that the origin of the space is at the user's position when the session was started. The request returns a Promise which resolves to a space object that is passed to the callback function.
Passing a type of local creates an XRReferenceSpace instance. It represents a tracking space with a native origin near the viewer at the time of creation. The exact position and orientation will be initialized based on the conventions of the underlying platform. When using this reference space the user is not expected to move beyond their initial position much, if at all, and tracking is optimized for that purpose. For devices with 6DoF tracking, local reference spaces should emphasize keeping the origin stable relative to the user’s environment.
const offsetTransform = new XRRigidTransform( {x: translation.x, y: translation.y, z: translation.z}, {x: rotation.x, y: rotation.y, z: rotation.z, w: rotation.w} );
This line creates a new XRRigidTransform object that represents the offset between the reference space and the user's head position. The transform is constructed with the translation and rotation components.
this.xrReferenceSpace = this.xrReferenceSpace.getOffsetReferenceSpace( offsetTransform );
This line creates a new reference space that is offset from the original reference space by the XRRigidTransform. This ensures that the user's head position is correctly aligned with the VR environment.
Navigation
The below code shows how a VR controller(left in this case) can be used to update the position of the user's viewpoint based on the input from the controller.
var axesScale = this._getControllerAxesScale( controllers.left.type );

axes[ 0 ] += controllers.left.gamepad.axes[ 0 ] * axesScale[ 0 ];
axes[ 1 ] += controllers.left.gamepad.axes[ 1 ] * axesScale[ 1 ];

if ( controllers.left.gamepad.buttons[ 0 ].pressed )
{
    const pose = controllers.left.pose;
    const cDirection = this._getControllerDirection( pose );
    viewarea._movement = viewarea._movement.add( cDirection );
}
if ( controllers.left.gamepad.buttons[ 0 ].pressed ) {...}
This line checks if the first button of the left controller is pressed. If the button is pressed, the code block gets executed.
const pose = controllers.left.pose;
const cDirection = this._getControllerDirection( pose );
viewarea._movement = viewarea._movement.add( cDirection );
This code block gets the pose of the left controller and calculates the direction vector of the controller using a function called _getControllerDirection(). The direction vector is added to the _movement vector of the viewarea object. The _movement vector is used to update the position of the user's viewpoint in the VR environment.
Overall, this code is responsible for updating the position of the user's viewpoint based on the input from the left VR controller. The axes array is used to control the movement in the x and y directions, while the button press is used to move the user in the direction of the left controller.