Web Servers with Servi
If you've hosted a web site with a company like Dreamhost, Bluehost, or GoDaddy, you may be familiar with uploading files via FTP and having them immediately appear on your web site. That's because in [shared hosting services] (https://en.wikipedia.org/wiki/Shared_web_hosting_service) like these, the server set-up has been done for you behind the scenes.
We're going to do things differently in order to explore how a server works. Instead of using a pre-installed web server software, we're going to program our own simple server using Node.js and a tool to simplify the process of building a web server in Node, called Servi.js.
Javascript has been around since the early days of the web. Until recently, it was something used exclusively in a web browser -- on the "client side" or "front end", as you'll hear it called. With Node.js, Javascript runs on the server side, or "back end". Node is a new player in server-side programming languages; some of the more established ones you may have heard of are PHP, Ruby, and Python.
One nice thing about node is that, since it's Javascript, the programming language is the same on both the front end and back end. That makes it a great choice for this class, where we're learning a lot of things quickly about both the client side and the server side.
ITP student Sam Lavigne and faculty member Shawn Van Every developed Servi.js to wrap some of the common tasks for building web servers in Node.js. Anything you can do in Servi, you can do in regular Node; Servi just saves you some steps.
#Terminal To work with Servi, you are first going to want to become familiar with using the "command line". The terminal provides "shell" access to your computer. You can browse directories and execute applications via text-based commands. In Mac OS X or Linux, you can access the command line using a program called Terminal. In Windows, you will need to install your own command line program like Cywin, then install ssh on it.
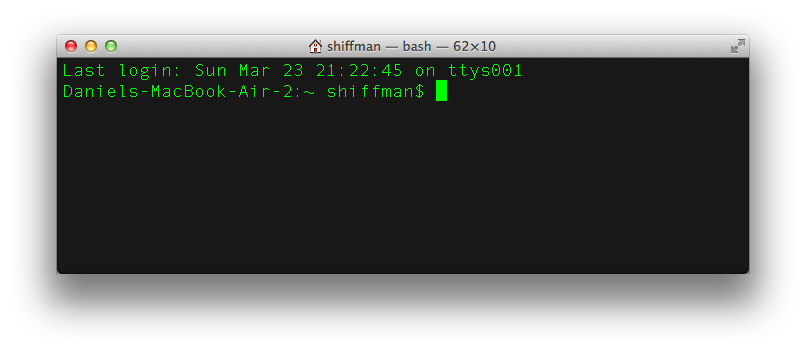
When you open Terminal, you will see something like:
The blinking cursor is the "prompt", where you can execute a command. Here is a list of some common commands you'll need.
-
cd- change directory. The following, for example, will set the current path to your desktop. You'll want to replace "shiffman" with your username.cd /Users/shiffman/Desktop. -
pwd- print working directory. This will print out the current directory. -
ls- list the contents of the current directory.
This is barely scratching the surface of what you can do with unix commands. We'll be using the command line regularly in this class, but nothing too fancy. Familiarize yourself, though, with some of the basic unix commands.
Using the Terminal, we'll first install Node, then install Servi to run with Node.
-
Install Node. There's a chance you may already have Node installed on your Mac. To check, open Terminal and type
which node. If you get a path back, something like, /usr/local/bin/node, then it's installed. If you get nothing (which is likely) that means you'll need to install it. Download and install it. -
Install Servi Node has a built-in tool to download and install modules, called Node Package Manager, or npm. We'll use
npmto install the Servi module. NPM lets you decide whether you want to install a module globally or on a per-project basis (see the note below for more on that). Since we'll be using servi a lot, we'll install it globally. In Terminal, to install Servi globally, type:npm install servi -g
TIP: If you get an error, you may need to try:
sudo npm install servi -g
and enter your computer's password when prompted.
Note on Global vs. Per-project. In Node, there are two ways to use modules -- on a per-project basis, or globally. If you install module files on a per-project basis (aka, locally), all the modules you need will be stored in a directory called node_modules inside the same directory as your node javascript file. Either is fine, but it may be easier, at least for the work we're doing, to install the modules globally, meaning that instead of creating a new folder full of modules every time, the module files will be stored in a central location on your system, and out of your way. With npm, using the -g flag next to install command will install a module globally.
IMPORTANT If you attempt to install globally, and node still can't find servi, you may need to tell node explicitly where to find the global modules. In both Mac OSX and on the Digital Ocean server, they are likely located in /usr/local/lib/node_modules. Therefore, enter the following in the command line, to set the path to your node modules:
export NODE_PATH=/usr/local/lib/node_modules
- Create a new folder for your project. Use Terminal to navigate to the folder.
$ cd /path/to/your/folder
- Create a new JavaScript file and store it inside your new project folder. Let's call it
server.js. Paste this code inside:
var servi = require('servi');
var app = new servi(true);

port(8080);

route('/', requestHandler);

function requestHandler(request) {
    request.respond("Hello World");
}

start();- To run your program, type:
node server.js
- You should see the Terminal print
Server has started on port 8080. If you visithttp://localhost:8080in your browser, you should see the page says "Hello World". To stop your program running, press CTRL + C.
The default behavior of Node is to kill the script when you quit Terminal. That's fine for short-term use, but to keep your web site up and persistent, install Forever. You can use npm to install forever, just like you did with servi. In Terminal, type:
npm install forever -g
TIP: If you get an error, you may need to try: sudo npm install forever -g and enter your computer's password when prompted.
When you're ready to use forever, you'll run your script using the forever command instead of node. Forever runs the node script for you. So, instead of:
node server.js
use:
forever start server.js
Translation: Use the program forever --> call the start command --> start the script called server-exported.js
When you need to stop a script, use stop instead of start. If you're not sure if forever is running any scripts, you can ask for a list of currently running scripts:
forever list
More info on how the forever program works: http://www.hacksparrow.com/keep-node-js-script-running-after-logging-out-from-shell.html