Digital Ocean Set up
##Part I: Web
- Get the GitHub Student Developer Pack, which gives you a $100 credit at Digital Ocean
- Sign up with Digital Ocean
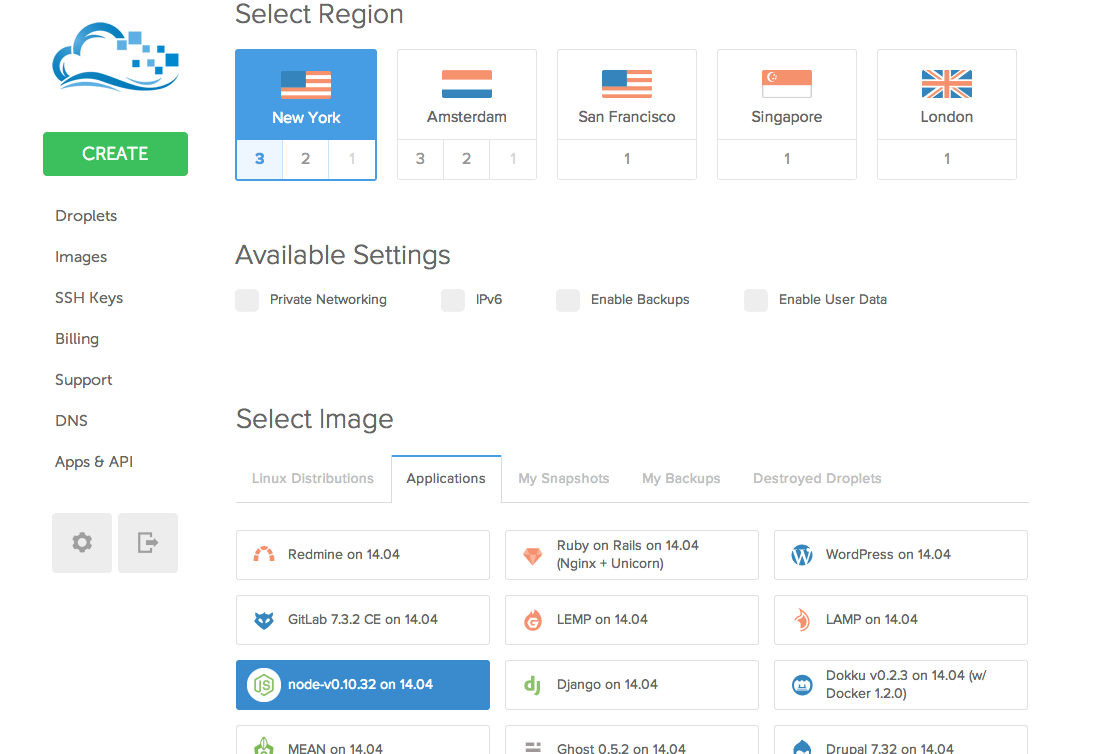
- Create a new droplet:
- Choose the smallest ($5/month) size
- Choose a region close to you ... for instance, New York.
- In "Select Image" go to the "Applications" tab and choose "node-v0.10.30 on Ubuntu 14.04" (the version numbers may change). Note: disregard the other tabs. Make sure the Applications tab is visible when you click "create droplet"
- Click "Create Droplet"
##Part II: Command Line
-
Look for an email from Digital Ocean with the credentials for your newly created droplet. You will get an IP address, and a password. The default username is always "root".
-
Using Terminal on Mac (or PuTTY on Windows) you can connect to your droplet. Digital Ocean makes you log in this way first and change your password before you can do anything else. In a terminal window, type:
ssh root@YOUR.IP.ADDRESSInstead of YOUR.IP.ADDRESS, type the IP address from the Digital Ocean email -- it is a series of numbers separated by dots.
-
If you get a question about "RSA key fingerprint", say "yes"
-
Type the password from the email. Then once logged in, it will prompt you for the password once more and ask you to choose a new password. Remember your new password!
-
Make sure node is installed. Type:
which nodeYou should get something like
/usr/local/bin/nodein response. If you get no response, it means node is not installed. You may need to re-create your droplet or install node manually.
##Part III : FTP (Cyberduck or other FTP Client)
We've connected to our server via the command line. Now we'll use a handy tool that makes it easy to upload files to our server. The method for uploading and downloading files we're using is called FTP, or File Transfer Protocol. There are many different applications that let you connect via FTP, just like there are many different applications that let you connect to email (Outlook, Mail, etc). One such FTP application, aka FTP client, is Cyberduck. Download it.
-
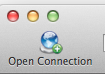
In Cyberduck, click "Open Connection"
-
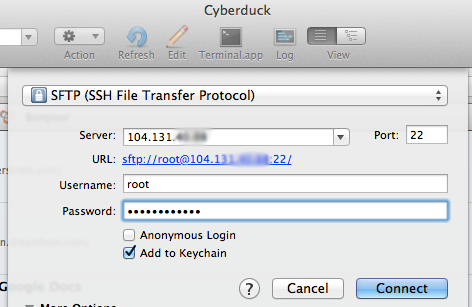
From the dropdown at the top, choose "SFTP (SSH File Transfer Protocol)"
-
Fill in the following details:
- Server: Your IP address, from above
- Username: root
- Password: new password you created in Part II
-
Once connected, you'll see, by default, the contents of the "root" folder on your server. There is nothing in the folder yet. To upload files here, drag them into this window.

For future logins, you can store the login details in Cyberduck as a bookmark. See the Cyberduck help docs for more info on using Cyberduck.