Experimenting with ArgoCD
This is a workshop / tutorial on my findings using ArgoCD. I will be deploying ArgoCD on Kubernetes using KinD.
From their documentation:
Argo CD is a declarative, GitOps continuous delivery tool for Kubernetes.
If you are following along, you will need the following:
- KinD and Docker
- Helm and Kubectl
- ArgoCD CLI
If you don't have them installed, don't worry as we will be installing them from scratch. I will be using Linux as my operating system, if you are using something else, you can follow the links provided above.
If you can run docker ps you have docker installed already. I am using this on Linux to install Docker, if you are using a different operating system you can view their installation documentation
Installation Steps
sudo apt update
sudo apt install ca-certificates curl gnupg lsb-release -y
sudo mkdir -m 0755 -p /etc/apt/keyrings
curl -fsSL https://download.docker.com/linux/ubuntu/gpg | sudo gpg --dearmor -o /etc/apt/keyrings/docker.gpg
echo "deb [arch=$(dpkg --print-architecture) signed-by=/etc/apt/keyrings/docker.gpg] https://download.docker.com/linux/ubuntu $(lsb_release -cs) stable" \
| sudo tee /etc/apt/sources.list.d/docker.list > /dev/null
sudo apt update
sudo apt install docker-ce docker-ce-cli containerd.io docker-buildx-plugin docker-compose-plugin -y
sudo usermod -aG docker $(whoami)
source ~/.bashrcIf you need to install kubectl on a operating system other than Linux, have a look at their installation documentation
Due to this argocd cli bug, the workaround is to install kubectl 1.22.2.
Installation Steps (v1.22.2)
curl -LO "https://dl.k8s.io/release/v1.22.2/bin/linux/amd64/kubectl"
sudo install -o root -g root -m 0755 kubectl /usr/local/bin/kubectl
rm -rf kubectl
Once the bug has been resolved you can use the latest version.
Installation Steps (latest)
curl -LO "https://dl.k8s.io/release/$(curl -L -s https://dl.k8s.io/release/stable.txt)/bin/linux/amd64/kubectl"
sudo install -o root -g root -m 0755 kubectl /usr/local/bin/kubectl
rm -rf kubectlIf you need to install kubectl on a operating system other than Linux, have a look at their installation documentation
Installation Steps
curl -LO https://get.helm.sh/helm-v3.11.2-linux-amd64.tar.gz
tar -xf helm-v3.11.2-linux-amd64.tar.gz
sudo install -o root -g root -m 0755 linux-amd64/helm /usr/local/bin/helm
rm -rf helm-v3.11.2-linux-amd64.tar.gz linux-amd64If you need to install kind on a operating system other than Linux, have a look at their installation documentation
Installation Steps
curl -Lo kind https://kind.sigs.k8s.io/dl/v0.17.0/kind-linux-amd64
sudo install -o root -g root -m 0755 kind /usr/local/bin/kind
rm -rf kindIf you need to install argocd-cli on a operating system other than Linux, have a look at their installation documentation
Installation Steps
curl -sSL -o argocd-linux-amd64 https://github.com/argoproj/argo-cd/releases/latest/download/argocd-linux-amd64
sudo install -o root -g root -m 0755 argocd-linux-amd64 /usr/local/bin/argocd
rm argocd-linux-amd64Deploy a kubernetes cluster with kind and a list of images can be found on github:
kind create cluster --name argocd --image kindest/node:v1.25.3You should be able to interact with your cluster using:
kubectl get nodes
# NAME                   STATUS   ROLES           AGE   VERSION
# argocd-control-plane   Ready    control-plane   45s   v1.25.3
If not you can use kubectl config get-contexts and switch to your context from the NAME column:
kubectl config get-contexts
# CURRENT   NAME          CLUSTER       AUTHINFO      NAMESPACE
# *         kind-argocd   kind-argocd   kind-argocd
And setting the context using:
kubectl config set-context kind-argocdWe will be installing ArgoCD with helm, if you are looking for alternative methods, look at their installation documentation.
helm repo add argo https://argoproj.github.io/argo-helm
helm repo update
helm install argocd argo/argo-cd --version 5.27.1 --namespace kube-system --set "configs.params.server\.insecure=true"Once the installation process has been completed, you should be able to get the initial admin password from this secret:
kubectl -n kube-system get secret argocd-initial-admin-secret -o jsonpath="{.data.password}" | base64 -dOnce you have copied the password, create a port forward to access the argocd ui:
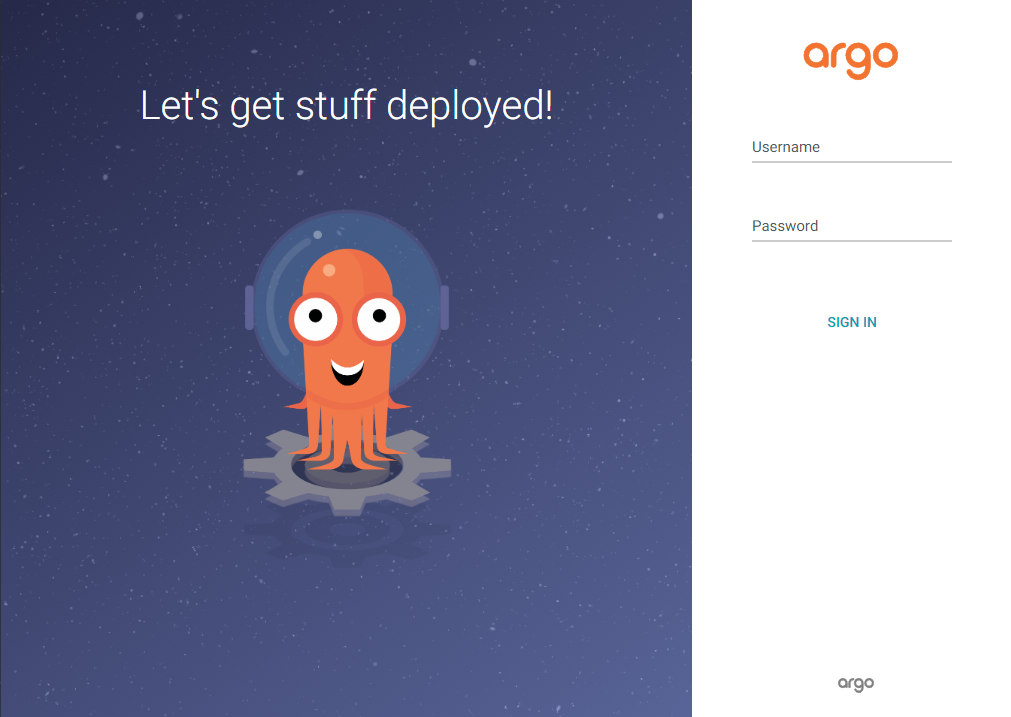
kubectl -n kube-system port-forward svc/argocd-server 8080:80Head over to http://localhost:8080 and the homepage will look like this:
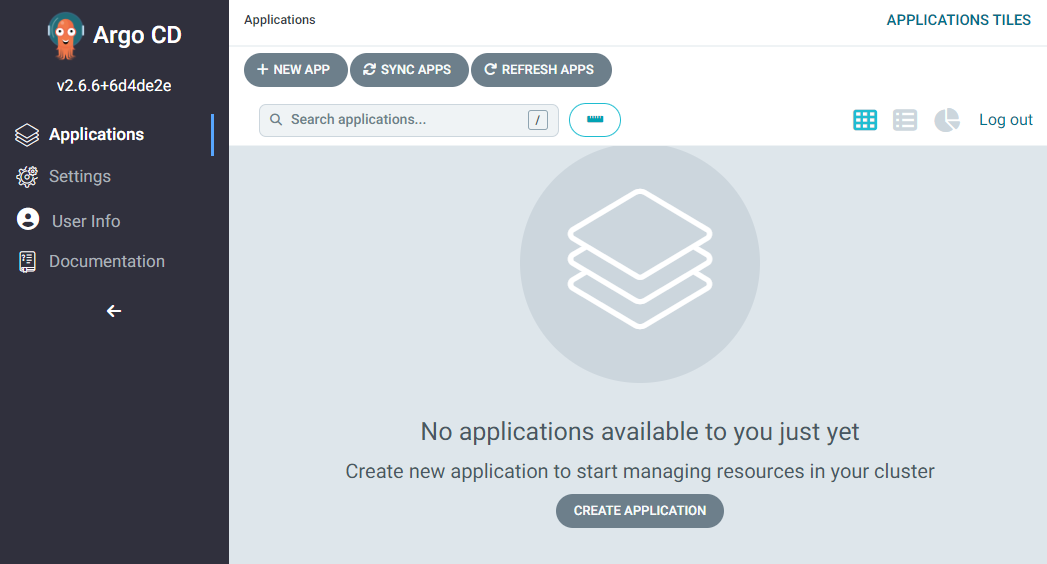
Logon with the user admin and the password that you received from the secret, then it should look like this:
Ensure that you have a port-forward open to the server:
kubectl -n kube-system port-forward svc/argocd-server 8080:80Use the argocd cli to logon to the server:
argocd login --insecure localhost:8080
# WARNING: server is not configured with TLS. Proceed (y/n)? y
# Username: admin
# Password:
# 'admin:login' logged in successfully
# Context 'localhost:8080' updated
Since we are here I'm going to update my password:
argocd account update-passwordThen authenticate again to your server:
argocd login --insecure localhost:8080This section will demonstrate how to create an application on ArgoCD which will reference and monitor our github repository for content and any changes that is being made.
I have a basic helm chart that resides in deployment/helm/simple-chart and once we connected our repository, argocd will monitor the repository and if it detects changes or that it doesn't exist in our cluster it will sync down our changes.
First create the application named simple-app and connect the github repository argocd-workshop and point the path to where our helm chart resides:
argocd app create simple-app \
--repo https://github.com/ruanbekker/argocd-workshop.git \
--path deployment/helm/simple-chart \
--dest-server https://kubernetes.default.svc \
--dest-namespace default \
--sync-policy automated \
--auto-prune
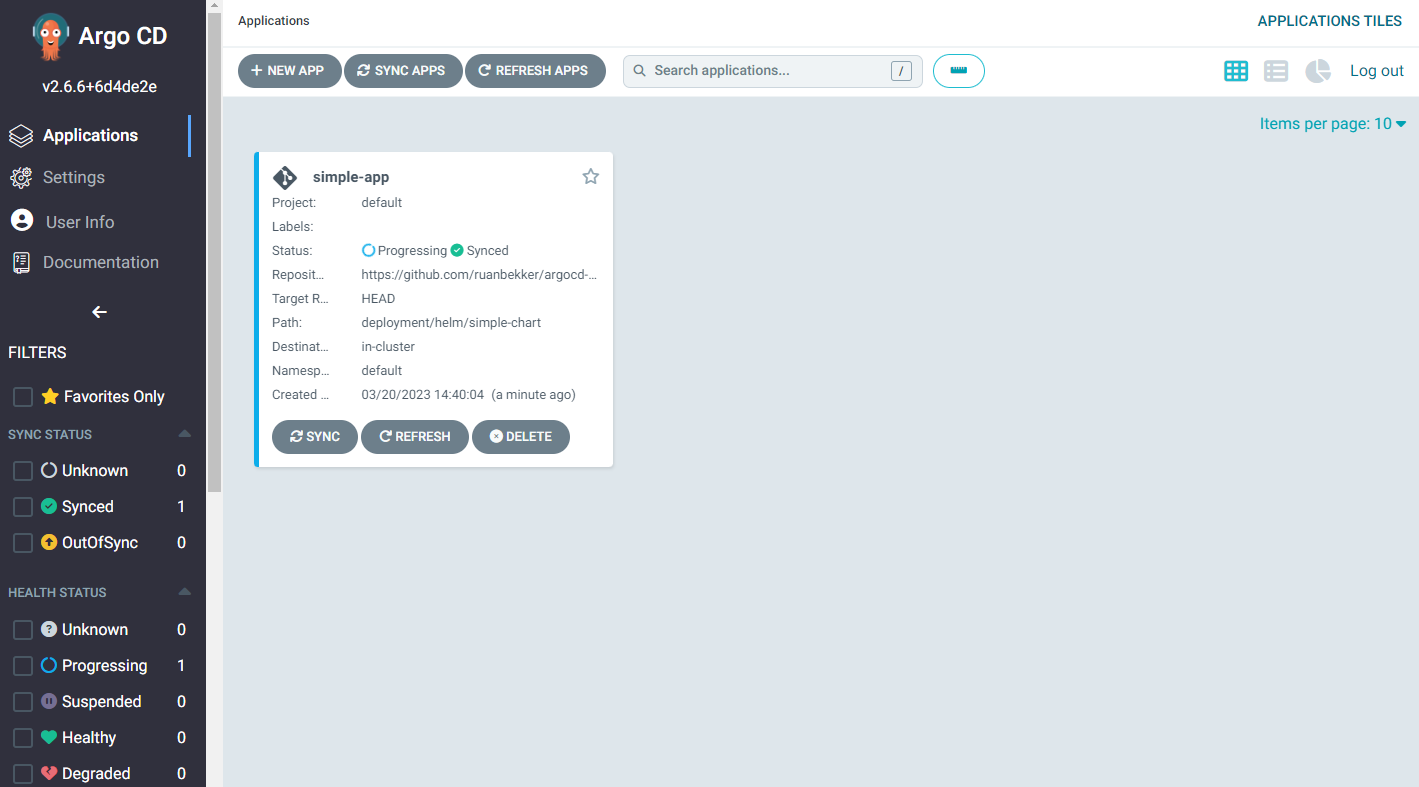
# application 'simple-app' createdNow that our application inside argocd has been created we can head back to the ArgoCD UI under applications:
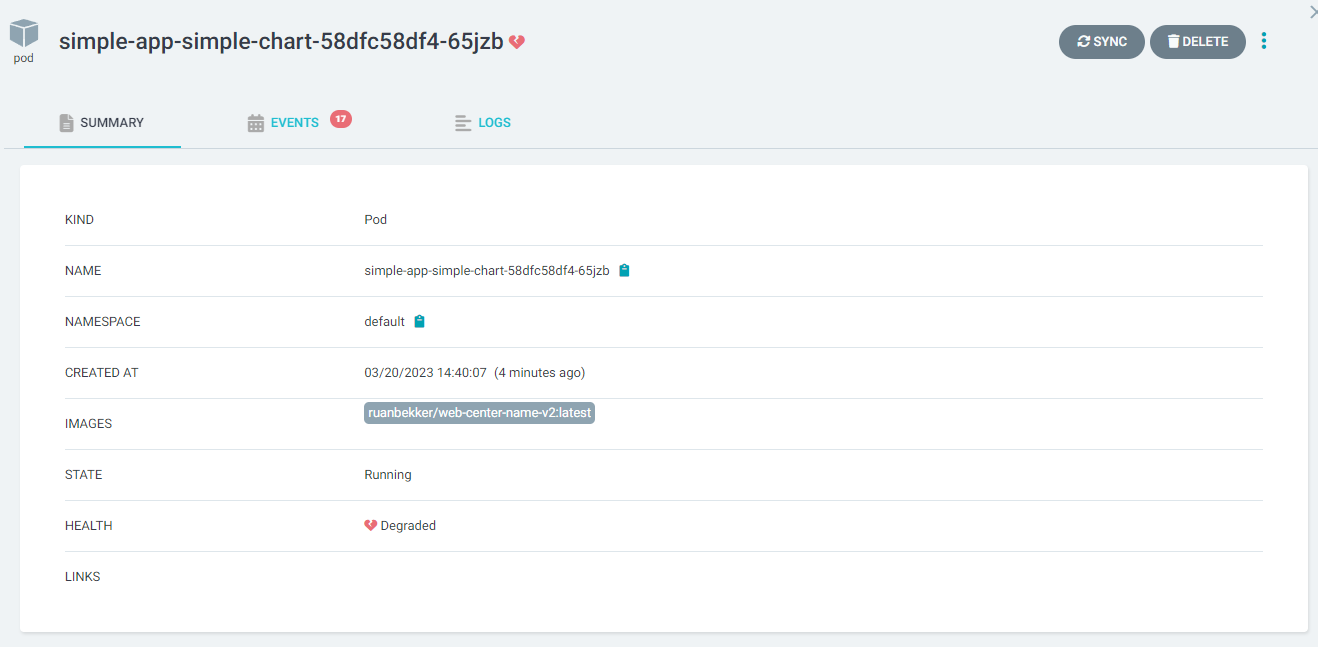
When we select the application we can see all our resources:
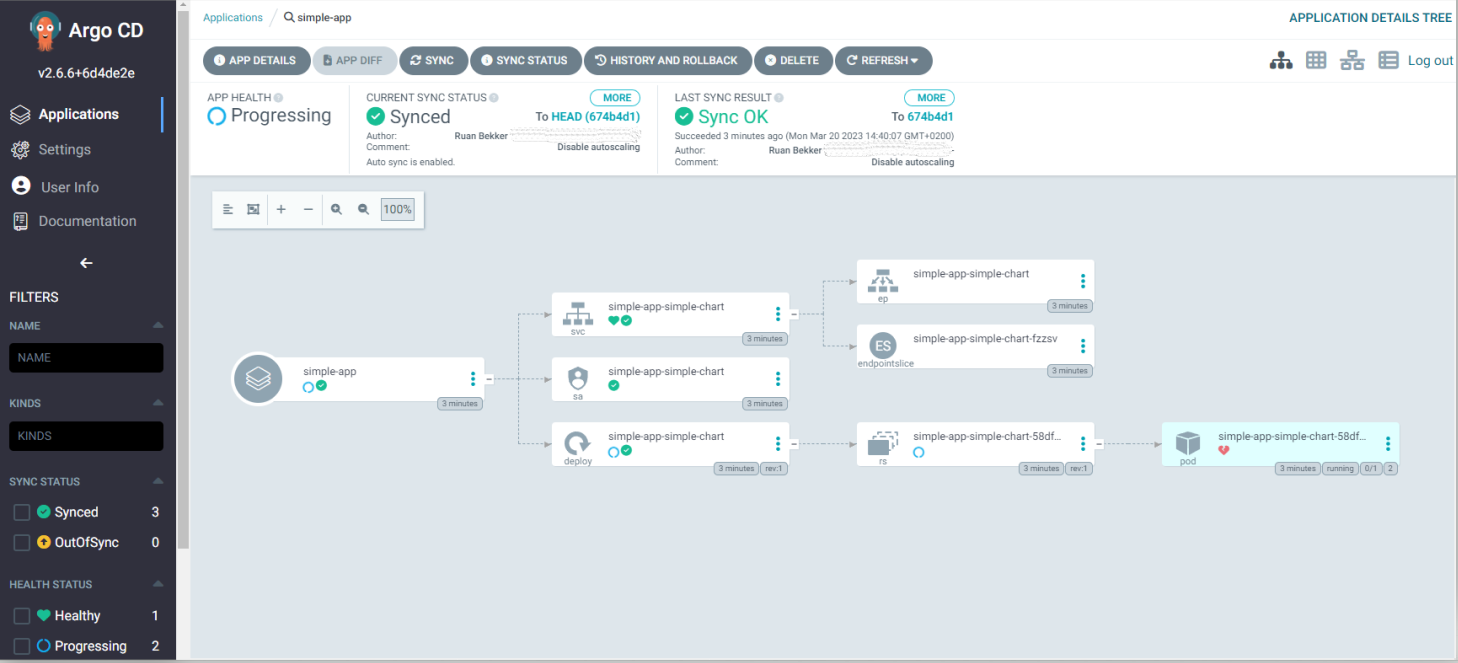
While we are here, we can see the pod is unhealthy, when we select the pod we can see the health is degraded:
When we select the events tab:
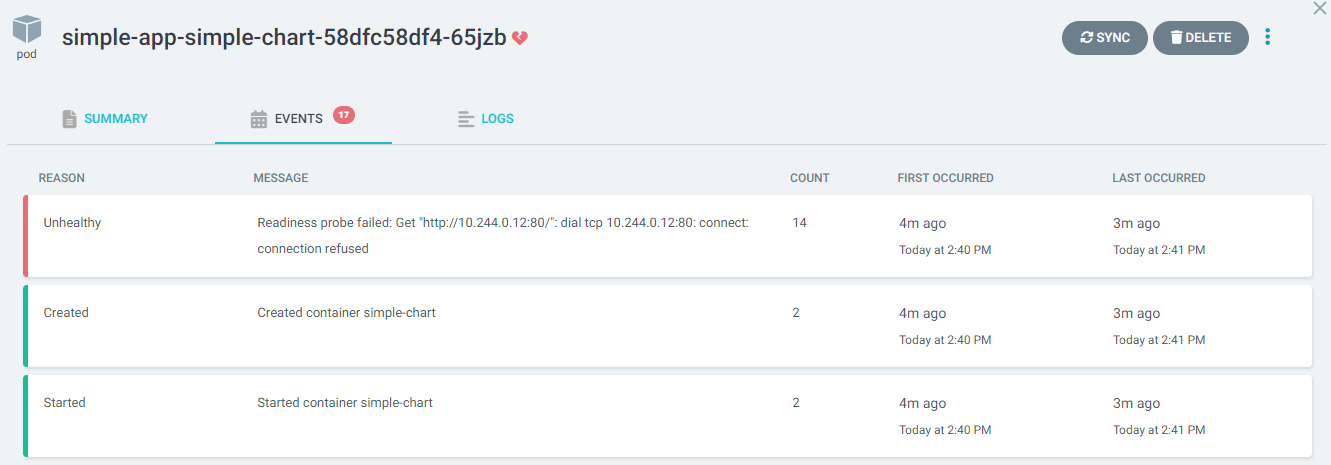
We can see that its failing due to the health checks being done against port 80 and the container listens on port 5000, lets fix that in deployment/helm/simple-chart/values.yaml and push it up to github.
About a minute after I've pushed up this commit we can see that our application is now health:
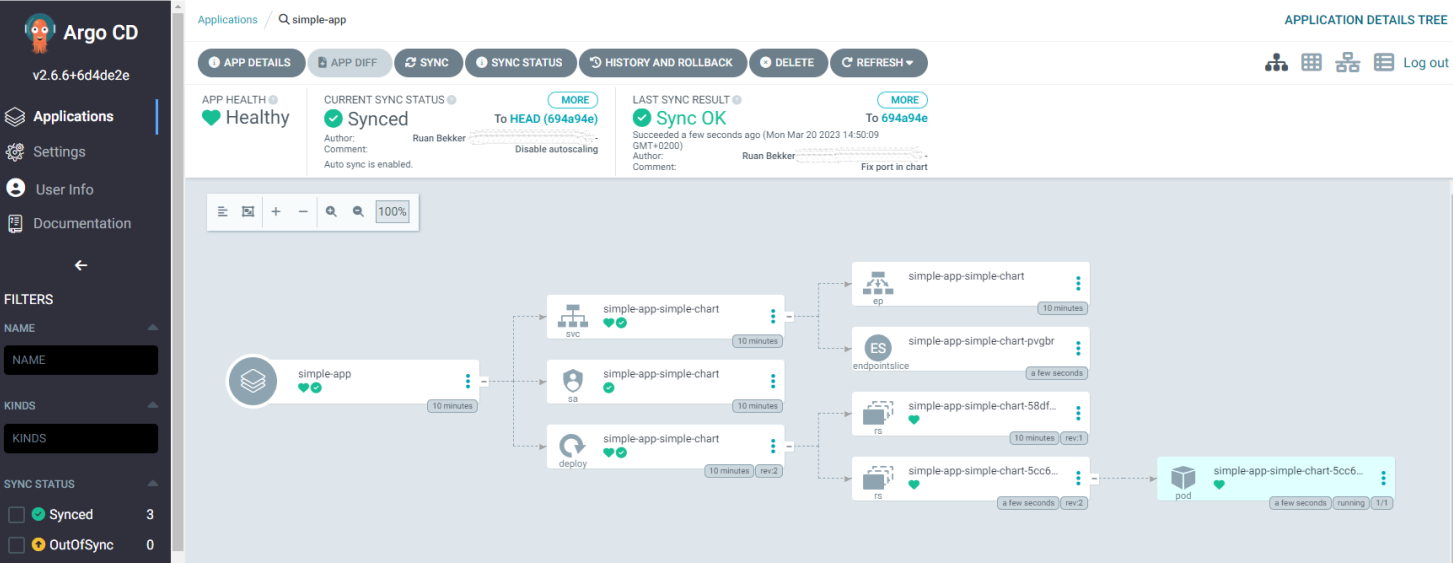
If we look at our resources using kubectl:
kubectl get all -n default
# NAME                                          READY   STATUS    RESTARTS   AGE
# pod/simple-app-simple-chart-5cc6bc5bf-cmd6s   1/1     Running   0          3m48s

# NAME                              TYPE        CLUSTER-IP      EXTERNAL-IP   PORT(S)   AGE
# service/kubernetes                ClusterIP   10.96.0.1       <none>        443/TCP   87m
# service/simple-app-simple-chart   ClusterIP   10.96.244.107   <none>        80/TCP    13m

# NAME                                      READY   UP-TO-DATE   AVAILABLE   AGE
# deployment.apps/simple-app-simple-chart   1/1     1            1           13m

# NAME                                                 DESIRED   CURRENT   READY   AGE
# replicaset.apps/simple-app-simple-chart-58dfc58df4   0         0         0       13m
# replicaset.apps/simple-app-simple-chart-5cc6bc5bf    1         1         1       3m48s
Let's delete our application from the CLI, first list our applications
argocd app list --output name
# kube-system/simple-app
Then delete the application:
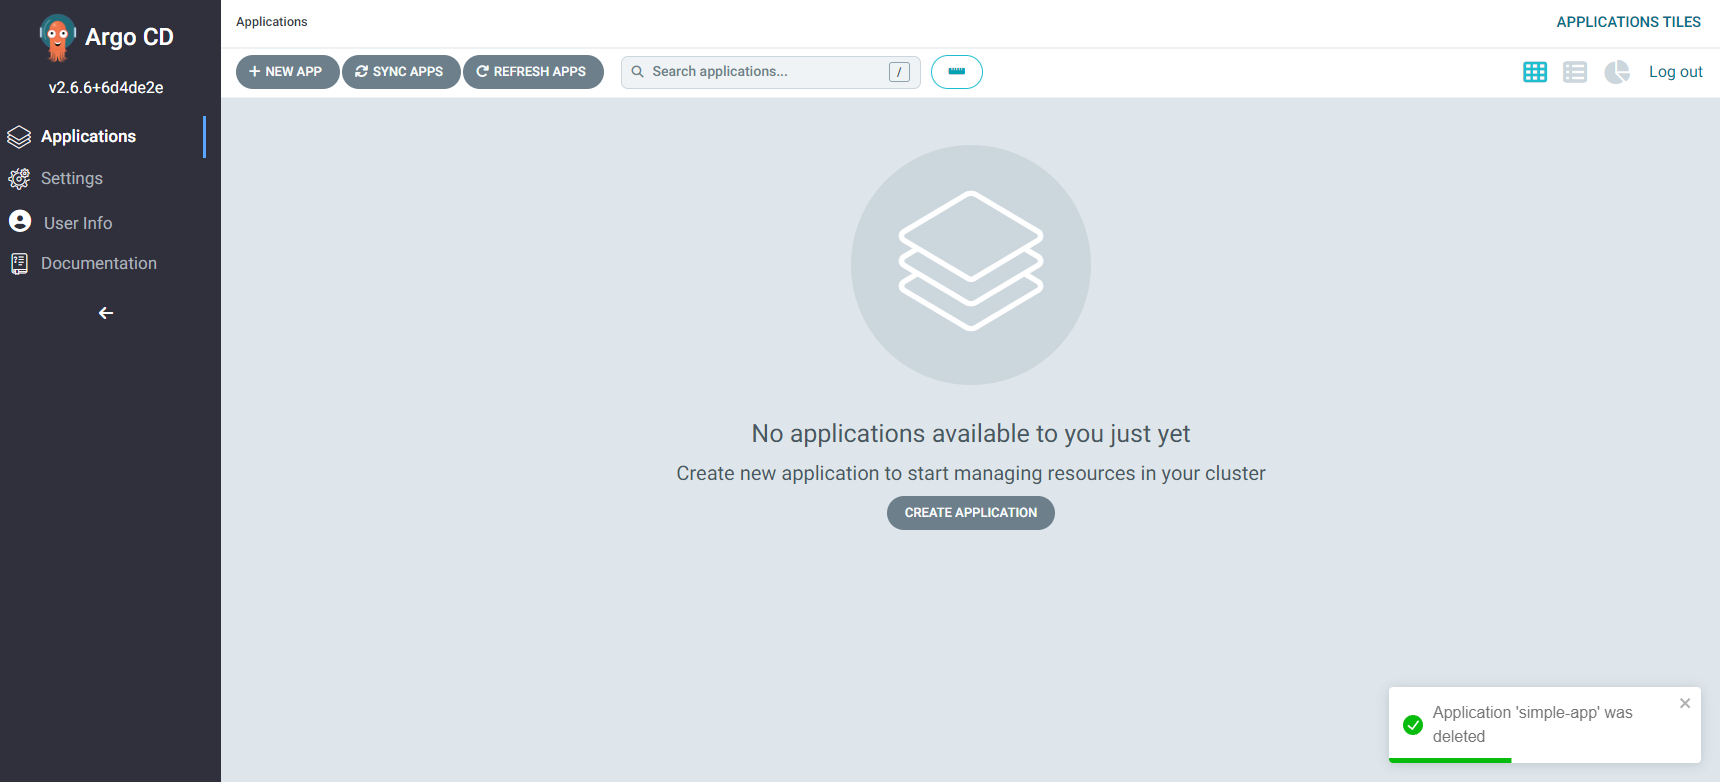
argocd app delete simple-app
# Are you sure you want to delete 'simple-app' and all its resources? [y/n] y
# application 'simple-app' deletedFrom the UI you will notice that our application has been deleted:
Now to do the same that we did in the CLI against the UI, we will head over to "New App", then we should get a screen like the following:
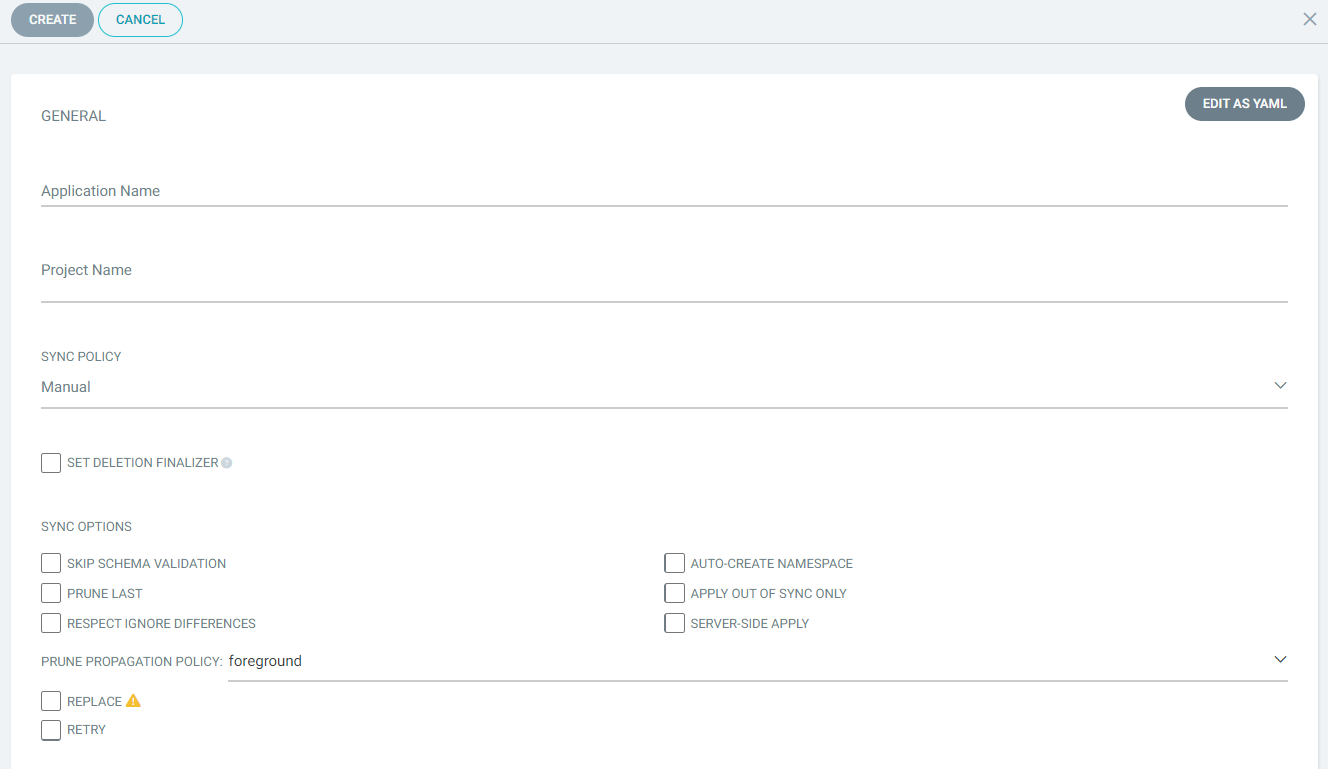
Which we can populate the same fields:
- Application Name:
simple-app - Project Name:
default - Sync Policy:
Automatic,Prune Resources - Repository URL:
https://github.com/ruanbekker/argocd-workshop.git - Revision:
HEAD - Path:
deployment/helm/simple-chart - Destination Cluster URL:
https://kubernetes.default.svc - Destination Namespace:
default - Helm values should be populated
Then select "Create" and a couple of seconds after that you should see your application running:
kubectl get pods -n default
# NAME                                      READY   STATUS    RESTARTS   AGE
# simple-app-simple-chart-5cc6bc5bf-f2dqx 1/1 Running 0 17sThanks to Anais Urlichs and TheDevOpsToolkit for the awesome content as I've learned a lot from them.