This is a website for generating random quotes which can then be tweeted. This is built with basic HTML, CSS, and JS with a few helpful packages.
| Function | Description |
|---|---|
| Generate | Picks a random quote (text and author) from a list of quotes in the quotes.js file. |
| Post This | Redirects you to a tweet text box URL with the quote that was generated. |
| Copy | Copies the current quote (text and author) to your clipboard. |
| Download | Uses the package npm-text-image to capture and format the quote into an image (PNG format) and saves it to your local storage. |
Please give this project a star 🌟 and don't forget to follow me 😊.
If you are looking to make your first contribution, follow the steps below.
Check the CONTRIBUTING.md file if you are already familiar with the git workflow.
If you don't have git on your machine, you can install it here.
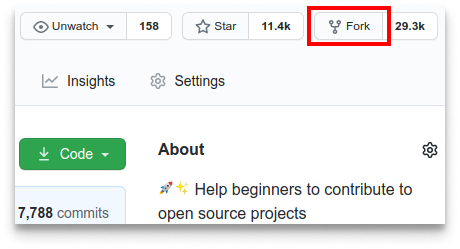
Fork this repository by clicking on the fork button on the top of this page.
This will create a copy of this repository in your account.
Now clone the forked repository to your machine. Go to your GitHub account, open the forked repository, click on the code button and then click the copy to clipboard icon.
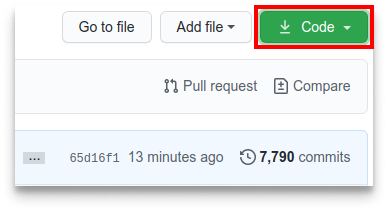
Open a terminal and run the following git command:
git clone (place copied text here)
Place the url to this repository (your fork of this project) in the (place copied text here) spot, don't keep the parenthesis.

For example:
git clone https://github.com/this-is-you/Quotes-Generator.git
where this-is-you is your GitHub username. Here you're copying the contents of the Quotes-Generator repository on GitHub to your computer.
If you're not already there, change to the repository's directory in your terminal:
cd Quotes-Generator
Now create a branch using the git checkout command:
git checkout -b your-new-branch-name
For example:
git checkout -b add-whatever-you-want
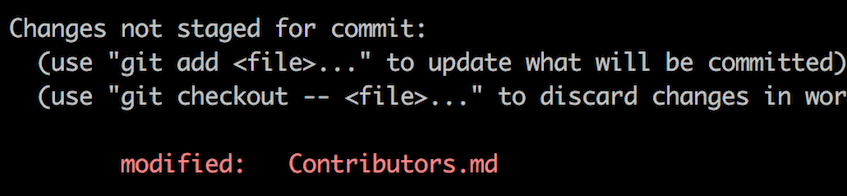
If you go to the project directory and execute the command git status, you'll see that there are changes.
Add those changes to the branch you just created using the git add command:
git add Contributors.md
Now commit those changes using the git commit command:
git commit -m "Add <...>"
Push your changes using the command git push:
git push origin -u <add-your-branch-name>
replacing <add-your-branch-name> with the name of the branch you created earlier.
If you go to your repository on GitHub, you'll see a compare & pull request button. Click on that button.
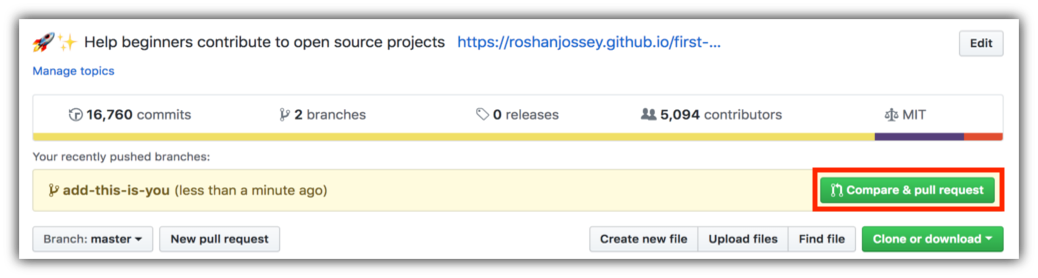
Now submit the pull request.

Soon I'll be merging all your changes into the master branch of this project. You will get a notification email once the changes have been merged.
docker build -t quotegen ./
docker run -p 8080:80 quotegen
Then open localhost:8080 from local browser.