An example of self-hosting an ASP.NET Web API application as a console application or a windows service using TopShelf.
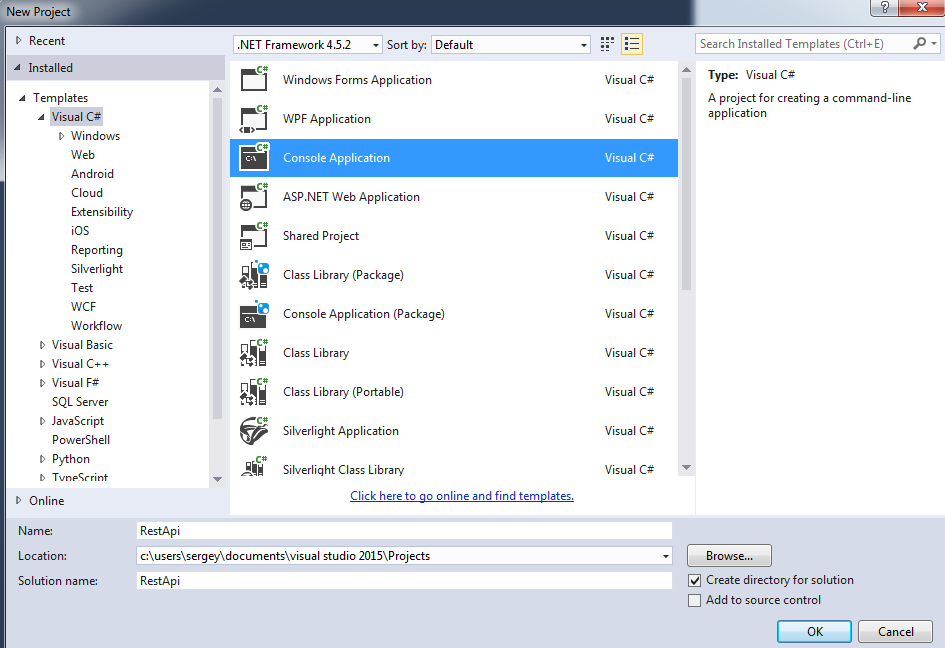
Step 1: Create a new console project e.g. RestApi
Step 2: Add Microsoft.AspNet.WebApi.OwinSelfHost NuGet package
Install-Package Microsoft.AspNet.WebApi.OwinSelfHost
Step 3: Add Startup class
public class Startup
{
    public void Configuration(IAppBuilder app)
    {
        var config = ConfigureApi();
        app.UseWebApi(config);
    }

    private HttpConfiguration ConfigureApi()
    {
        var config = new HttpConfiguration();
        config.Routes.MapHttpRoute(
            "DefaultApi",
            "api/{controller}/{id}",
            new { id = RouteParameter.Optional });
        return config;
    }
}
Step 4: Add a controller
public class DemoController : ApiController
{
    public string Get()
    {
        return "This is a self-hosted web api application!";
    }
}
Step 5: Edit Program.cs
public static void Main(string[] args)
{
    using (WebApp.Start<Startup>("http://localhost:8085"))
    {
        Console.WriteLine("The application is started.");
        Console.WriteLine("Press 'enter' to quit.");
        Console.ReadLine();
    }
}
Step 6: Build & run the program and go to http://localhost:8085/api/Demo
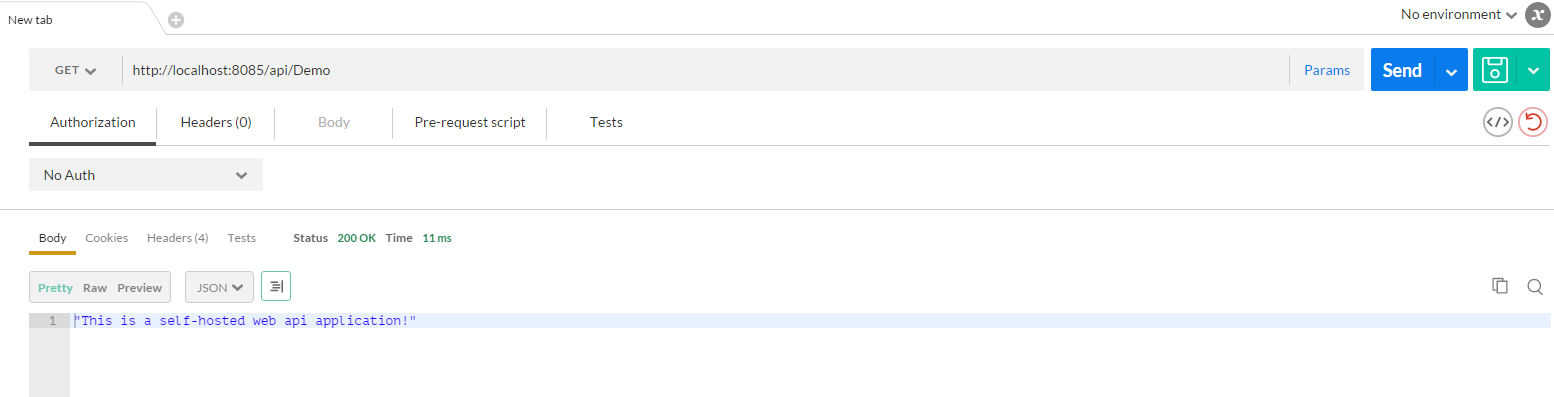
You are awesome!
You should complete "Hosting Web API as a console application" first.
Step 1: Add TopShelf NuGet package
Install-Package TopShelf
Step 2: Create RestService class
public class RestService
{
    private IDisposable _app;

    public void Start()
    {
        _app = WebApp.Start<Startup>("http://localhost:8085");
    }

    public void Stop()
    {
        if (_app != null)
            _app.Dispose();
    }
}
Step 3: Edit Program.cs
public static void Main(string[] args)
{
HostFactory.Run(x =>
{
x.Service<RestService>(s =>
{
s.ConstructUsing(() => new RestService());
s.WhenStarted(rs => rs.Start());
s.WhenStopped(rs => rs.Stop());
s.WhenShutdown(rs => rs.Stop());
});
x.RunAsLocalSystem();
x.StartAutomatically();
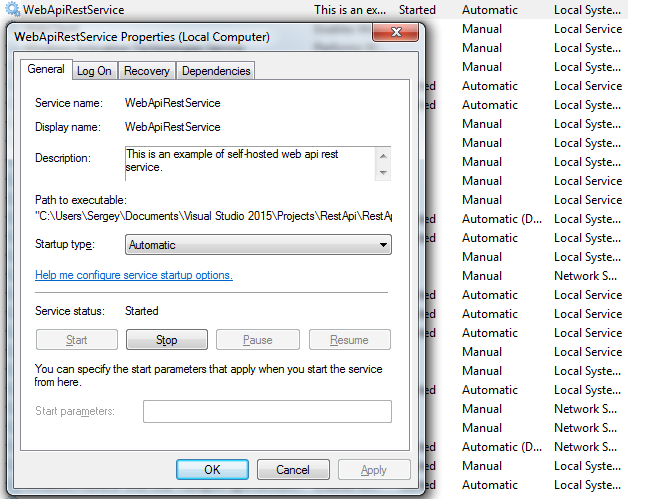
x.SetServiceName("WebApiRestService");
x.SetDisplayName("WebApiRestService");
x.SetDescription("This is an example of self-hosted web api rest service.");
});
}For more information see Topshelf Configuration.
Step 4: Build & run the program and go to http://localhost:8085/api/Demo
Step 5: Run 'cmd' as Administrator, go to bin\Debug and run
RestApi.exe install
Step 6: Start your windows service
RestApi.exe start
For more information see Topshelf Command-Line Reference.
Step 7: Ensure the service has appeared in 'Services' and working - http://localhost:8085/api/Demo
You are awesome!