
There is now a complete and detailed guide on the website, please follow it here :)
Remote live cam companion that goes with the SuperGreenApp2
Check your grow in real time. Posts daily and weekly timelapses to your diary feed.

One thing we tend to ignore for obvious reasons, is the plant's movements. Plants actually move a lot during the day, it's too slow for us to notice, but becomes very clear once in high speed.
So that's the point of this, take a pic every 10 minutes, then compile all those pics into videos, daily and weekly.
One of the thing with movements, is they can allow to spot something wrong before it shows up.
In normal conditions, the plant kind of "breathes", as seen in this timelapse.
This plant on the other hand is thirsty, the leaves start to go down slowly, and the breathing has stopped, notice the next day how it was in really bad condition, and how it bounced back when fed water.
- Easy installation for raspberry pi
- Web interface for easier setup
- Takes pictures every 10 minutes
- Adds controller sensor metrics as meta data for later analysis
- Posts daily and weekly timelapses to your plant diary feed


Low latency live feed for easier installation and focus tuning.

- RaspberryPI + Wifi (optional, most rpi have integrated wifi now)
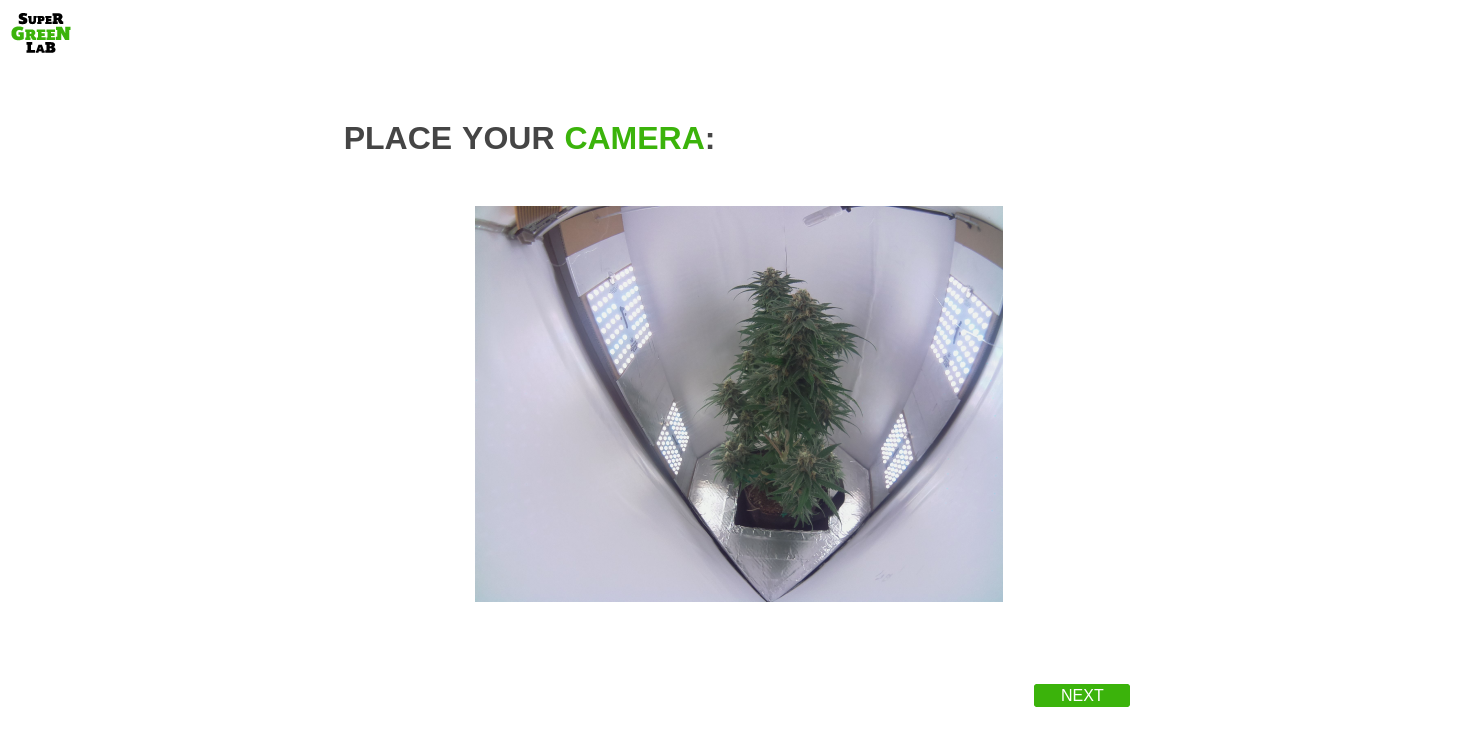
- Camera, I got those for the wide angle lens, but that's only for small spaces (this is the one used for the pic above).
- Power supply
First follow the raspbian official quickstart. You'll need an interface connection setup with wifi or ethernet. Open a terminal either through a screen+keyboard or a ssh session.
In the current debian bullseye for raspian pi, the handling for the camera has changed. It is currently still possible to use the deprecated camera system under debian bullseye, but the support for it will eventually be dropped.
Actually cameras work right out of the box after flashing debian bullseye. To check if the camera basically works under debian bullseye with the new libcamera, type the following into a terminal:
libcamera-still -o /tmp/test.jpglibcamera-still is the replacement for the deprecated raspistill and the above command takes a test image and saves it.
First thing is to enable camera interface, this is done through raspi-config, type in the terminal:
sudo raspi-configThen, with the arrow keys, go to Interface Options then Camera, enable it and then say Yes when it proposes to reboot.
Once the raspberrypi has reboot, open a terminal, and type:
curl -sL https://github.com/SuperGreenLab/SuperGreenLive2/releases/download/latest/install.sh | sudo bashTo use an usb camera, add the following lines to the liveserver config under /etc/liveserver/liveserver.toml:
USBCam=true
VideoDev="video0"
if you are not using the first camera under /dev/video0, replace with the appropriate video device (for exampe video1 for /dev/video1).
And restart the liveserver service:
sudo systemctl restart liveserver.service
Once this is done, open the page at http://localhost:8081 if using a pi with screen+keyboard, or http://raspberrypi.local:8081 from another computer (to get a live view).
On windows you might need to install the Bonjour protocol from Apple to be able to find by name (needs reboot).
You can also replace the raspberrypi.local part by the rpi's IP address if you can find it from your router's interface.
To upgrade the timelapse installation, run this command in a terminal:
curl -sL https://github.com/supergreenlab/SuperGreenLive2/releases/download/latest/update.sh | sudo bashYou might want to reset the installation to default. To do so, run this command:
sudo rm -rf /var/liveserver