Light-weight Reactive state management approach tool and dependency injection tool for flutter available for all platforms
- State management through a reactive approach using reactive variables.
- Dependency injection system for managing singleton instances zero memory leak.
- Lightweight and optimized API, with around 150 exposed methods.
- Compile-time checks for proper usage and prevention of runtime exceptions.
- Compatible with the all platforms.
start using Reactiv in your Flutter project, follow these steps:
-
Define your controllers and reactive variables using the provided classes and functions.
class CounterController extends ReactiveController {
   final count = ReactiveInt(0);

   void increment() {
      count.value++;
   }
}
-
Inject the CounterController in dependency injection system(may be inside initState). and find when required(may be inside build()).
///Inject Dependency => Controller instance Dependency.put<CounterController>(CounterController()); ///Find Dependency => Controller instance final controller = Dependency.find<CounterController>(); -
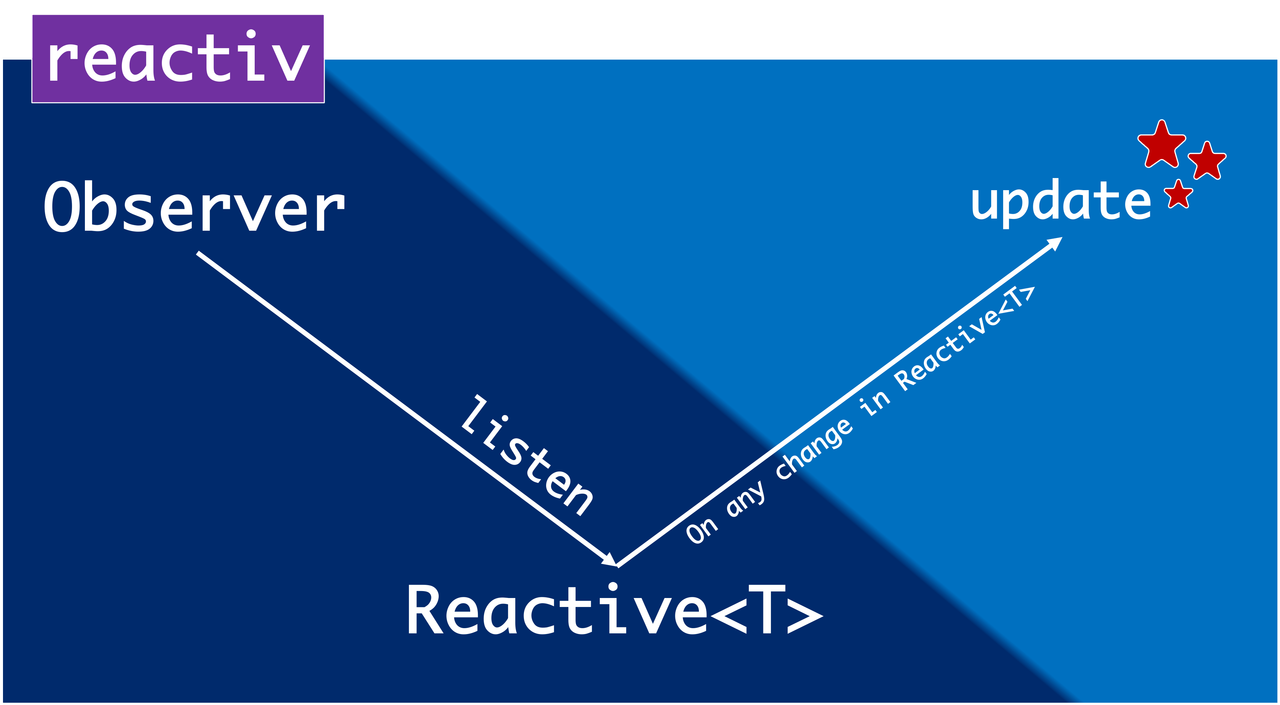
Use the Observer widget to listen to reactive variables and update the UI accordingly.
class CounterScreen extends StatefulWidget {
     const CounterScreen({super.key});

     @override
     State<CounterScreen> createState() => _CounterScreenState();
}

class _CounterScreenState extends State<CounterScreen> {

     @override
     void initState() {
       super.initState();
       ///Inject Dependency => Controller instance
       Dependency.put(CounterController());
     }

     @override
     Widget build(BuildContext context) {
          ///Find Dependency => Controller instance
          final controller = Dependency.find<CounterController>();
          return Scaffold(
              appBar: AppBar(
                 title: const Text('Reactiv Counter'),
              ),
              body: Center(
                  child: Observer(
                    listenable: controller.count, // Listen to the reactive variable
                    listener: (count) {
                      return Text(
                        'Count: $count',
                        style: const TextStyle(fontSize: 24),
                      );
                    },
                  ),
              ),
              floatingActionButton: FloatingActionButton(
                 onPressed: () {
                     controller.increment();
                 },
                 child: const Icon(Icons.add),
              ),
          );
     }
}
Users can define reactive variables by utilizing the Reactive<T> class. For example, a user can define a reactive variable like Reactive<int> data;, where data represents a reactive variable of type int,
final data = Reactive<int>(0);
| Used for | Reactive Type |
|---|---|
| String | ReactiveString |
| int | ReactiveInt |
| double | ReactiveDouble |
| num | ReactiveNum |
| bool | ReactiveBool |
| list | ReactiveList |
| set | ReactiveSet |
for and datatype if Reactive type is not there you can use
Reactive<AnyDataType>
This generic type also works for your custom made classes, like any Data class etc
Within the user interface, developers can leverage the Observer widget provided by the package. for example,
Observer(
    listenable: controller.data,
    listener: (data) {
        return Text(
             'Data: $data',
              style: const TextStyle(fontSize: 24),
        );
    },
),
By using the listenable parameter of the Observer widget and specifying controller.data, developers can establish a connection between the widget and the reactive variable. Whenever changes occur in the data variable, the corresponding listener refresh functionality will be triggered, causing the widget to be rebuilt and reflecting the updated state. This ensures that the user interface remains synchronized with the changes in the reactive variable, providing a seamless and reactive user experience.
You can update the value of a reactive variable using value setter. for example,
data.value += 25;
Alongside state management, this package also offers powerful yet simple dependency injection system.
By combining state management through reactive variables with seamless dependency injection management, this package empowers developers to build highly reactive, modular, and maintainable applications.
This package includes a powerful dependency injection system facilitated by the Dependency class.
Users can easily inject singleton instances of classes into their application using the Dependency.put<T>(T dependency) method. for example,
Dependency.put<CounterController>(CounterController);
This method allows developers to store and associate a singleton instance of class T with the dependency injection system. so later whenever we need to get the controller it will not create another instance in the memory but will use the same instance from the Memory which helps you to achive zero memory leak.
then to find the same instance from the Memory what we put into the memory,
To retrieve the stored singleton instance, users can simply use the Dependency.find<T>() method. for example,
final controller = Dependency.find<CounterController>();
Furthermore, this package offers the flexibility to remove singleton instances from the dependency registry when they are no longer needed. Developers can achieve this by utilizing the Dependency.delete<T>() method, which effectively deletes the singleton instance associated with class T from the dependency registry. for example,
Dependency.delete<CounterController>();
These are the offerings offered by this package to smartly manage your app
class TestPageController extends ReactiveController {
  final count = ReactiveInt(0);

  increment() {
    count.value++;
  }
}class TestPageScreen extends StatelessWidget {
const TestPageScreen({Key? key}) : super(key: key);
TestPageController get controller => Dependency.find<TestPageController>();
@override
Widget build(BuildContext context) {
return Scaffold(
body: Observer(
listenable: controller.count,
listener: (count) {
return Center(child: Text('Count: $count'));
},
),
floatingActionButton: FloatingActionButton(
onPressed: () => controller.increment(),
tooltip: 'Increment',
child: const Icon(Icons.add),
),
);
}
}class TestPageController extends GetxController {
final count = RxInt(0);
increment() {
count.value++;
}
}class TestPageScreen extends StatelessWidget {
const TestPageScreen({Key? key}) : super(key: key);
TestPageController get controller => Get.find<TestPageController>();
@override
Widget build(BuildContext context) {
return Scaffold(
body: Obx(
() {
final count = controller.count.value;
return Center(child: Text('Count: $count'));
},
),
floatingActionButton: FloatingActionButton(
onPressed: () => controller.increment(),
tooltip: 'Increment',
child: const Icon(Icons.add),
),
);
}
}Working with reactiv package is as simple as working with GetX, yet having many advantages over GetX
✅ reactiv (Reactive/Observer): The Observer in reactiv is aware of the specific cause for its refresh. It listens to a reactive variable, and whenever changes occur in that variable, it updates or refreshes accordingly. In contrast, GetX(Rx/Obx)'s Obx automatically detects any reactive variable within it and refreshes whenever any of those variables change. However, it doesn't explicitly identify the cause, which can sometimes lead to confusion.
✅ reactiv (Reactive/Observer): It will give you compile time red lines if you do not provide what to listen in a Observer, So, No more relying on run time exception : Improper use of Obx like in GetX
✅ reactiv (Reactive/Observer): With reactiv, developers tend to write more optimized code as they have explicit control over what to listen to and what to update. In GetX(Rx/Obx), developers often place the Obx variable at the top of the widget tree of a page, which refreshes the entire page. This approach may result in less optimized code, as it provides more room for writing unoptimized code.
✅ reactiv: If you are seeking a state management tool with dependency injection capabilities, reactiv focuses solely on those features. It provides a concise API, with around 100 exposed methods, which is standard compared to other state management tools like provider, riverpod, bloc, mobx, etc. On the other hand, GetX exposes over 2400 APIs which includes various other features like context free route management(I like GoRouter for route management), several widgets, internationalization, GetConnect for network api calls etc, even if you only require state management with dependency injection. Importing such a heavy package might lead to considerations regarding the necessity and impact on your project.