[TOC]
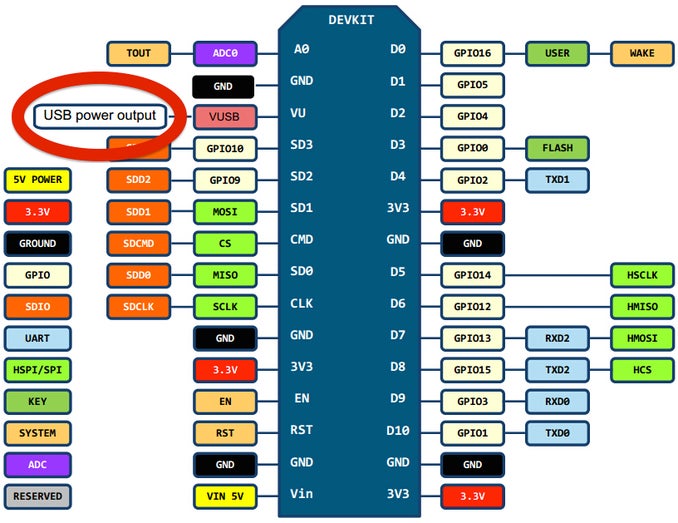
ESP8266 (LiLon NodeMcu V3)
The port diagram below is for reference. Picture from this site.
You cloud download the Arduino IDE from this website Software | Arduino.
Click Project -> Load Library -> Manage Library, then enter Blinker to download the library.
Use the same method to download Adafruit_NeoPixel and ArduinoJson library.
At this step, the environment setup has been completed. And it will be more interesting next.
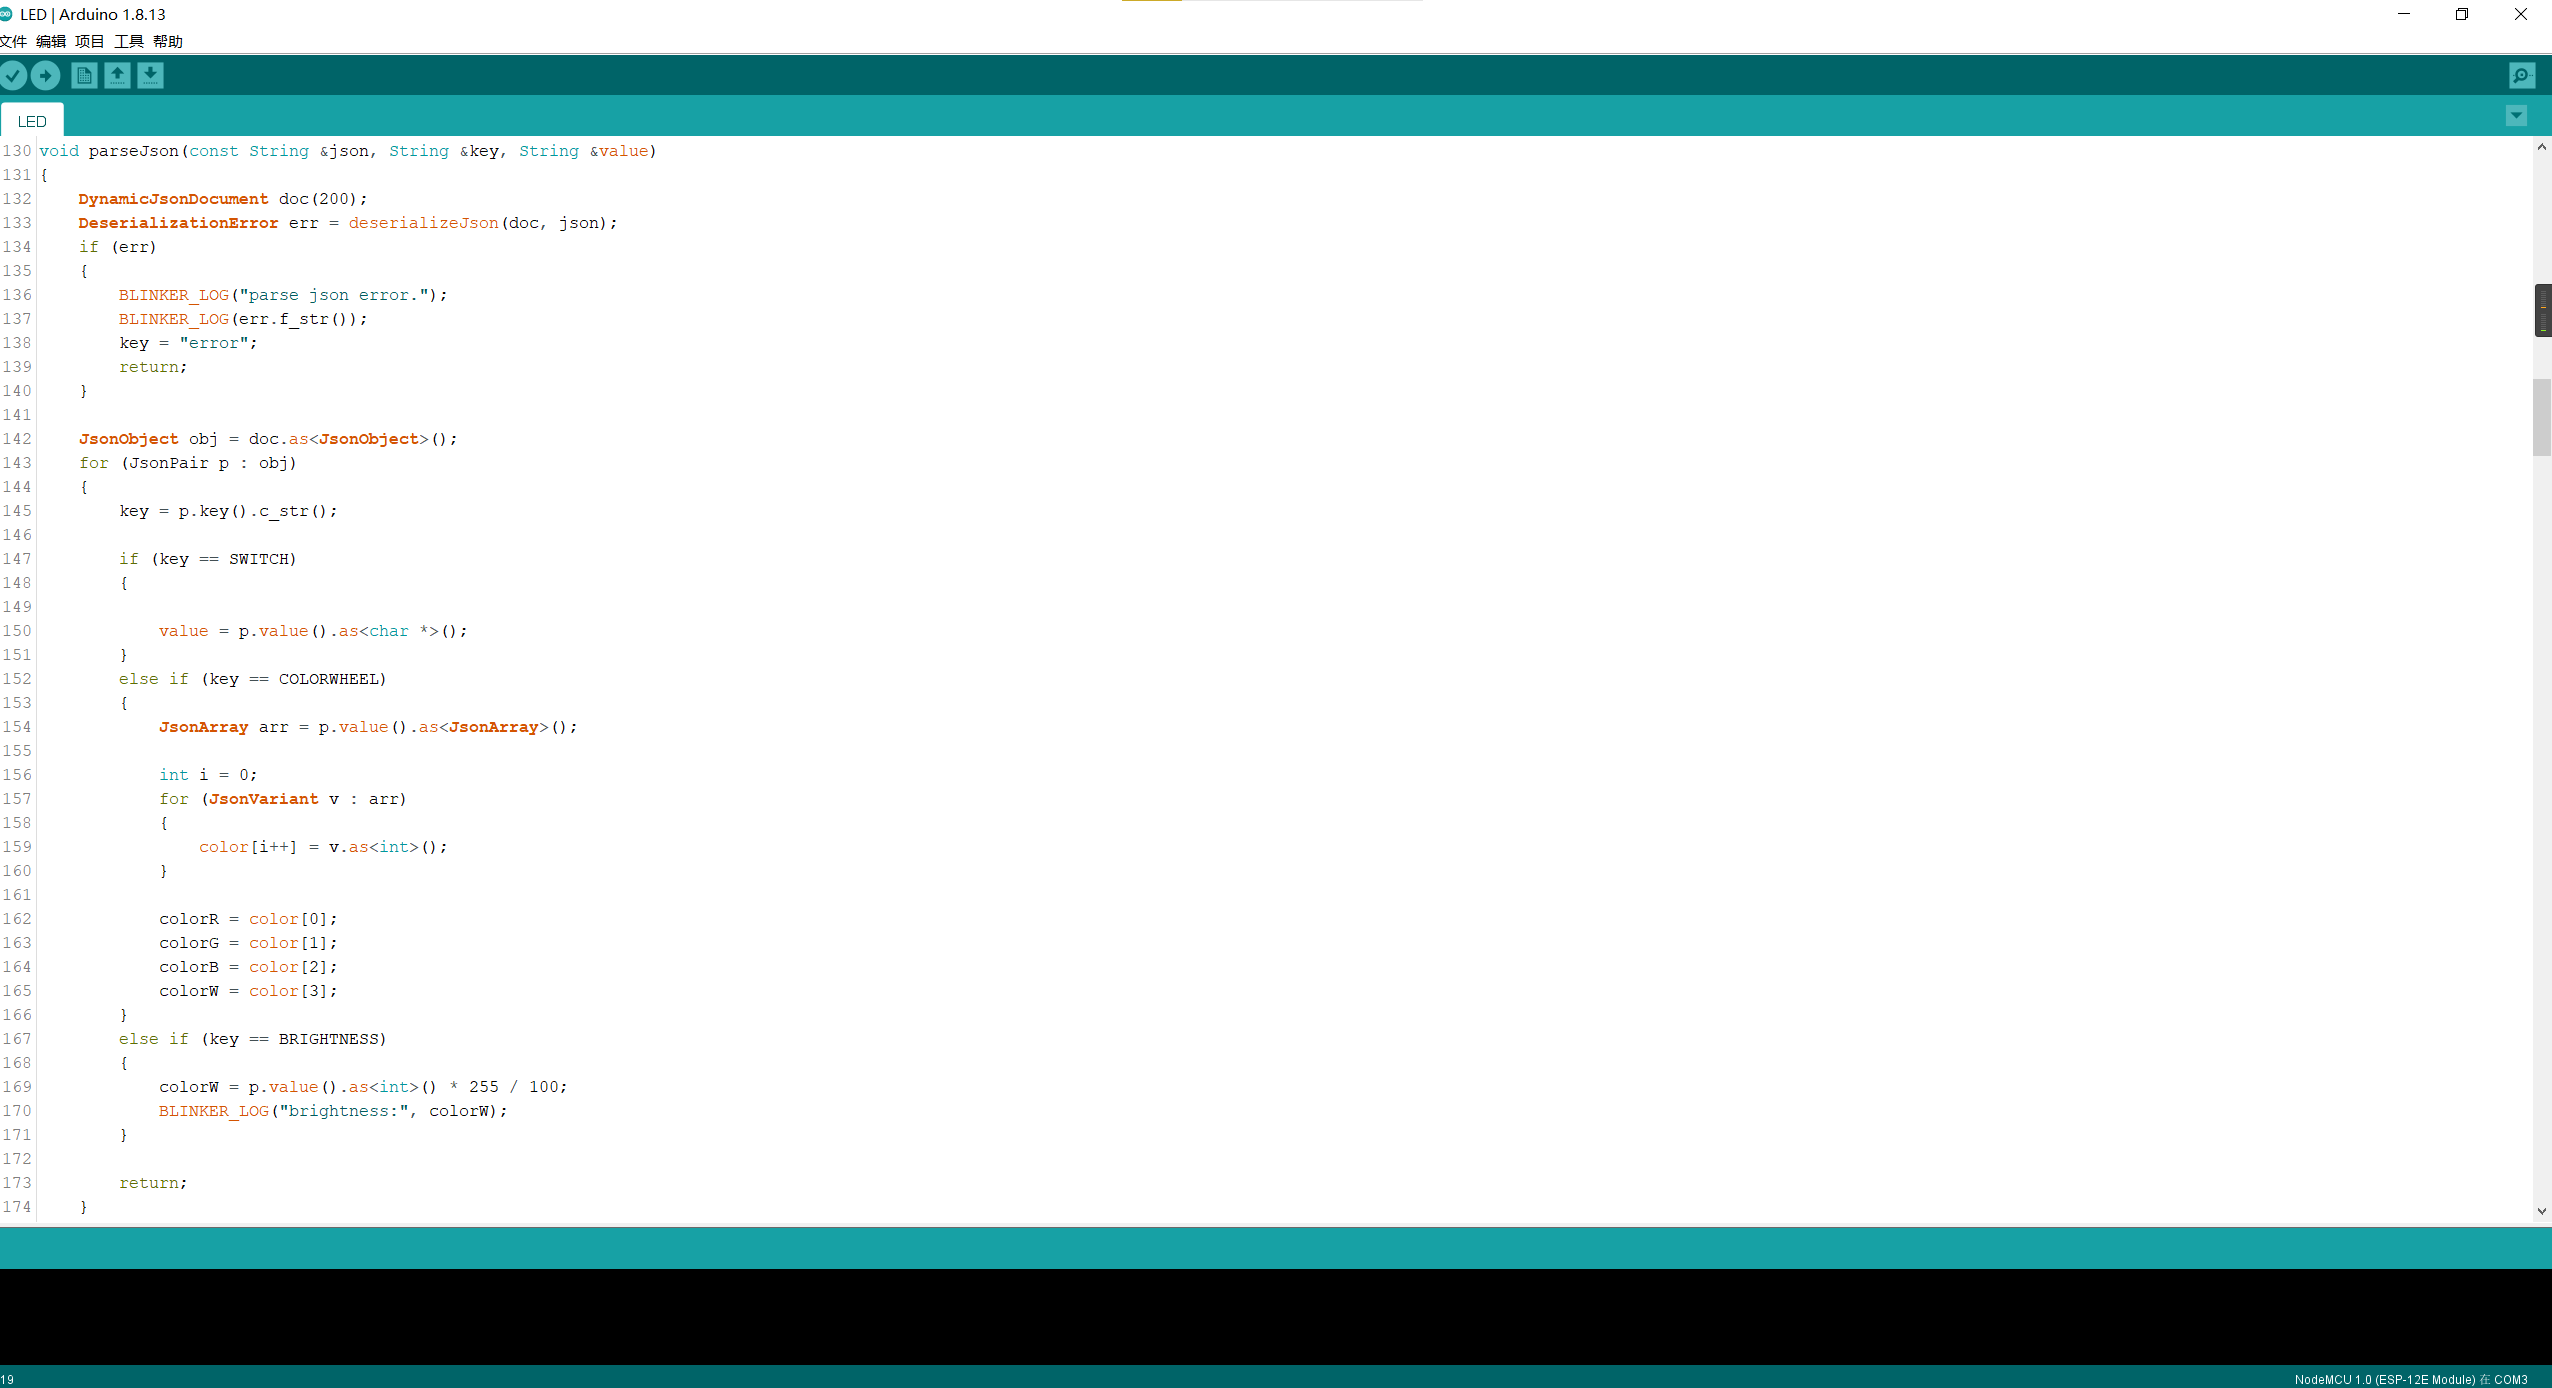
git clone https://github.com/tzzs/SmartLightStrip.git Then you have to use Arduino to open this folder or project.
Android APK: http://ccdn.diandeng.tech/apk/blinker-2.5.2-beta.apk
IOS APP: https://apps.apple.com/cn/app/id1498805902
Click the plus sign in the upper right corner, then select standalone device, select network access, and select a communication service provider. A secret key will be given at this time(may need to wait a few seconds), remember it.
Fill in the obtained information into the code.
char auth[] = ""; 		// app secret key
char ssid[] = "";    	// wifi ssid/name
char pswd[] = ""; // wifi passwordStarting with 1.6.4, Arduino allows installation of third-party platform packages using Boards Manager. We have packages available for Windows, Mac OS, and Linux (32 and 64 bit).
- Install the current upstream Arduino IDE at the 1.8.9 level or later. The current version is on the Arduino website.
- Start Arduino and open the Preferences window.
- Enter
https://arduino.esp8266.com/stable/package_esp8266com_index.jsoninto the File>Preferences>Additional Boards Manager URLs field of the Arduino IDE. You can add multiple URLs, separating them with commas. - Open Boards Manager from Tools > Board menu and install esp8266 platform (and don't forget to select your ESP8266 board from Tools > Board menu after installation).
Boards manager link: https://arduino.esp8266.com/stable/package_esp8266com_index.json
Documentation: https://arduino-esp8266.readthedocs.io/en/3.0.0/
Click Tools > Boards > ESP8266 Boards (3.0) > NodeMcu 1.0(ESP-12E)
Then click verify and upload.
This is also a very important step, otherwise it may not work properly.
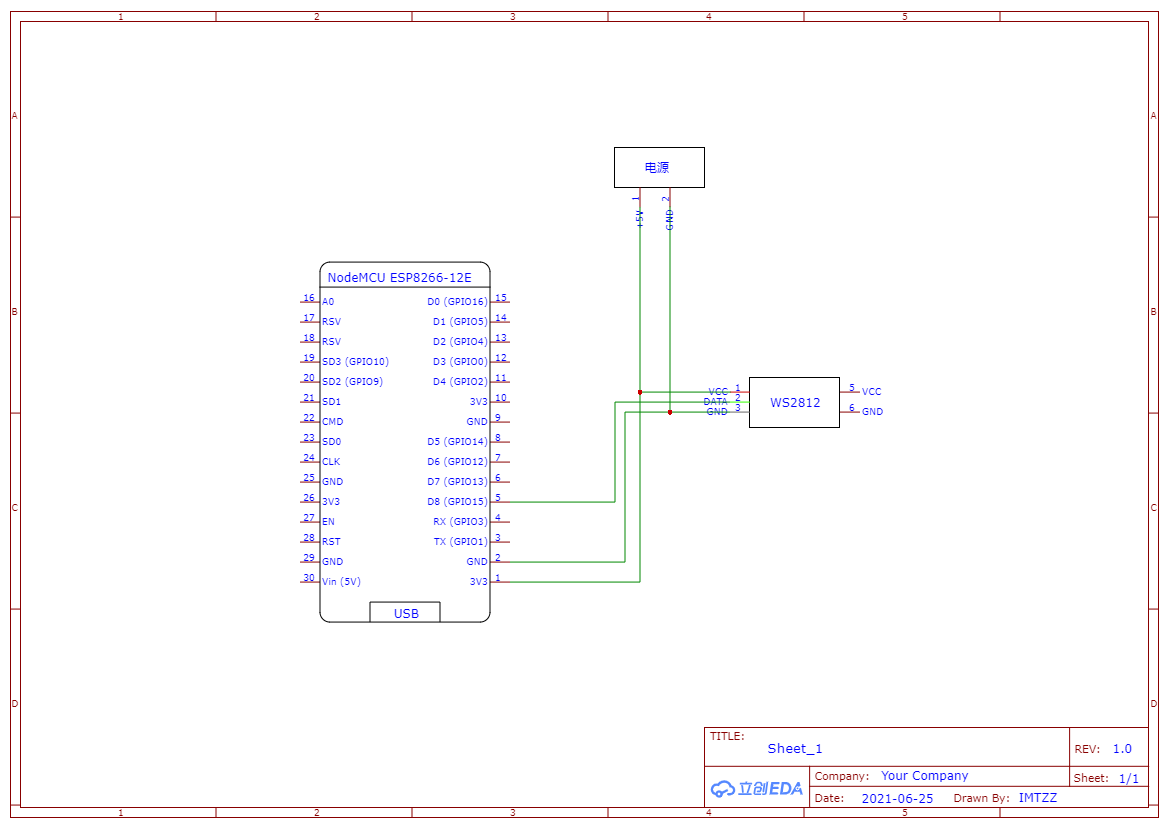
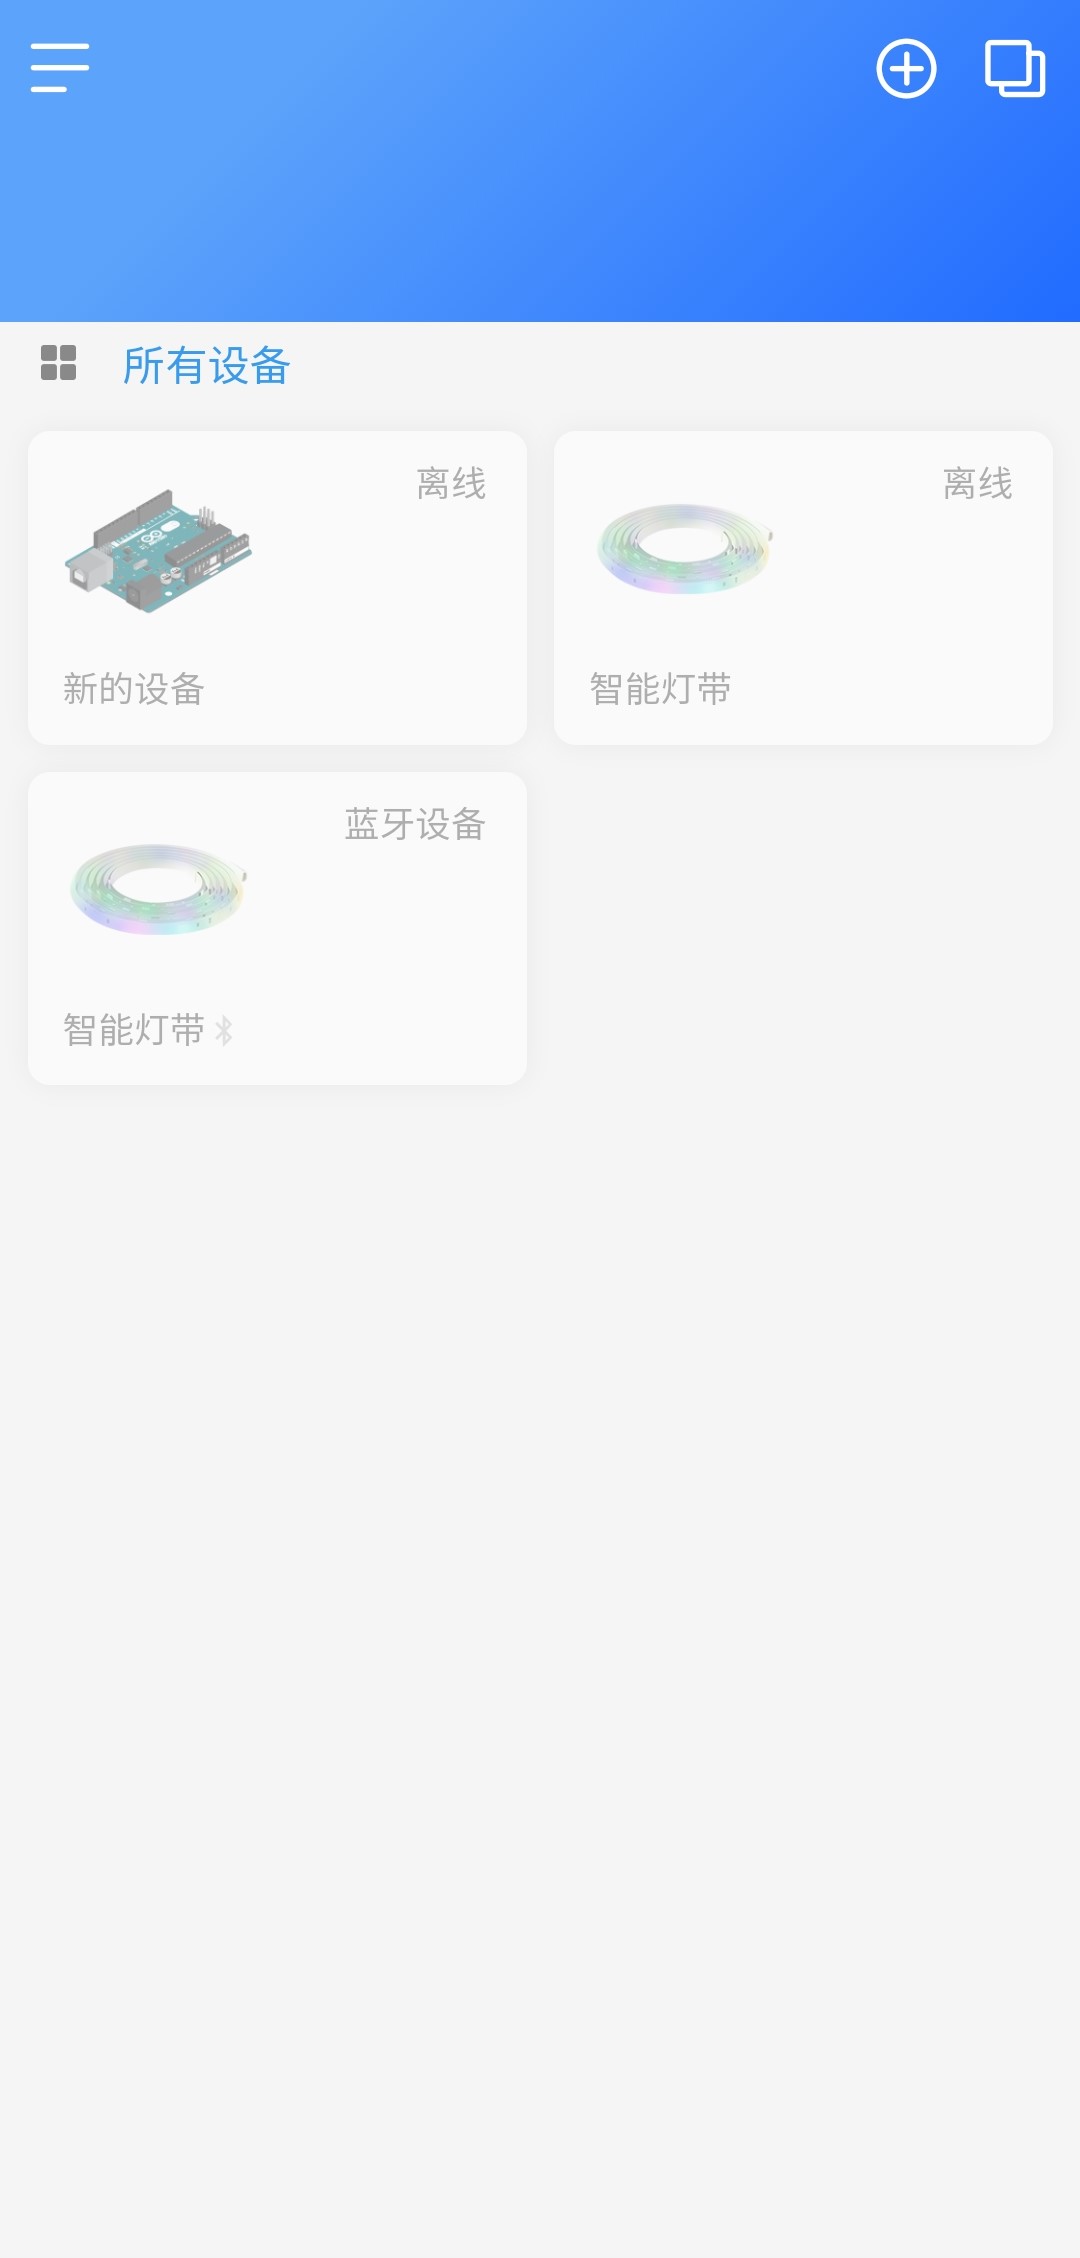
First of all you have to add some components corresponding to the code function.
The switch corresponds to the Switch1 in the code.
The Brightness slider corresponds to the Slider1 in the code.
The Color picker corresponds to the WS2812 in the code.
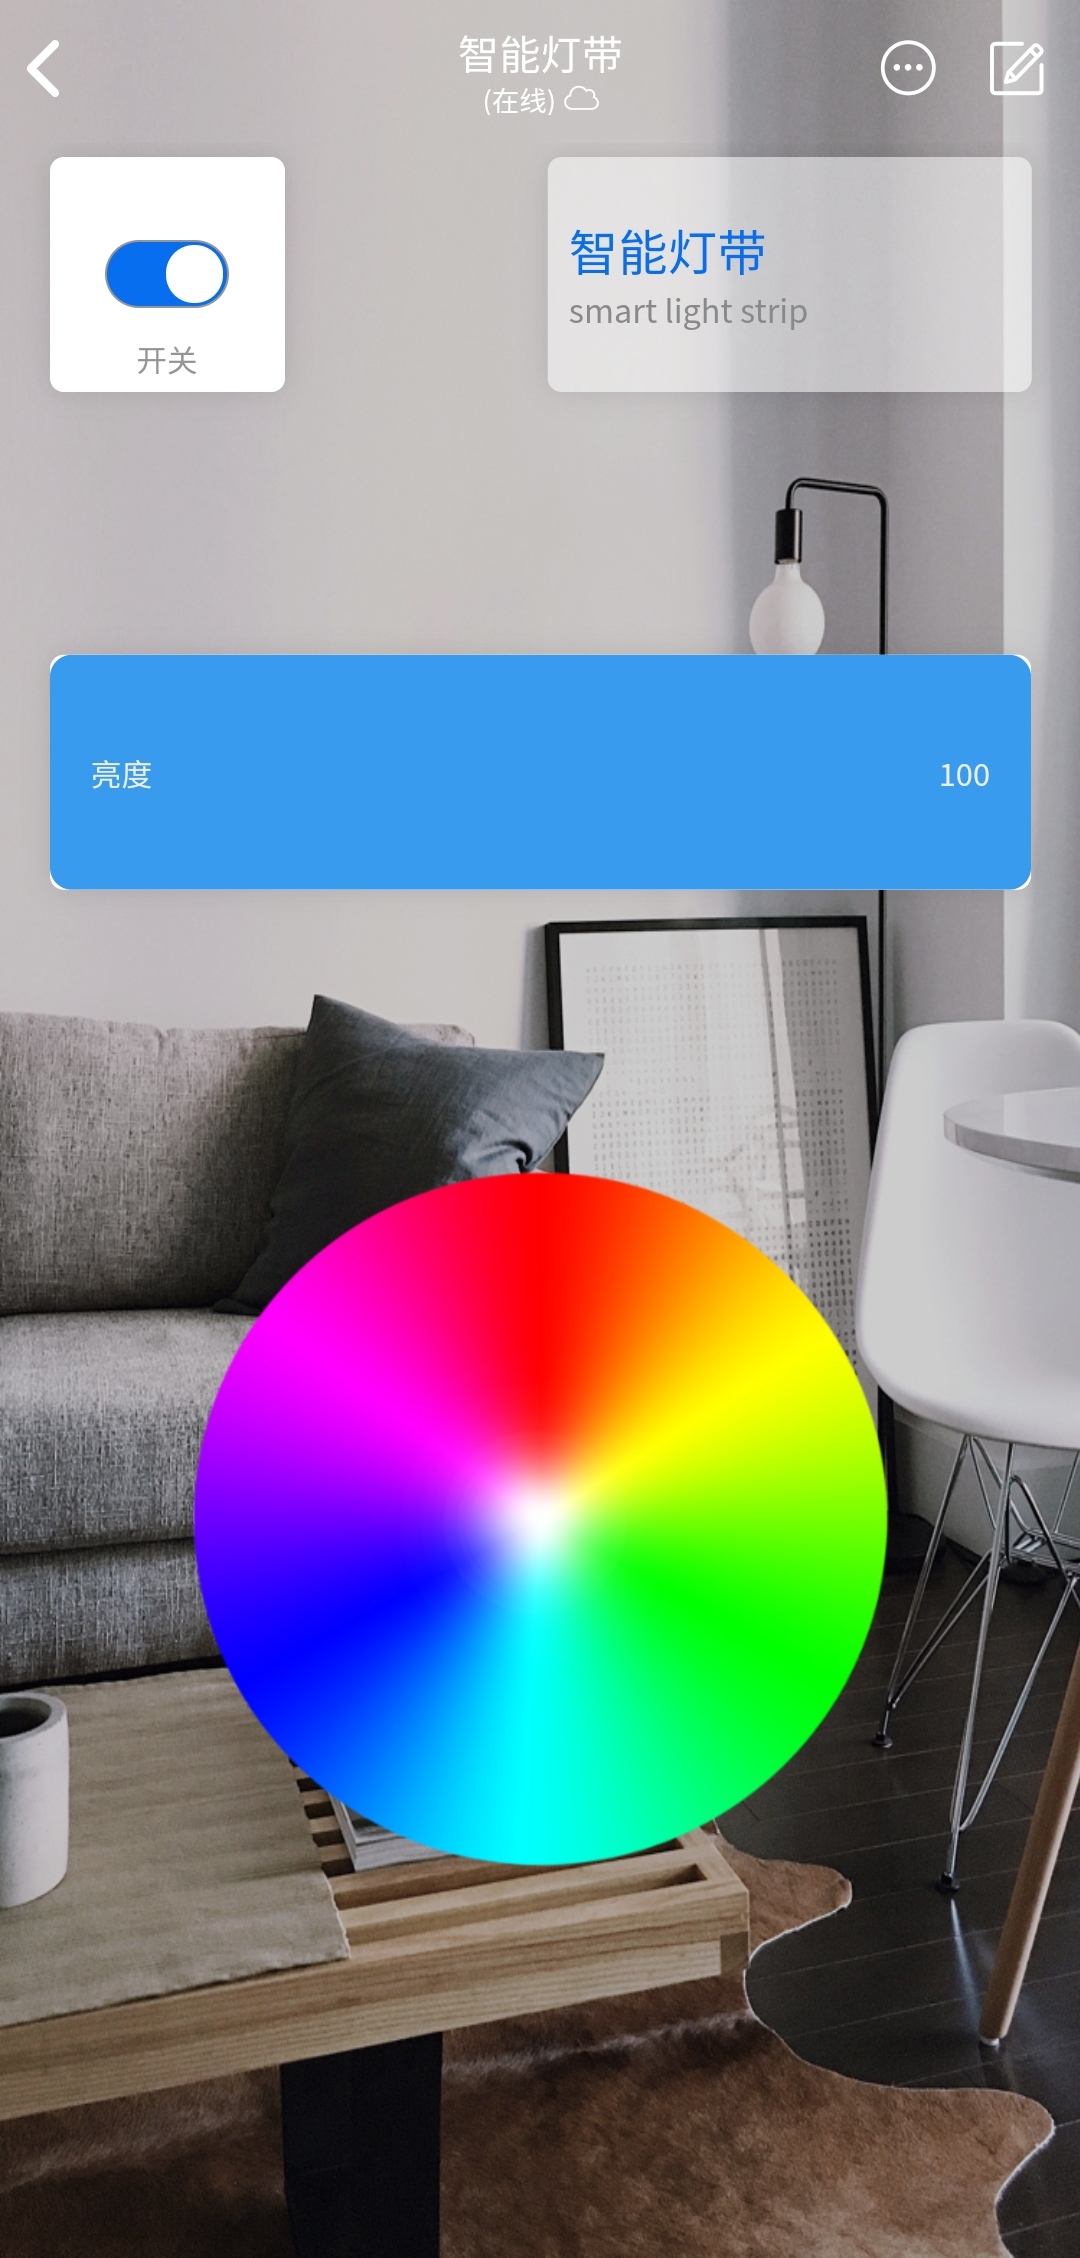
It's over here. Enjoy it.
The voice control function of Xiaoai based on Blinker to the code, waiting for you to explore!