Installing
We recommend using pipenv to install jctl as pipenv creates a virtual environment with a self contained site directory containing Python and Python-Jamf.
- Make a folder for your Pipfile:
mkdir jctl ; cd jctl - Install Module & Requirements:
pipenv install jctl - Activate the virtual environment:
pipenv shell
- On your Jamf Pro server create a Jamf Pro API User
- Inside of the virtual environment shell
- Configure:
conf-python-jamf - Enter hostname, username, and password
- Test:
conf-python-jamf -t - You should see something like
{'accounts': {'groups': None, 'users': {'user': {'id': '1', 'name': 'james'}}}}
For more details on the steps see below...
To uninstall Python Jamf from the virtual environment.
- Exit the current virtual environment session and allow the session to be saved.
- Move to the folder that holds your Pipfile:
cd jctl - Uninstall Module:
pipenv uninstall python-jamfandpipenv uninstall jctl
The virtual environment is now missing Python-Jamf and jctl from the python libraries.
Tested operating systems: macOS 10.14, macOS 10.15, macOS 11, macOS 12, macOS 13, and CentOS 7. It probably works on lots of other operating systems.
Jamf Pro is a commercial product. This project interacts with Jamf Pro and there's not much use for it without Jamf Pro. We are assuming you already have this all set up.
Python3. This project does not work with the Python 2.7 that comes with macOS and we aren't going to support it. macOS does not come with python3 (and probably never will). You must install Python3. There are several ways to install it. We wrote a page on install Python because you might have issues.
To install jctl, we recommend using pipenv. The pipenv module provides support for creating lightweight “virtual environments” with their own site directories, optionally isolated from system site directories. Each virtual environment has its own python binary. The binary matches the version of the binary that was used to create the virtual environment. The virtual environment can have its own independent set of installed Python packages in it's site directory. jctl can be installed outside of a virtual environment in the system python site directory as well.
% sudo pip3 install pipenvpip3 will install pipenv and its requirements. You'll see something like this.
% sudo pip3 install pipenv
Collecting pipenv
  Downloading pipenv-2023.2.18-py3-none-any.whl (2.9 MB)
     |████████████████████████████████| 2.9 MB 3.5 MB/s
Collecting setuptools>=67.0.0
  Downloading setuptools-67.4.0-py3-none-any.whl (1.1 MB)
     |████████████████████████████████| 1.1 MB 15.9 MB/s
Collecting virtualenv>=20.17.1
  Downloading virtualenv-20.19.0-py3-none-any.whl (8.7 MB)
     |████████████████████████████████| 8.7 MB 15.3 MB/s
Requirement already satisfied: virtualenv-clone>=0.2.5 in /Users/cnadauld/Library/Python/3.9/lib/python/site-packages (from pipenv) (0.5.7)
Requirement already satisfied: certifi in /Library/Python/3.9/site-packages (from pipenv) (2022.9.24)
Requirement already satisfied: distlib<1,>=0.3.6 in /Users/cnadauld/Library/Python/3.9/lib/python/site-packages (from virtualenv>=20.17.1->pipenv) (0.3.6)
Requirement already satisfied: platformdirs<4,>=2.4 in /Users/cnadauld/Library/Python/3.9/lib/python/site-packages (from virtualenv>=20.17.1->pipenv) (2.5.2)
Requirement already satisfied: filelock<4,>=3.4.1 in /Users/cnadauld/Library/Python/3.9/lib/python/site-packages (from virtualenv>=20.17.1->pipenv) (3.8.0)
Installing collected packages: virtualenv, setuptools, pipenv
  Attempting uninstall: virtualenv
    Found existing installation: virtualenv 20.16.5
    Uninstalling virtualenv-20.16.5:
      Successfully uninstalled virtualenv-20.16.5
  Attempting uninstall: setuptools
    Found existing installation: setuptools 58.0.4
    Uninstalling setuptools-58.0.4:
      Successfully uninstalled setuptools-58.0.4
Successfully installed pipenv-2023.2.18 setuptools-67.4.0 virtualenv-20.19.0
Pipenv uses a Pipfile to store the virtual environment. Create a folder that will store the Pipfile into.
% mkdir jctl ; cd jctlInstall jctl Module & Requirements. The command will also install the base library Python-Jamf.
% pipenv install jctlCreating a virtualenv for this project...
Pipfile: /Users/cnadauld/Documents/GitHub/Virtual Enviroment/jctl/Pipfile
Using /usr/bin/python3 (3.9.6) to create virtualenv...
⠦ Creating virtual environment...created virtual environment CPython3.9.6.final.0-64 in 335ms
creator CPython3macOsFramework(dest=/Users/cnadauld/.local/share/virtualenvs/jctl-xN-3ubug, clear=False, no_vcs_ignore=False, global=False)
seeder FromAppData(download=False, pip=bundle, setuptools=bundle, wheel=bundle, via=copy, app_data_dir=/Users/cnadauld/Library/Application Support/virtualenv)
added seed packages: pip==23.0.1, setuptools==67.1.0, wheel==0.38.4
activators BashActivator,CShellActivator,FishActivator,NushellActivator,PowerShellActivator,PythonActivator
✔ Successfully created virtual environment!
Virtualenv location: /Users/cnadauld/.local/share/virtualenvs/jctl-xN-3ubug
Creating a Pipfile for this project...
Installing jctl...
Resolving jctl...
Installing...
Adding jctl to Pipfile's [packages] ...
✔ Installation Succeeded
Pipfile.lock not found, creating...
Locking [packages] dependencies...
Building requirements...
Resolving dependencies...
✔ Success!
Locking [dev-packages] dependencies...
Updated Pipfile.lock (4e277d78bc7a940701728bad3d96add70dc28afe2c97c0de23ebef9fd2ec51fe)!
Installing dependencies from Pipfile.lock (ec51fe)...
To activate this project's virtualenv, run pipenv shell.
Alternatively, run a command inside the virtualenv with pipenv run.
Activate the virtual enviroment
% pipenv shellLaunching subshell in virtual environment...
. /Users/cnadauld/.local/share/virtualenvs/jctl-xN-3ubug/bin/activate
cnadauld@GB-N6HN4NLXDQ jctl % . /Users/cnadauld/.local/share/virtualenvs/jctl-xN-3ubug/bin/activate
The virtual environment shell is now ready to be used. The virtual environment can be used via the activated shell or in any command line window by using the '% pipenv run' command.
Everything that applies to python-jamf also applies to jctl. Please see the python-jamf wiki for detailed configuration instructions.
To uninstall Python Jamf from the virtual environment.
- Exit the current virtual environment session and allow the session to be saved.
- Move to the folder that holds your Pipfile:
cd jctl - Upgrade Module & Requirements:
pipenv uninstall jctl - Reactivate the virtual environment:
pipenv shell
The virtual environment is now missing Python-Jamf and jctl from the python libraries.
When a new version of Python Jamf comes out it is simple to upgrade the virtual environment to the latest version.
- Exit the current virtual environment session and allow the session to be saved.
- Move to the folder that holds your Pipfile:
cd jctl - Upgrade Module & Requirements:
pipenv update jctl - Reactivate the virtual environment:
pipenv shell
To display the version of jctl installed, run the following command:
jctl --versionFor example, it will look something like this:
jctl --version
jctl 1.1.15
python_jamf 0.7.3 (0.6.9 required)
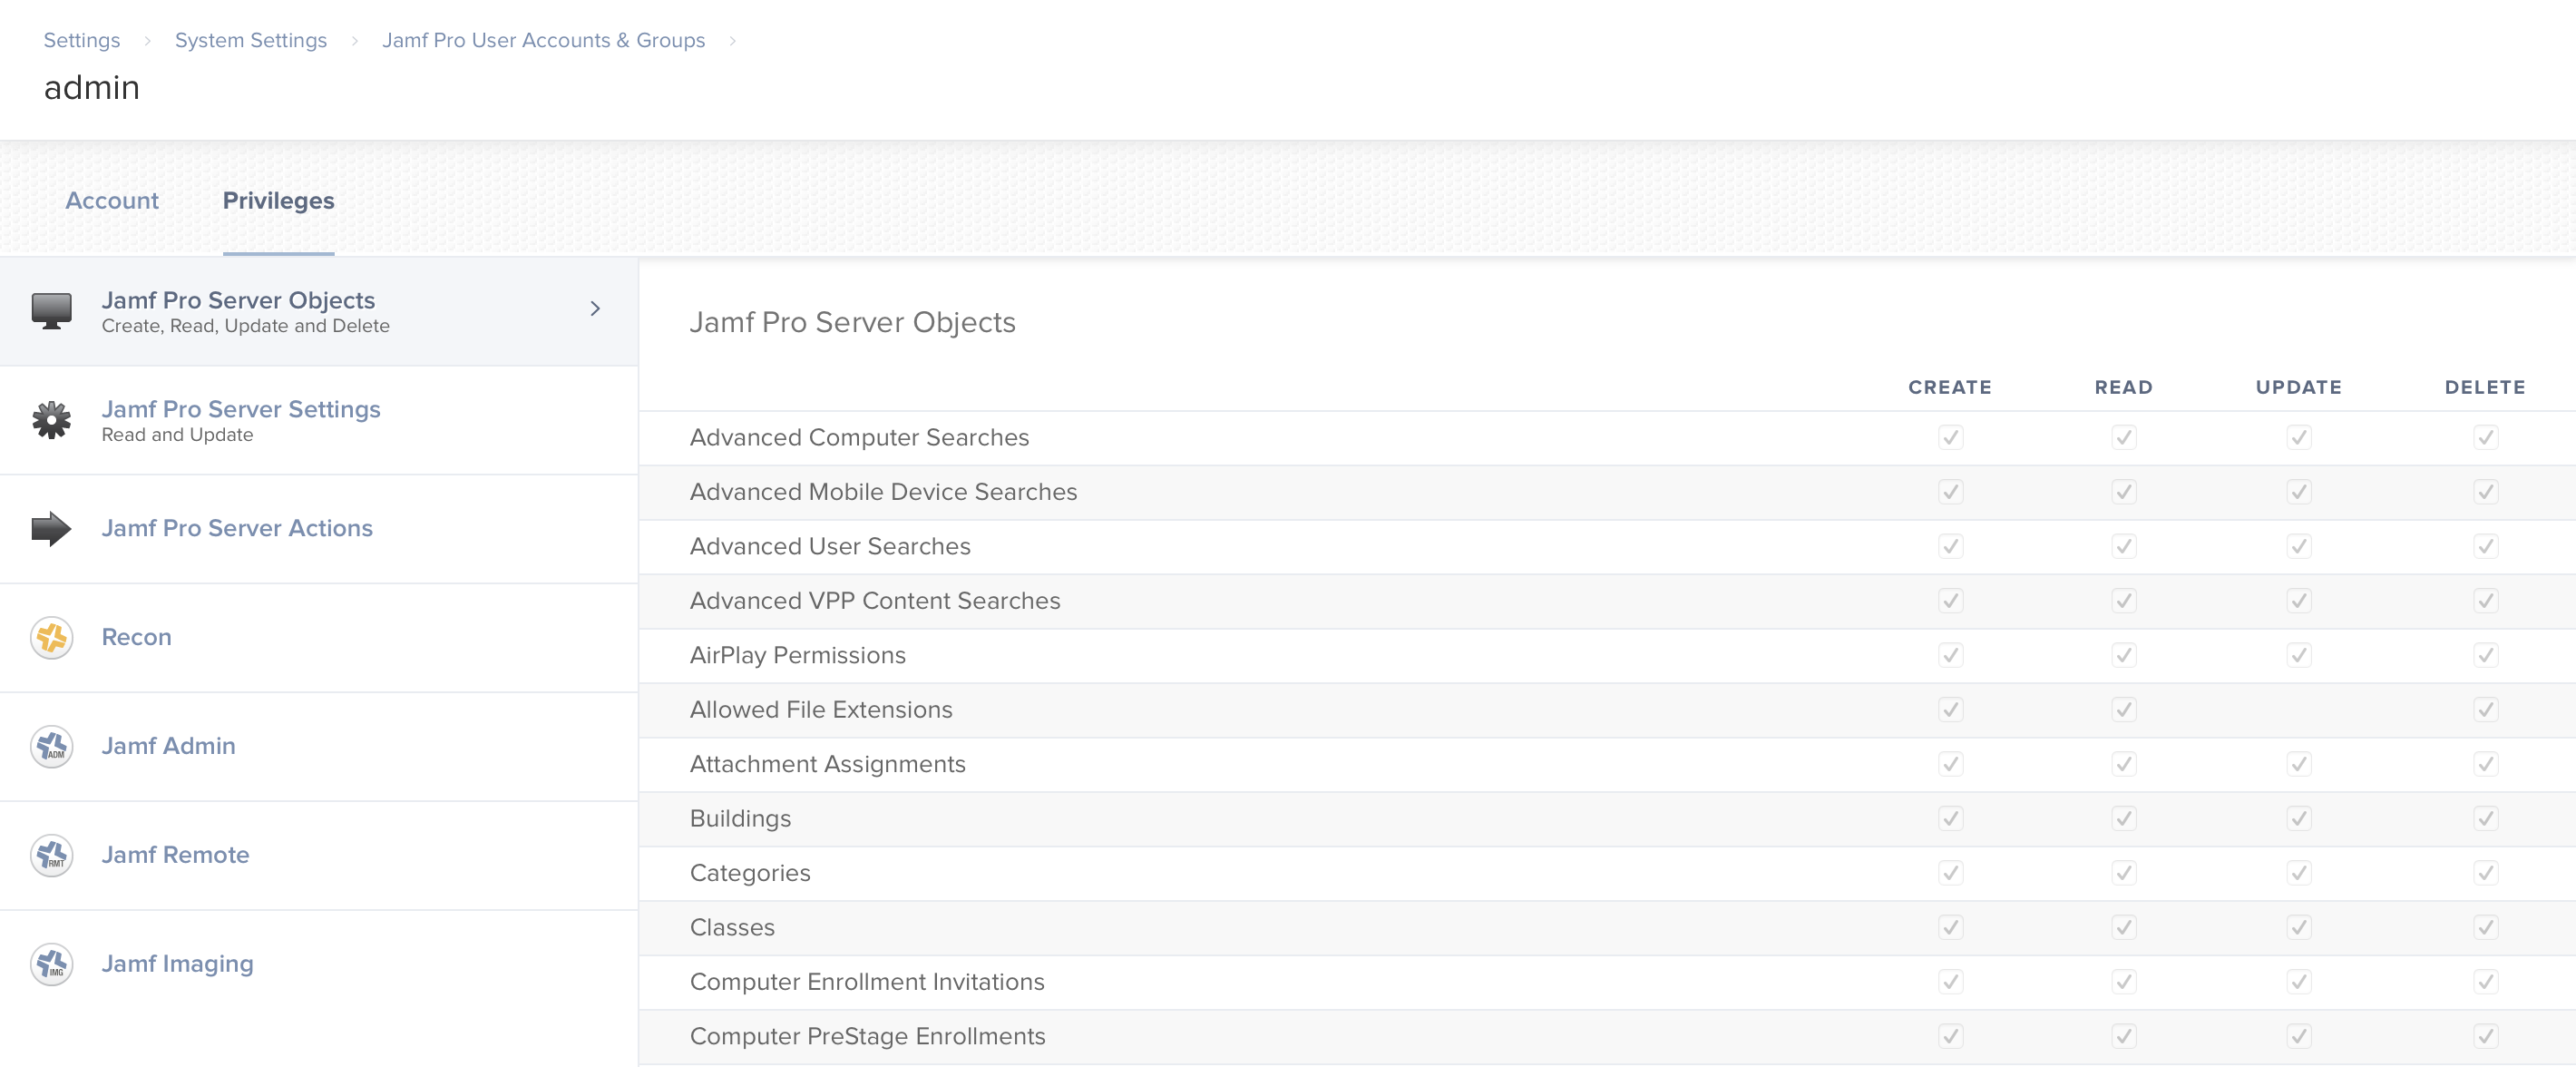
To use python-jamf you'll need to create a service account that will interact with the Jamf Pro API. It is recommended to create a user name that describes its purpose, something like python-jamf or jctl, which you can do in the Jamf Pro administrative web interface located at:
Settings > System Settings > Jamf Pro User Accounts and Groups
You configure your server, username, and password with conf-python-jamf. If you create or copy the preferences to a different location, you can manually tell jctl to use the custom location with -C.
This will look in /path/to folder for a file named "localhost.plist" and use the server and username stored in that property list file. It will use that server and username to look in the Keychain for the password.
jctl -C /path/to/localhost.plist [SUBCOMMAND]
For example, if you wanted to setup two preferences, one, for a development server and another for your production server you could do the following:
First, you should decide which server you want to setup as default and which server(s) you want setup as custom preference(s): like development, testing, production, etc., with your jctl setup.
You can setup Jamf Pro on localhost if you want use Docker for testing of a development server setup, see the Docker documentation for more details.
Next, use the -C arguement with conf-python-jamf with path to custom preference location:
Development Server Custom Preference
conf-python-jamf -C /path/to/custom-prefs/my.dev.server.plist
Production Server Custom Preference
conf-python-jamf -C /path/to/custom-prefs/my.prod.server.plist