Nginx配置负载均衡 第一篇
VMware创建三个虚拟机,安装centos 7系统分别为:
| Server | IP | Port |
|---|---|---|
| server001 | 192.168.74.129 | Tomcat : 8080、8081 |
| server002 | 192.168.74.128 | Tomcat : 8080、8081 |
| server003 | 192.168.74.130 | Nginx :80、81 |
server001、server002分别做web服务器,部署站点,server001、server002分别通过端口8080、8081模拟四台机器,构建应用服务器集群。
server003做负载均衡服务器,安装nginx,启动两个实例,模拟主备。
tomcat安装参考tomcat安装
[root@localhost local]# mkdir Nginx
[root@localhost local]# cd Nginx/
[root@localhost Nginx]# pwd
/usr/local/Nginx
[root@localhost Nginx]#
- 下载nginx: wget http://nginx.org/download/nginx-1.8.0.tar.gz
- 下载openssl : wget http://www.openssl.org/source/openssl-fips-2.0.9.tar.gz
- 下载zlib : wget http://zlib.net/zlib-1.2.8.tar.gz
- 下载pcre : wget ftp://ftp.csx.cam.ac.uk/pub/software/programming/pcre/pcre-8.38.tar.gz
- 如果没有安装c++编译环境,还得安装,通过yum install gcc-c++完成安装
openssl :
[root@localhost] tar -zxvf openssl-fips-2.0.9.tar.gz
[root@localhost] cd openssl-fips-2.0.9
[root@localhost] ./config && make && make install
pcre:
[root@localhost] tar -zxvf pcre-8.38.tar.gz
[root@localhost] cd pcre-8.36
[root@localhost]  ./configure && make && make install
zlib:
[root@localhost]tar -zxvf zlib-1.2.8.tar.gz
[root@localhost] cd zlib-1.2.8
[root@localhost]  ./configure && make && make install
最后安装nginx:
[root@localhost]tar -zxvf nginx-1.8.0.tar.gz
[root@localhost] cd nginx-1.8.0
[root@localhost Nginx]# ./configure --prefix=/usr/local/Nginxs/nginx-server01 && make && make install
安装多个nginx时,指定不同的安装位置即可
使用命令
./configure --prefix=指定安装路径
[root@localhost Nginx]# cd nginx-1.8.0/
[root@localhost nginx-1.8.0]# ./configure --prefix=/usr/local/Nginxs/nginx-server01 && make && make install
[root@localhost nginx-1.8.0]# ./configure --prefix=/usr/local/Nginxs/nginx-server02 && make && make install
[root@localhost nginx-1.8.0]#
查看指定的安装路径:
[root@localhost nginx-1.8.0]# ll /usr/local/Nginxs
total 0
drwxr-xr-x. 6 root root 50 Oct 23 00:30 nginx-server01
drwxr-xr-x. 6 root root 50 Oct 23 00:40 nginx-server02
[root@localhost nginx-1.8.0]#
启动nginx:
[root@localhost usr]# /usr/local/Nginxs/nginx-server01/sbin/nginx
[root@localhost usr]# ps -ef | grep nginx
root      17431      1  0 00:41 ?        00:00:00 nginx: master process /usr/local/Nginxs/nginx-server01/sbin/nginx
nobody    17432  17431  0 00:41 ?        00:00:00 nginx: worker process
root      17442   4899  0 00:42 pts/1    00:00:00 grep --color=auto nginx
[root@localhost usr]#
启动成功,默认是80端口
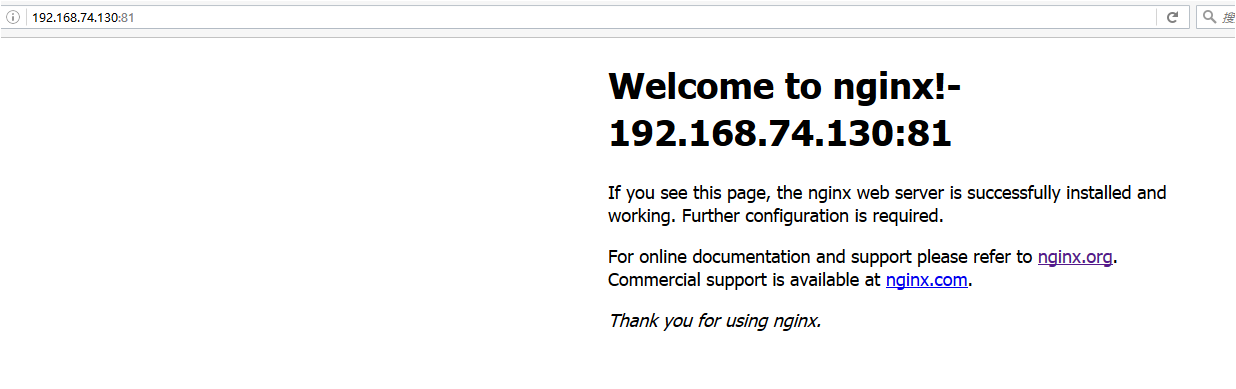
修改nginx-server02端口为81
[root@localhost nginx-server02]# vi conf/nginx.conf
查看listen为80,修改listen为81:
……
……
    server {
        listen       81;
        server_name  localhost;
……
……
修改nginx默认页
vi html/index.html
[root@localhost nginx-server01]# vi html/index.html
[root@localhost nginx-server01]# cd ../nginx-server02
[root@localhost nginx-server02]# vi html/index.html
[root@localhost nginx-server02]# ll
total 4
drwxr-xr-x. 2 root root 4096 Oct 23 00:53 conf
drwxr-xr-x. 2 root root   38 Oct 23 00:55 html
drwxr-xr-x. 2 root root    6 Oct 23 00:40 logs
drwxr-xr-x. 2 root root   18 Oct 23 00:40 sbin
[root@localhost nginx-server02]# ./sbin/nginx
[root@localhost nginx-server02]#
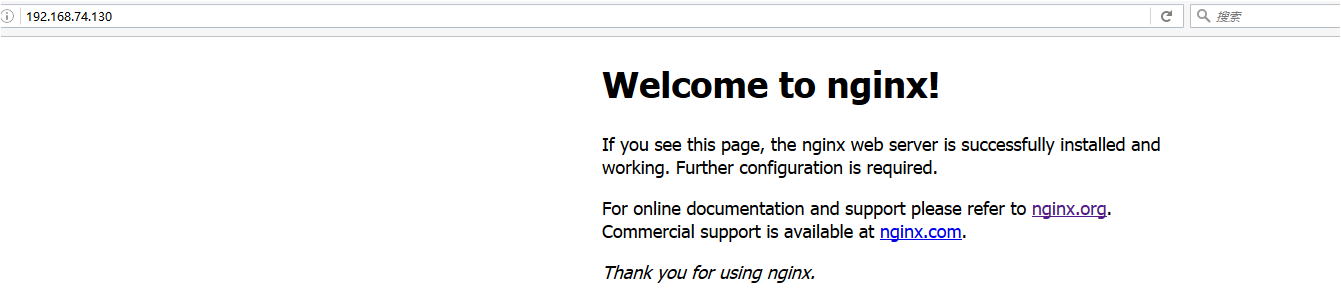
浏览器输入
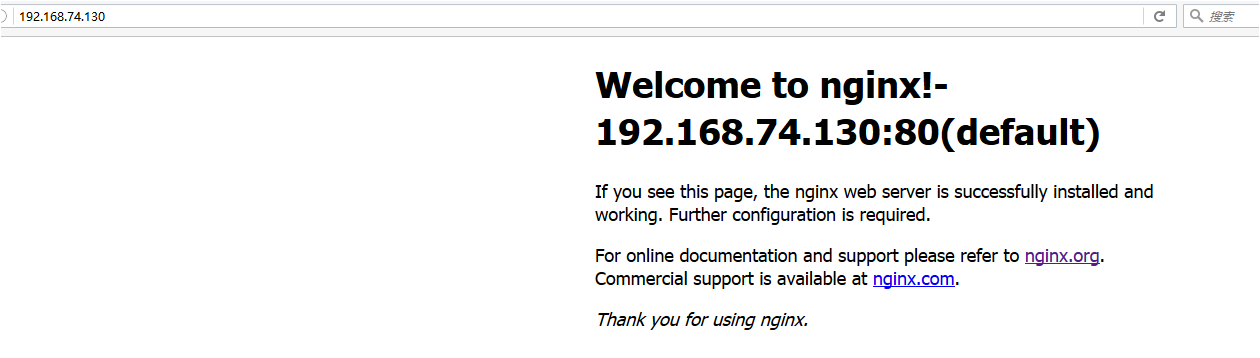
nginx启动成功:
nginx-server01 80端口:
nginx-server02 81端口:
附录:
进入sbin目录:
./nginx //启动nginx
./nginx -s stop //停止nginx
./nginx -s reload //重新加载配置文件
nginx配置文件结构:
[root@localhost nginx-server02]# cat conf/nginx.conf

#user  nobody;
worker_processes  1;

#error_log  logs/error.log;
#error_log  logs/error.log  notice;
#error_log  logs/error.log  info;

#pid        logs/nginx.pid;


events {
    worker_connections  1024;
}


http {
    include       mime.types;
    default_type  application/octet-stream;

    #log_format  main  '$remote_addr - $remote_user [$time_local] "$request" '
    #                  '$status $body_bytes_sent "$http_referer" '
    #                  '"$http_user_agent" "$http_x_forwarded_for"';

    #access_log  logs/access.log  main;

    sendfile        on;
    #tcp_nopush     on;

    #keepalive_timeout  0;
    keepalive_timeout  65;

    #gzip  on;

    server {
        listen       81;
        server_name  localhost;

        #charset koi8-r;

        #access_log  logs/host.access.log  main;

        location / {
            root   html;
            index  index.html index.htm;
        }

        #error_page  404              /404.html;
    }

……
……

}
http下面可以配置多个server,每个server就是一个虚拟主机。
Nginx配置虚拟主机有三种方式:
- 基于Ip的虚拟主机(因为Ip资源有限,很少用到)
- 基于端口的虚拟主机(因为端口有限,并且访问可能需要加上端口,很少用)
- 基于域名的虚拟主机(常用)
Linux操作系统允许添加IP别名,IP别名就是在一块物理网卡上绑定多个lP地址。这样就能够在使用单一网卡的同一个服务器上运行多个基于IP的虚拟主机。
iii.需求 一台nginx服务器绑定两个ip:192.168.74.130、192.168.74.131 访问不同的ip请求不同的html目录,即: 访问http://192.168.74.130将访问“html130”目录下的html网页 访问http://192.168.74.131将访问“html131”目录下的html网页
iv.准备环境 创建192.168.74.130虚拟机,保证本地电脑和虚拟网络通畅。 在192.168.74.130上安装nginx。
v.html目录创建 将原来nginx的html目录拷贝两个目录 “html130”和“html131”,为了方便测试需要修改每个目录下的index.html内容使之个性化。 cd /usr/local/nginx cp -r html html130 cp -r html html131
vi. 绑定多ip
方法一: 使用标准的网络配置工具(比如ifconfig和route命令)添加lP别名:
当前ip配置情况:
在eno16777736(名字可能不一样,在/etc/sysconfig/network-scripts/下类似ifcfg-enoXXX的名字)网卡再绑定一个ip:192.168.74.131
/sbin/ifconfig eno16777736:1 192.168.74.131 broadcast 192.168.101.255 netmask 255.255.255.0 up
/sbin/route add -host 192.168.74.131 dev eno16777736:1
方法二:
1、将/etc/sysconfig/network-scripts/ifcfg-eno16777736文件复制一份,命名为ifcfg-eno16777736:1
2、修改其中内容:
DEVICE=eno16777736:1
IPADDR=192.168.74.131
其他项不用修改
3、重启系统
vii. 配置虚拟主机 修改/usr/local/nginx/conf/nginx.conf文件,添加两个虚拟主机,如下:
#user  nobody;
worker_processes  1;

events {
    worker_connections  1024;
}

http {
    include       mime.types;
    default_type  application/octet-stream;

    sendfile        on;

    keepalive_timeout  65;
    #配置虚拟主机192.168.74.130
    server {
	#监听的ip和端口,配置192.168.74.130:80
        listen       80;
	#虚拟主机名称这里配置ip地址
        server_name  192.168.74.130;
	#所有的请求都以/开始,所有的请求都可以匹配此location
        location / {
	    #使用root指令指定虚拟主机目录即网页存放目录
	    #比如访问http://ip/test.html将找到/usr/local/html130/test.html
	    #比如访问http://ip/item/test.html将找到/usr/local/html130/item/test.html

            root   /usr/local/nginx/html130;
	    #指定欢迎页面,按从左到右顺序查找
            index  index.html index.htm;
        }

    }
    #配置虚拟主机192.168.74.131
    server {
        listen       80;
        server_name  192.168.74.131;

        location / {
            root   /usr/local/nginx/html131;
            index  index.html index.htm;
        }

    }

}
viii. 测试
启动nginx,观察端口监听状态:
[root@localhost Nginxs]# netstat -an | grep 80
tcp        0      192.168.74.130:80              0.0.0.0:*               LISTEN
tcp        0      192.168.74.131:80              0.0.0.0:*               LISTEN
ix. 需求
- nginx对外提供80和8080两个端口监听服务。
- 请求80端口则请求html80目录下的html
- 请求8080端口则请求html8080目录下的html
x. 准备环境
- 创建192.168.74.130虚拟机,保证本地电脑和虚拟网络通畅。
- 在192.168.74.130上安装nginx。
xi. html目录创建
- 将原来nginx的html目录拷贝两个目录 “html80”和“html8080”。
- 为了方便测试需要修改每个目录下的index.html内容使之个性化,参考基于ip或域名的虚拟主机章节。
xii. 配置虚拟主机 修改/usr/local/nginx/conf/nginx.conf文件,添加两个虚拟主机,如下:
#user  nobody;
worker_processes  1;

events {
    worker_connections  1024;
}

http {
    include       mime.types;
    default_type  application/octet-stream;

    sendfile        on;

    keepalive_timeout  65;
    #配置虚拟主机
    server {
	#监听的ip和端口,配置80
        listen       80;
	#虚拟主机名称这里配置ip地址
        server_name  192.168.74.130;
	#所有的请求都以/开始,所有的请求都可以匹配此location
        location / {
	    #使用root指令指定虚拟主机目录即网页存放目录
	    #比如访问http://ip/test.html将找到/usr/local/html3/test.html
	    #比如访问http://ip/item/test.html将找到/usr/local/html3/item/test.html

            root   /usr/local/nginx/html80;
	    #指定欢迎页面,按从左到右顺序查找
            index  index.html index.htm;
        }

    }
    #配置虚拟主机
    server {
        listen       8080;
        server_name  192.168.74.130;

        location / {
            root   /usr/local/nginx/html8080;
            index  index.html index.htm;
        }

    }

}
xiii. 测试 启动 nginx,查看端口监听状态:
[root@localhost Nginxs]# netstat -an | grep 80
tcp        0      0.0.0.0:80              0.0.0.0:*               LISTEN
tcp        0      0.0.0.0:8080            0.0.0.0:*               LISTEN
xiv. 需求
- 两个域名指向同一台nginx服务器,用户访问不同的域名显示不同的网页内容。 两个域名是aaa.test.com和bbb.test.com
- nginx服务器使用虚拟机192.168.74.130
xv. 准备环境
- 创建192.168.74.130虚拟机,保证本地电脑和虚拟网络通畅。
- 在192.168.74.130上安装nginx。
- 通过host文件指定aaa.test.com和bbb.test.com对应192.168.74.130虚拟机: 修改window的hosts文件:(C:\Windows\System32\drivers\etc)
192.168.74.130	aaa.test.com
192.168.74.130	bbb.test.com
xvi. html目录创建
- 在192.168.74.130上创建/usr/local/aaa_html,此目录为aaa.test.com域名访问的目录
- 在192.168.74.130上创建/usr/local/bbb_html,此目录为bbb.test.com域名访问的目录
目录中的内容使用nginx自带的html文件:
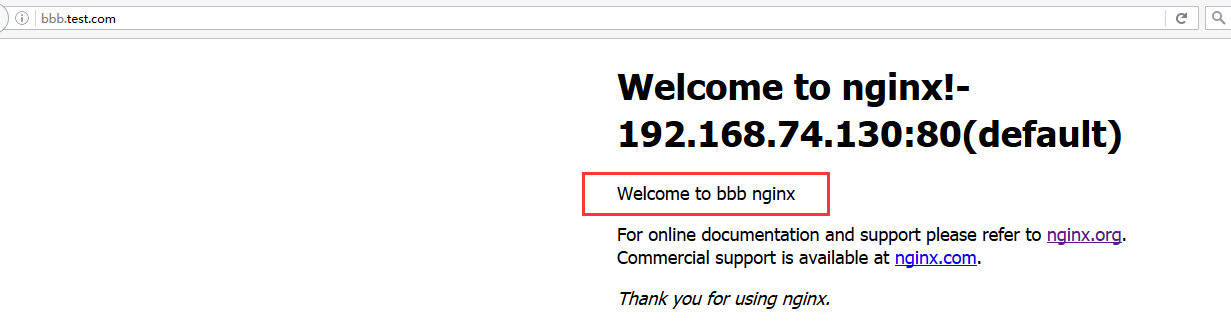
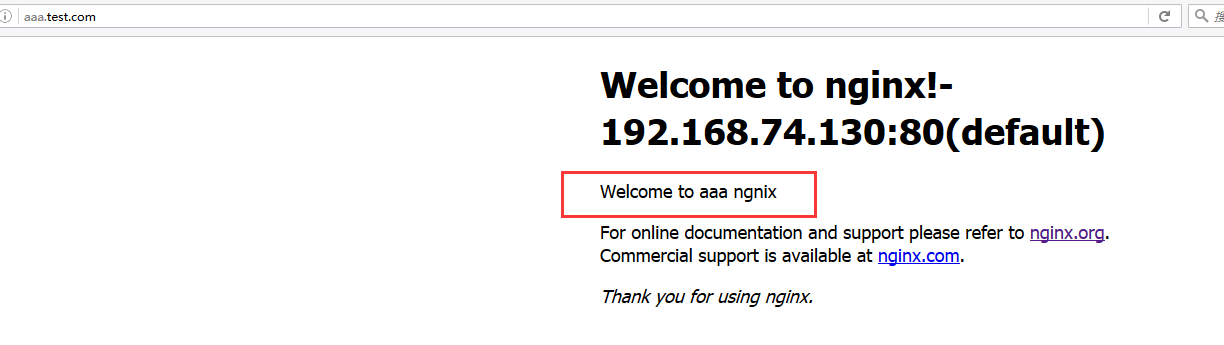
将/usr/local/nginx/html中的内容拷贝分别拷贝到上边两个目录中,并且将aaa_html目录中的index.html内容改为:“Welcome to aaa nginx!” 将bbb_html目录中的index.html内容改为“Welcome to bbb nginx!”
[root@localhost local]# ll Nginxs/nginx-server01/html/
total 8
-rw-r--r--. 1 root root 537 Oct 23 00:30 50x.html
-rw-r--r--. 1 root root 639 Oct 23 00:54 index.html
[root@localhost local]# cp Nginxs/nginx-server01/html/* aaa_html/
[root@localhost local]# ll aaa_html/
total 8
-rw-r--r--. 1 root root 537 Oct 23 05:22 50x.html
-rw-r--r--. 1 root root 639 Oct 23 05:22 index.html
[root@localhost local]#
[root@localhost local]# cp Nginxs/nginx-server01/html/* bbb_html/
xvii. 配置虚拟主机
先备份
nginx-server01的配置文件
[root@localhost local]# cp Nginxs/nginx-server01/conf/nginx.conf Nginxs/nginx-server01/conf/nginx-bat.conf
修改Nginxs/nginx-server01/conf/nginx.conf文件,添加两个虚拟主机,如下:
#配置虚拟主机aaa.test.com
server {
		#监听的ip和端口,配置本机ip和端口
        listen 192.168.74.130:80;
		#虚拟主机名称是aaa.test.com,请求域名aaa.test.com的url将由此server配置解析
        server_name aaa.test.com;
		#所有的请求都以/开始,所有的请求都可以匹配此location
        location / {
		#使用root指令指定虚拟主机目录即网页存放目录
		#比如访问http://ip/test.html将找到/usr/local/aaa_html/test.html
		#比如访问http://ip/item/test.html将找到/usr/local/aaa_html/item/test.html
                root /usr/local/aaa_html;
			    #指定欢迎页面,按从左到右顺序查找
                index index.html index.htm;
        }
    }
#配置虚拟主机bbb.test.com
    server {
        listen 192.168.74.130:80;
        server_name bbb.test.com;
        location / {
                root /usr/local/bbb_html;
                index index.html index.htm;
        }
    }
xviii. 测试
访问aaa.test.com:
访问bbb.test.com: