
A boilerplate for Node.js web applications.
Live Demo: http://hackathonstarter.herokuapp.com ![]()
If you have attended any hackathons in the past then you know how much time it takes to get a project started. Decide on an idea, pick a programming language, pick a web framework, pick a CSS framework. A while later, you will have an initial project up on GitHub, and only then can other team members start contributing. Or what about doing something as simple as OAuth 2.0 Authentication? You can spend hours on it if you are not familiar with how OAuth 2.0 works. (As a side-note, over a year ago I had no idea WTF REST or OAuth were, or how to do a simple "Sign in with Facebook". It was a frustrating experience to say the least.)
When I started this project, my primary focus was on simplicity and ease of use. I also tried to make it as generic and reusable as possible to cover most use cases of hackathon web apps, without being too specific. In the worst case you can use this as a guide for your projects, if for example you are only interested in Sign in with Google authentication and nothing else.
Chances are, you might not need all 4 types of OAuth 1.0a/OAuth2 authentication methods, or all 9 API examples. Sadly, there is no step-by-step wizard to configure the boilerplate code just for your use case. So, use what you need, simply delete what you don't need.
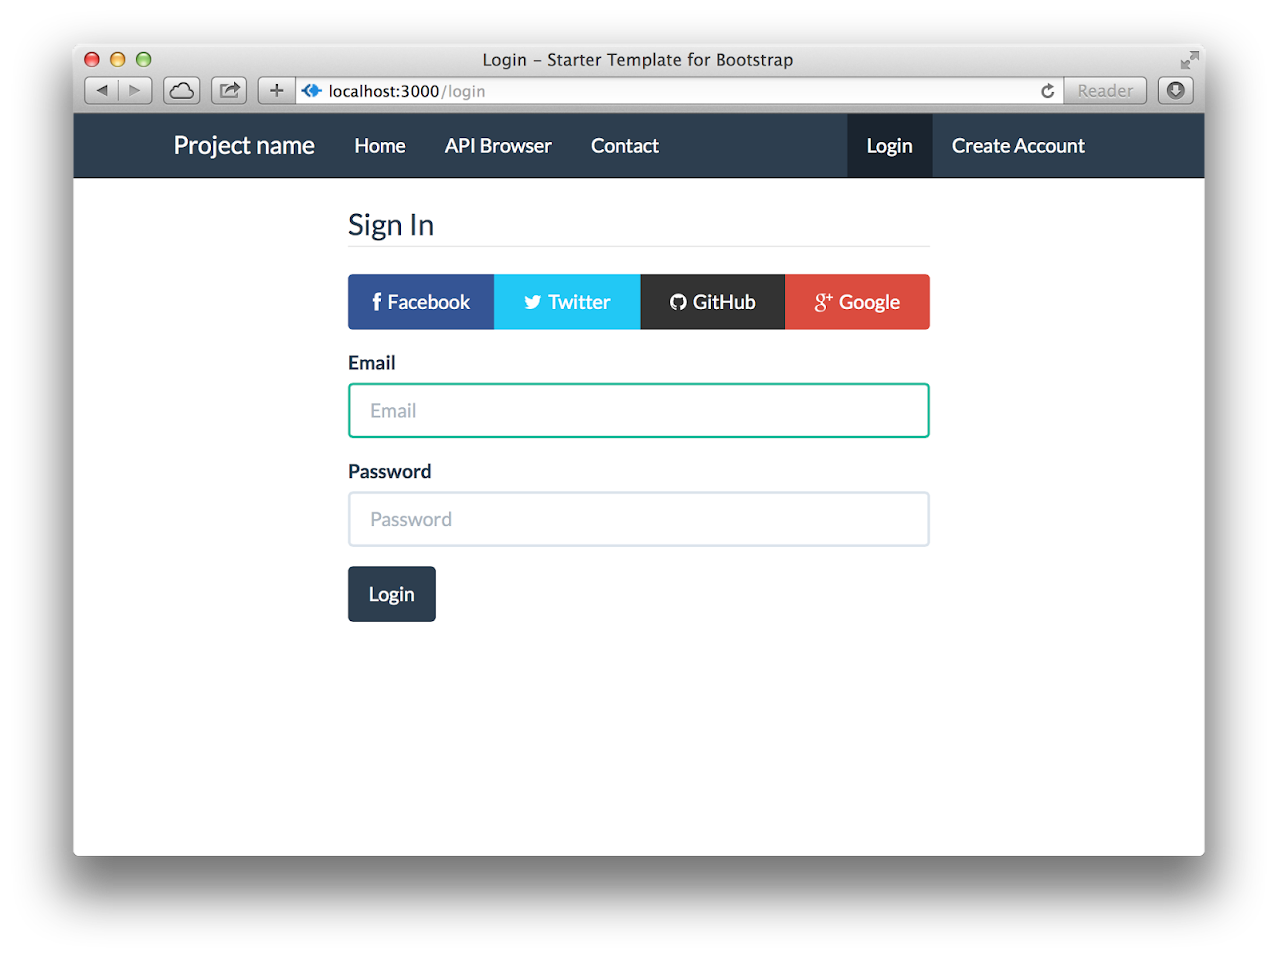
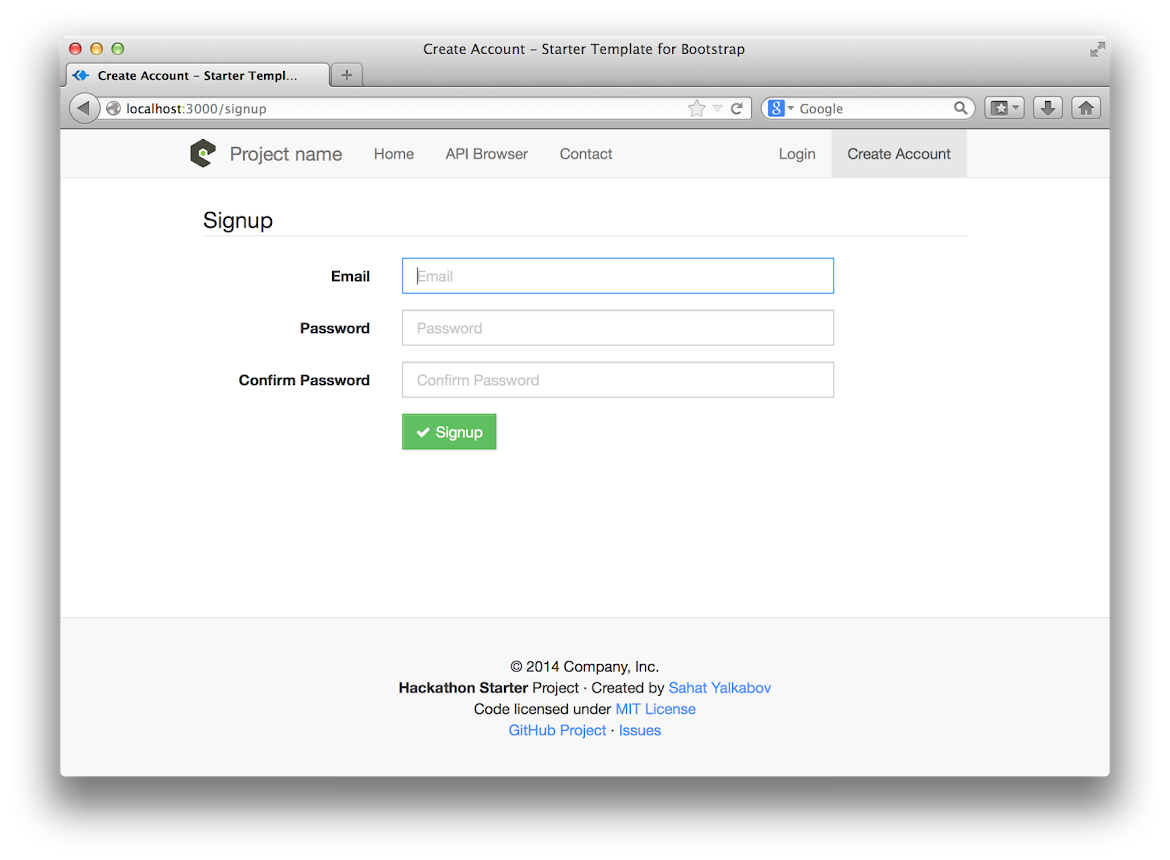
- Local Authentication using Email and Password
- OAuth 1.0a Authentication via Twitter
- OAuth 2.0 Authentication via Facebook, Google or GitHub
- Awesome flash notifications with animations by animate.css
- MVC Project Structure
- Node.js clusters support
- LESS stylesheets (auto-compiled via Express middleware)
- Bootstrap 3 + Flat UI + iOS7 Theme
- Contact Form (powered by Sendgrid)
- Account Management
- Profile Details
- Change Password
- Link multiple OAuth strategies to one account
- Delete Account
- API Examples: Facebook, Foursquare, Last.fm, Tumblr, Twitter, PayPal, and more.
- MongoDB
- Node.js
- Command Line Tools
- Mac OS X: Xcode (or OS X 10.9 Mavericks:
xcode-select --install) - Windows: Visual Studio
- Ubuntu:
sudo apt-get install build-essential - Fedora:
sudo yum groupinstall "Development Tools" - OpenSUSE:
sudo zypper install --type pattern devel_basis
❗ Note: If you are new to Node.js or Express framework, I highly recommend watching Node.js and Express 101 screencast that teaches Node and Express from scratch.
The easiest way to get started is to clone the repository:
# Fetch only the latest commits.
git clone --depth=1 git@github.com:sahat/hackathon-starter.git my-project

cd my-project

# Install NPM dependencies
npm install

node app.js
❗ Note: I strongly recommend installing nodemon
sudo npm install -g nodemon. It will monitor for any changes in your node.js application and automatically restart the server. Once installed, instead ofnode app.jsusenodemon app.js. It is a big time saver in the long run.
Next up, if you want to use any of the APIs or OAuth authentication methods, you will need to obtain appropriate credentials: Client ID, Client Secret, API Key, or Username & Password. You will need to go through each provider to generate new credentials.

❗ Note: When you ready to deploy to production don't forget to add your new url to Authorized Javascript origins and Authorized redirect URI, e.g.
http://my-awesome-app.herokuapp.comandhttp://my-awesome-app.herokuapp.com/auth/google/callbackrespectively.

| Name | Description |
|---|---|
| config/passport.js | Passport Local and OAuth strategies + Passport middleware. |
| config/secrets.js | Your API keys, tokens, passwords and database URL. |
| controllers/api.js | Controller for /api route and all api examples. |
| controllers/contact.js | Controller for contact form. |
| controllers/home.js | Controller for home page (index). |
| controllers/user.js | Controller for user account management page. |
| models/User.js | Mongoose schema and model for User. |
| public/* | Static assets, i.e. fonts, css, js, img. |
| public/css/styles.less | Imports Bootstrap + a theme that overrides default Bootstrap. |
| public/css/theme/default.less | The default styles that were previously inside style.less. |
| views/account/* | Templates relating to user account. |
| views/api/* | Templates relating to API Examples. |
| views/partials/flash.jade | Error, info and success notifications. |
| views/partials/navigation.jade | Navbar partial template. |
| views/partials/footer.jade | Footer partial template. |
| views/layout.jade | Base template. |
| views/home.jade | Home page template. |
❗ Note: There is no difference how you name or structure your views. You could place all your templates in a top-level views directory without having a nested folder structure, if that makes things easier for you. Just don't forget to update extends ../layout and corresponding res.render() method in controllers. For smaller apps, I find having a flat folder structure to be easier to work with.
/css/styles.css file, you should be editing styles.less stylesheet. Express will automatically generate minified styles.css whenever there are changes in LESS file. This is done via less-middleware node.js library.
- Jade Syntax Documentation by Example - Better than official docs.
- HTML to Jade converter - Extremely valuable when you need to quickly copy and paste HTML snippets from the web.
- Google Bootstrap - Google-styled theme for Bootstrap.
- Font Awesome Icons - It's already part of the Hackathon Starter, so use this page as a reference.
- Colors - a nicer color palette for the web.
- CSS Spinning Loaders - spinning loader in CSS.
- SpinKit - 8 awesome looking spinning loaders in CSS.
- Creative Button Styles - awesome button styles.
- 3D Dropdown Menu - CSS3 3D Dropdown Menu that folds and unfolds.
- Calendar in CSS - Nice looking calendar in pure HTML and CSS.
- Creative Link Effects - Beautiful link effects in CSS.
- Medium Scroll Effect - Fade in/out header background image as you scroll.
- nodemon - automatically restart node.js server on code change.
- geoip-lite - get geolocation coordinates from IP address.
- email.js - send emails with node.js (without sendgrid or mailgun).
- filesize.js - make file size pretty, e.g.
filesize(265318); // "265.32 kB". - Numeral.js - a javascript library for formatting and manipulating numbers.
- Hover - Awesome css3 animations on mouse hover.
- platform.js - Get client's operating system name, version, and other useful information.
- iCheck - Custom nice looking radio and check boxes.
- Magnific Popup - Responsive jQuery Lightbox Plugin.
- jQuery Raty - Star Rating Plugin.
- Headroom.js - Hide your header until you need it.
- Fotorama - Very nice jQuery gallery.
- X-editable - Edit form elements inline.
- Offline.js - Detect when user's internet connection goes offline.
- Color Thief - Grabs the dominant color or a representative color palette from an image.
- Alertify.js - Sweet looking alerts and browser dialogs.
- When you install a new npm package, add a --save flag and it will be automatially
added to
package.jsonas well. For example,npm install moment --save. - Use async.parallel() when you neeed to run multiple asynchronous tasks, and then render a page, but only when all tasks are completed. For example, you might want to scrape 3 different websites for some data (async operation) and render the results on a page after all 3 websites have been scraped.
From the Node.js Documentation:
A single instance of Node runs in a single thread. To take advantage of multi-core systems the user will sometimes want to launch a cluster of Node processes to handle the load. The cluster module allows you to easily create child processes that all share server ports.
cluster_app.js allows you to take advantage of this feature by forking a process of app.js
for each CPU detected. For the majority of applications serving HTTP requests,
this is a resounding boon. However, the cluster module is still in experimental stage, therefore it should only be used after understanding its purpose and behavior. To use it, simply run node cluster_app.js. Its use is entirely optional and app.js is not tied in any way to it. As a reminder, if you plan to use cluster_app.js instead of app.js, be sure to indicate that in Procfile if you are deploying your app to Heroku.
That's a custom error message defined in app.js to indicate that there was a connection problem to MongoDB:
mongoose.connection.on('error', function() {
  console.log('✗ MongoDB Connection Error. Please make sure MongoDB is running.'.red);
});
As the messages implies, you need to have a MongoDB server running before launching app.js. You can get MongoDB from
mongodb.org/downloads, or install it via a package manager
(Homebrew on Mac, apt-get on Ubuntu, yum on Fedora, etc.)
When I first started this project I didn't have any experience with Handlebars. Since then I have worked on Ember.js apps and got myself familiar with the Handlebars syntax. While it is true Handlebars is easier, because it looks like good old HTML, I have no regrets picking Jade over Handlebars. First off, it's the default template engine in Express, so someone who has built Express apps in the past already knows it. Secondly, I find extends and block to be indispensable, which as far as I know, Handlebars does not have out of the box. And lastly, subjectively speaking, Jade looks much cleaner and shorter than Handlebars, or any non-HAML style for that matter.
For the sake of simplicity. While there might be a better approach, such as passing app context to each controller as outlined in this blog, I find such style to be confusing for beginners. It took me a long time to grasp the concept of exports and module.exports, let alone having a global app reference in other files. That to me is a backward thinking. The app.js is the "center of the universe", it should be the one referencing models, routes, controllers, etc. When working solo I actually prefer to have everything in app.js as is the case with this REST API server for ember-sass-express-starter's app.js file. That makes things so much simpler!
Absolutely. But unlike a regular footer there is a bit more work involved. First, delete #wrap and #footer ID selectors and html, body { height: 100%; } from styles.less. Next, delete #wrap and #footer lines from layout.jade (By the way, If no element is specified before the class or id, Jade assumes it's a div element). Don't forget to indent everything under #wrap to the left once, since this project uses two spaces per block indentation.
It might be possible, but why would you want to? I specifically avoided client-side MV* frameworks in this project to keep things simple. There is a big shift in the way you develop apps with Ember, Backbone, Angular as opposed to server-side frameworks like Express, Flask, Rails, Django. Not only would you need to know how to use Express in this case, but also the client-side framework of your choice, which in itself is not a trivial task. And then there is a whole different process for authentication with single page applications. If you insist on using a client-side framework, it's best if you use a boilerplate of choice for your particular client-side framework and just grab the pieces you need from the Hackathon Starter.
This section is intended for giving you a detailed explanation about how a particular functionality works. Maybe you are just curious about how it works, or maybe you are lost and confused while reading the code, I hope it provides some guidance to you.
###:bulb: How do flash messages work in this project?
This project uses express-flash module for flash messages. And that
module is built on top of connect-flash, which is what I used in
this project initially. With express-flash you don't have to
explicity send a flash message to every view inside res.render.
All flash messages are available in your views via messages object by default,
thanks to express-flash.
Flash messages have a two-step process. You use req.flash('errors', { msg: 'Error messages goes here' }
to create a flash message in your controllers, and then display them in your views:
if messages.errors
  .alert.alert-danger.animated.fadeIn
    for error in messages.errors
      div= error.msg
In the first step, 'errors' is the name of a flash message, which should match the
name of the property on messages object in your views. You place alert messages
inside if message.errors because you don't want to show them flash messages are actually present.
The reason why you pass an error like { msg: 'Error messages goes here' } instead
of just a string - 'Error messages goes here', is for the sake of consistency.
To clarify that, express-validator module which is used for validating and sanitizing user's input,
returns all errors as an array of objects, where each object has a msg property with a message
why an error has occured. To keep consistent with that style, you should pass all flash messages
as { msg: 'My flash message' } instead of a string. Otherwise you will just see an alert box
without an error message. That is because, in partials/flash.jade template it will try to output
error.msg (i.e. "My flash message".msg), in other words it will try to call a msg method on a String object,
which will return undefined. Everything I just mentioned about errors, also applies
to "info" and "success" flash messages, and you could even create a new one yourself, such as:
Data Usage Controller (Example)
req.flash('warning', 'You have exceeded 90% of your data usage');
User Account Page (Example)
if messages.warning
  .alert.alert-warning.animated.fadeIn
    for warning in messages.warning
      div= warning.msg
partials/flash.jade is a partial template that contains how flash messages
are formatted. If you don't like the fadeIn animation, try something like
flipInX (refer to animate.css), or just
delete .animated.fadeIn from alerts if you don't want any animations. Or if you
want to customize your flash messages by displaying ✔ on success flash and ✗ on error
flash, this is the place where you would do all those customizations. Previously, flash
messages were scattered throughout each view that used flash messages
(contact, login, signup, profile), but now, thankfully it is uses a DRY approach.
The flash messages partial template is included in the layout.jade, along with footer and navigation.
body
  #wrap
    include partials/navigation
    .container
      include partials/flash
      block content
  include partials/footer
If you have any further questions about flash messages, please feel free to open an issue and I will update this mini-guide accordingly, or send a pull request if you would like to include something that I missed.
Todo
"Forgot your password" is only partially implemented at this time (Views and GET controller to display a form). Once the feature is live, I will update this section.
- Concatenate and minify all assets via Express middleware if possible, otherwise Gulp.js. Because even with caching enabled, there is at least 50-80ms delay for each static file request (On Heroku).
- Pages that require login, should automatically redirect to last attempted URL on successful sign-in.
- Add more API examples.
- Mocha tests.
- Once things are stabilized, create a CHANGELOG.md and follow a version format so people who already use Hackathon Starter could know what are the new changes.
If something is unclear, confusing, or needs to be refactored, please let me know. Pull requests are always welcome, but due to the opinionated nature of this project, I cannot accept every pull request. Please open an issue before submitting a pull request.
The MIT License (MIT)
Copyright (c) 2014 Sahat Yalkabov
Permission is hereby granted, free of charge, to any person obtaining a copy of this software and associated documentation files (the "Software"), to deal in the Software without restriction, including without limitation the rights to use, copy, modify, merge, publish, distribute, sublicense, and/or sell copies of the Software, and to permit persons to whom the Software is furnished to do so, subject to the following conditions:
The above copyright notice and this permission notice shall be included in all copies or substantial portions of the Software.
THE SOFTWARE IS PROVIDED "AS IS", WITHOUT WARRANTY OF ANY KIND, EXPRESS OR IMPLIED, INCLUDING BUT NOT LIMITED TO THE WARRANTIES OF MERCHANTABILITY, FITNESS FOR A PARTICULAR PURPOSE AND NONINFRINGEMENT. IN NO EVENT SHALL THE AUTHORS OR COPYRIGHT HOLDERS BE LIABLE FOR ANY CLAIM, DAMAGES OR OTHER LIABILITY, WHETHER IN AN ACTION OF CONTRACT, TORT OR OTHERWISE, ARISING FROM, OUT OF OR IN CONNECTION WITH THE SOFTWARE OR THE USE OR OTHER DEALINGS IN THE SOFTWARE.