In this repository you will find some of the top hosting options for static or dynamic full-stack web applications, all of which are free to use.
All of the websites listed below offer both a paid and a free tier; you can utilise the free tier to host your own personal projects and switch to the appropriate paid plan whenever you require additional resources.
Heroku used to be the go-to, cost-free provider for amateurs and beginners to deploy simple apps for learning and concept testing.
Heroku will stop offering free plans starting on November 28. Here, I've included a list of various totally free services where you may deploy your front-end and full-stack applications.
Vercel is a platform for static sites and frontend frameworks, built to integrate with your headless content, commerce, or database. Deploying your projects with vercel is super easy, it's just a matter of a few clicks.
- Just headover to https://vercel.com
- Sign Up with your github account
- Select the organisation or your account you want to
- Click on the import button next to your GitHub repository, which contains the project you want to deploy .
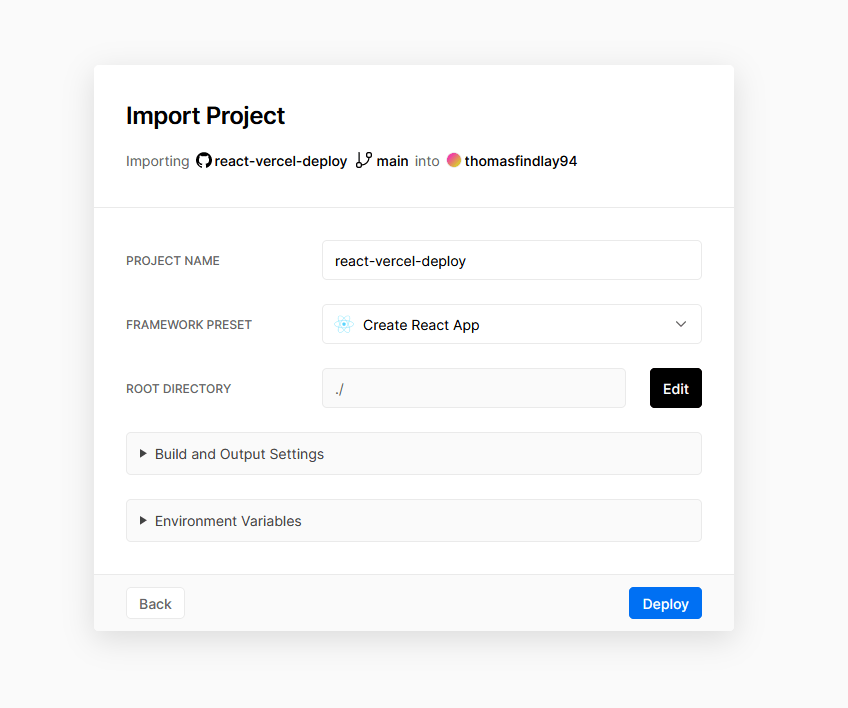
- A popup will appear where you can configure things like project directory root name, etc.
- Lastly, click on the deploy button, it will take a few minutes to build and deploy your application, and it will provide you with the vercel url where your website will be live.
Netlify is another very popular website for hosting your dynamic and static websites, but it only supports the front end, so you can't host full stack applications on Netlify. The deployment process is also very simple with Netlify; it's almost the same as with Vercel.
-
Go to https://www.netlify.com/
-
Sign Up with your github account
-
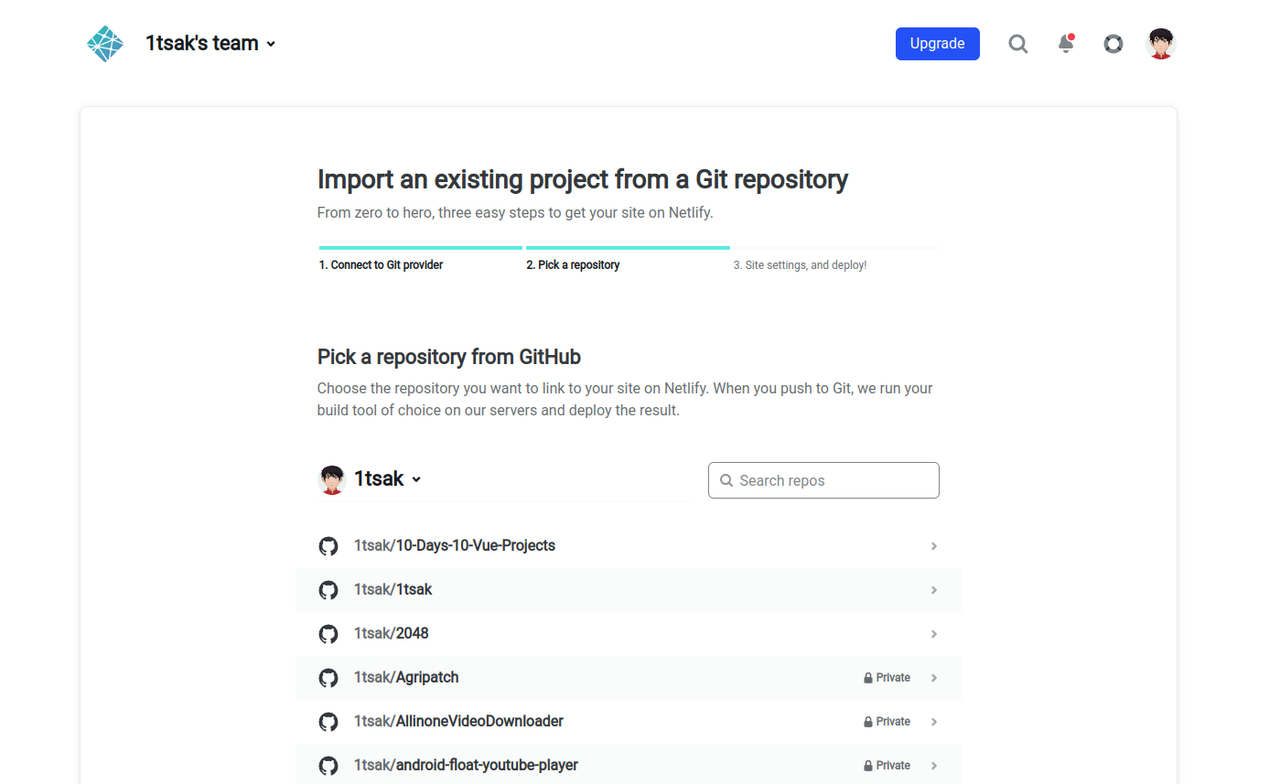
Click on "add new site and select import existing project." There is also an option to choose from available templates, or you can also upload your site manually.
-
Click on the import button next to your GitHub repository, which contains the project you want to deploy .
-
A popup will appear where you can configure things like project directory root name, etc.
-
Now click on the deploy button, it will take a few minutes to build and deploy your application and will show you the netlify url where your website will be live.
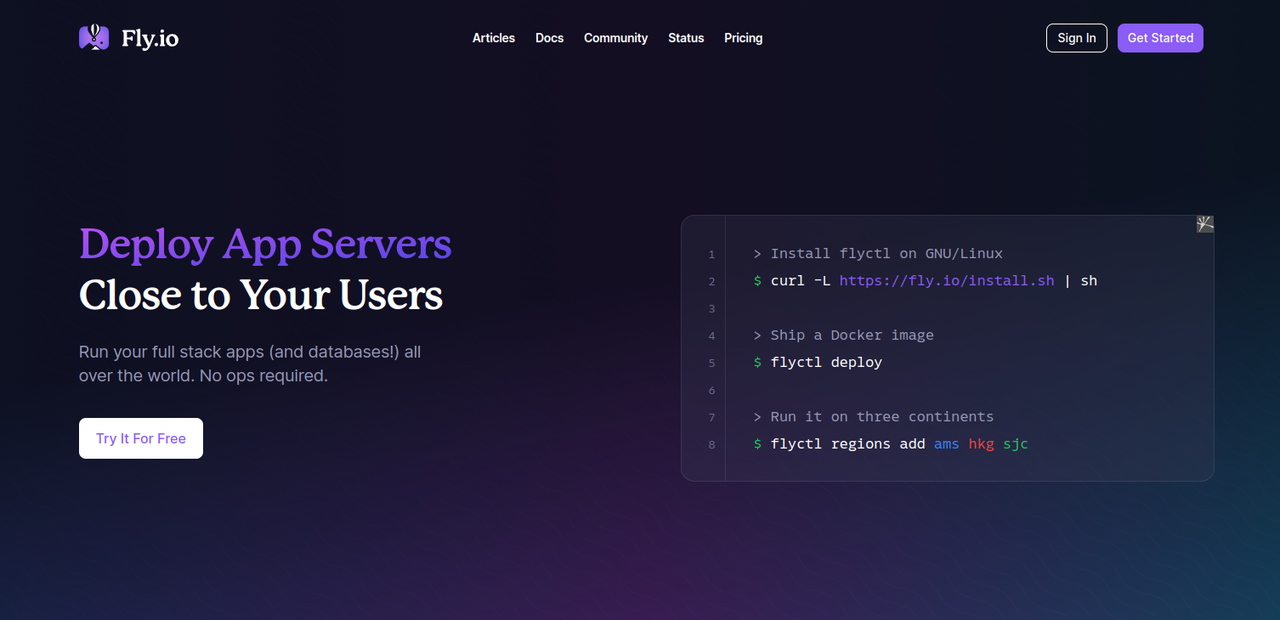
Fly.io is a global application distribution platform. With Fly.io, you can deploy your full-stack web applications in micro servers, which they call Firecracker microVMs. Whether it’s a simple web service or your database-backed opus with multiple supporting services, it can be easily deployed with it.
It uses Docker images to Firecracker your app to make it into a microVM. Fly.io offers a free tier plan for deploying and testing your small applications.
You can deploy your service using the cli with a few commands. It's super easy.
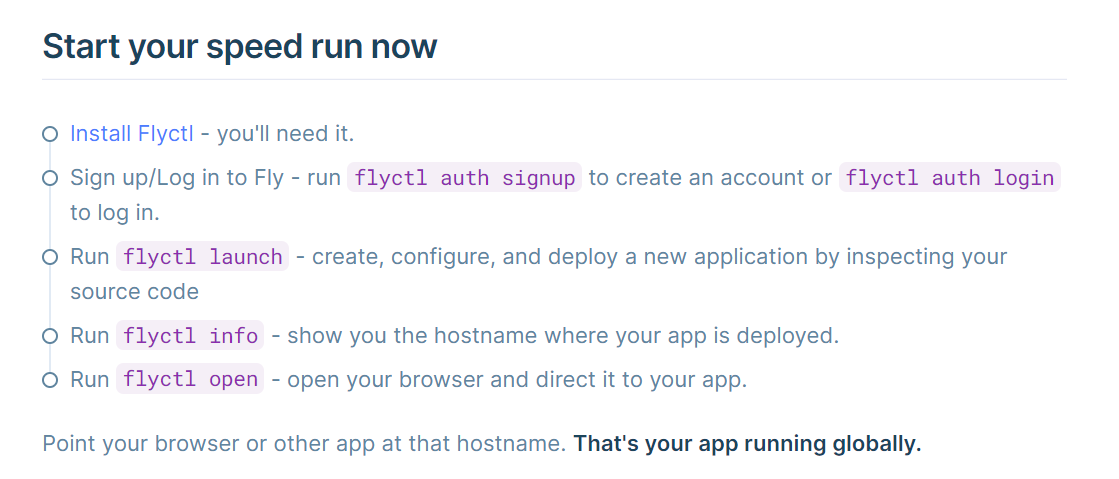
Now you can visit your https://fly.io dashboard and you can find your deployed app with the live url.

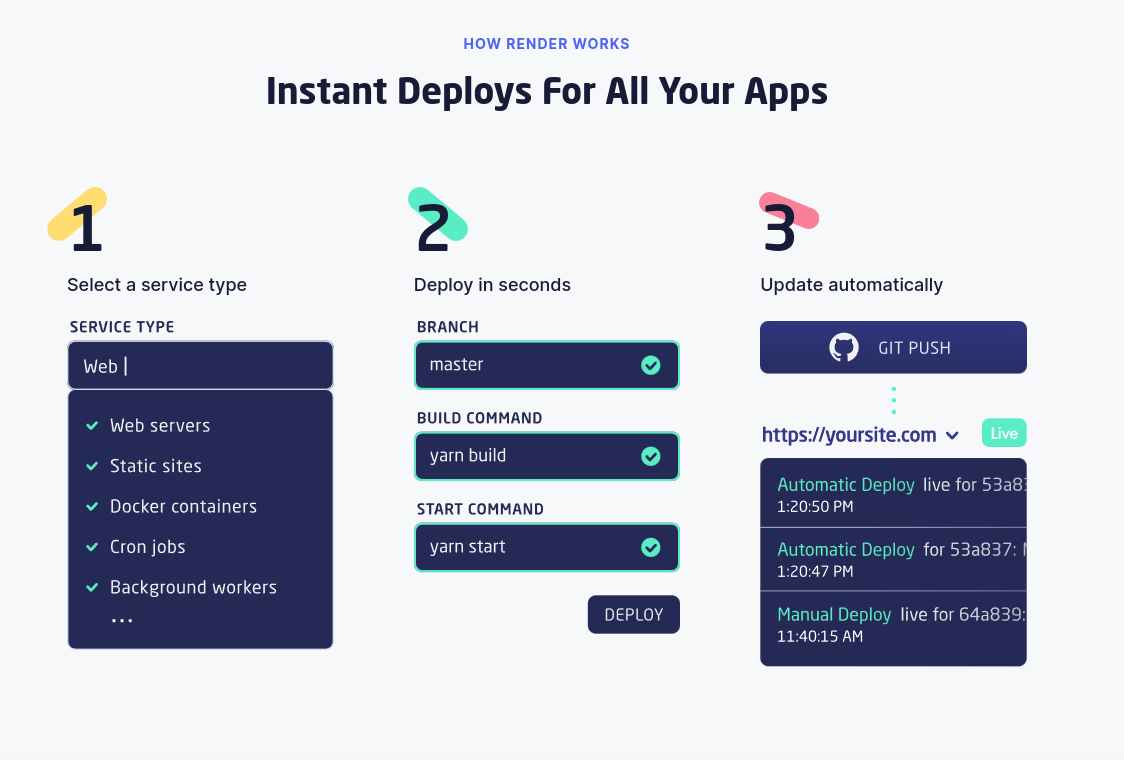
Render is a unified cloud to build and run all your apps and websites with free TLS certificates , a global CDN , DDoS protection , private networks , and auto-deploys from Git .
Deploymen with Render is also pretty easy and straight-forward.
- Just visit https://render.com/
- Register with your GitHub account. You can also choose to sign up with gitlab or your Google account.
- Now select your service from the options, a configuration page will be shown to you depending upon the service you are deploying. Fill in the details and proceed.
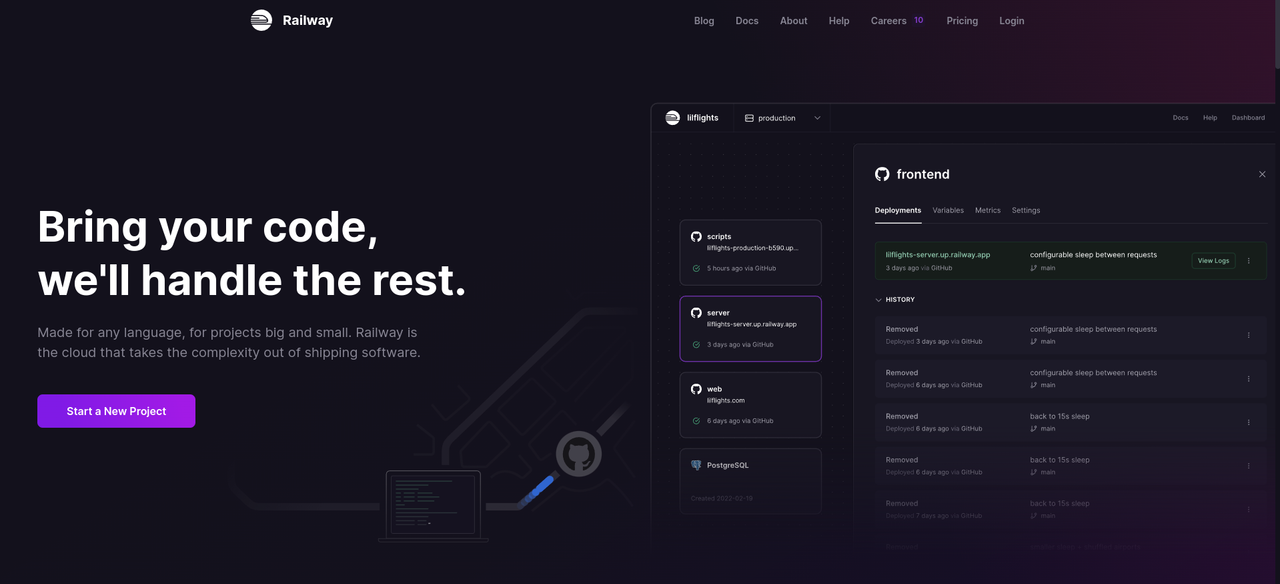
Railway is an infrastructure platform where you can provision infrastructure, develop with that infrastructure locally, and then deploy to the cloud. You can begin with your repository, or start with a template. Their tooling extends your app with plugins and variable management so environments are the same live as local.
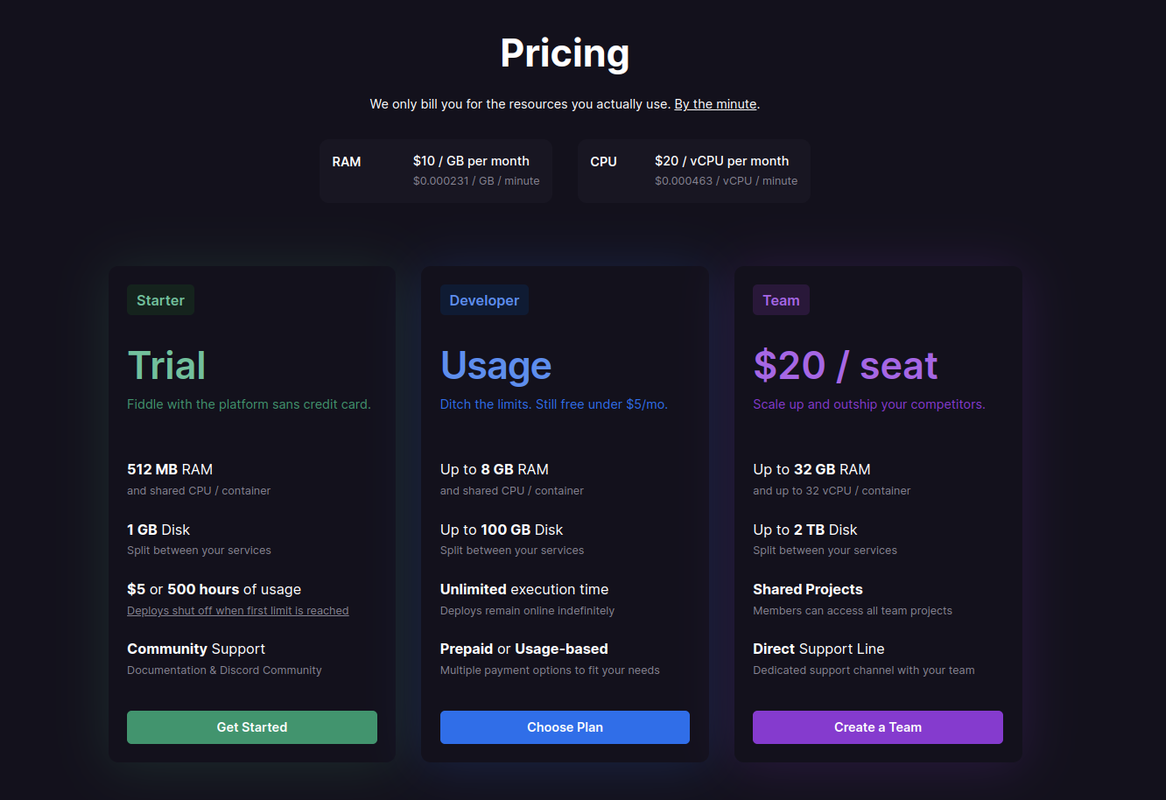
They have a free tier plan where you can deploy your apps for free until your usage falls under the resources offered.
Deployment with railway.app is simple
- Go to https://railway.app/
- Login with your GitHub account.
- Railway app will create a repository in your GitHub account and will use that for further deployments.
- Default repository name will be authorizer-railway but you can choose a different name and a domain will be created accordingly.
- Setup the configuration files and environment variables as per your application requirements.
- Railway offers a great CLI as well. It has some really useful features like service creation and management, as well as a local development environment.
- After deployment, you will get a link of your live website.
Amazon's cloud computing platform, AWS (Amazon Web Services), is extensive and constantly expanding. It combines infrastructure as a service (IaaS), platform as a service (PaaS), and packaged software as a service (SaaS) products.
Customers can explore and test out AWS services for free up to the allotted service-specific limits while using the AWS Free Tier. Three different types of offerings make up the Free Tier: a 12-month Free Tier, an Always Free deal, and short-term trials.
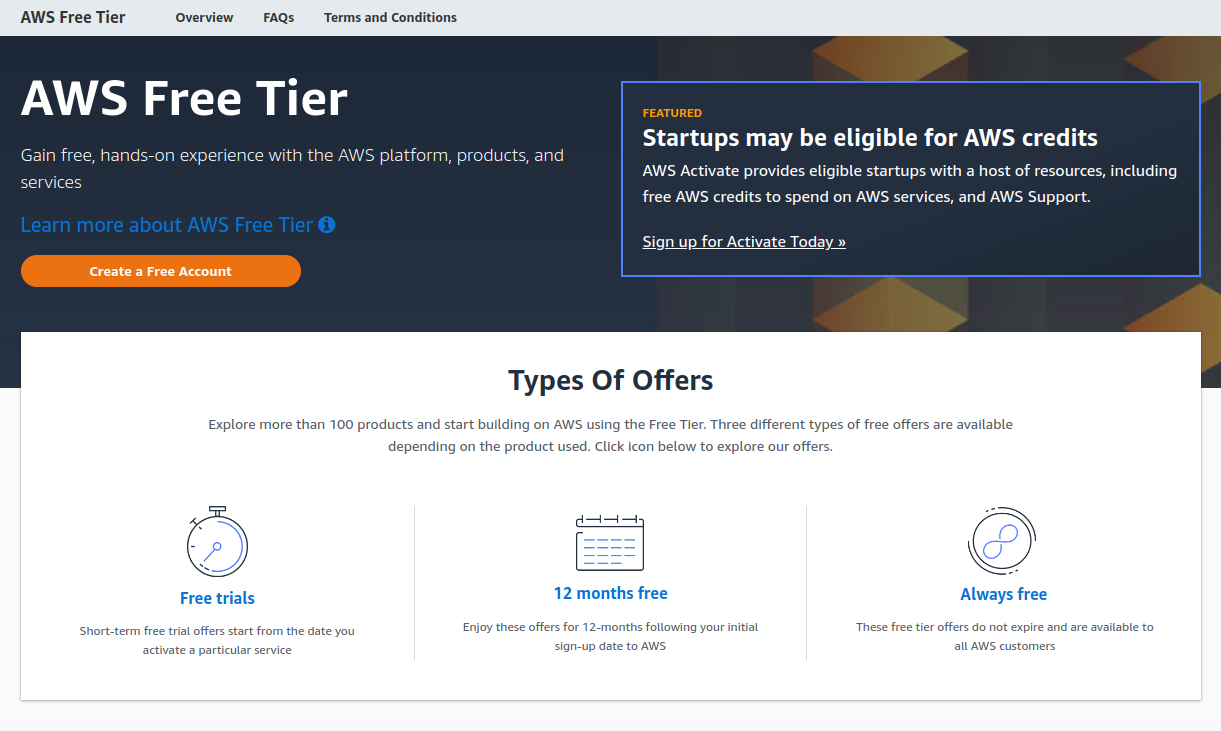
How to avail the aws free tier?
- First Open up your web browser and navigate to AWS Free Tier Page
- Click on "Create a free account," fill in the required details, and proceed.
- Select your AWS type (Profesional/ Personal) Fill in the contact details asked there, like address, postal code, etc.
- In the next step, it will ask for your PAN and payment details. You must fill in your credit card or debit card info and billing address and click on "Secure Submit."
- Don't worry, It will not charge you money until you overuse the limits.
- A very small amount will be charged just to verify your payment details, next you will be asked for your mobile number verification, just enter the mobile number and complete the process by entering the otp recieved.
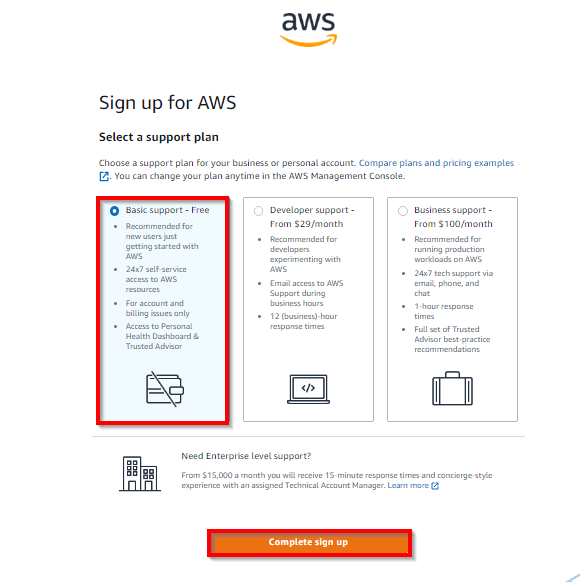
- In this very last step, you will be asked to select an AWS plan. Select the Basic Support-Free one and click Complete Sign Up.
- Congratulations! You just created your AWS account and availed the free tier. Now you can deploy and choose from the wide range of services that AWS offers.
- For more information on how to create an aws instance and deploy a simple application visit the official documentation