

TPScore simplifies TPS Data Analysis for non-technical users in the Polkadot Ecosystem.
TPScore aims to provide non-technical users in the Polkadot ecosystem with an accessible and user-friendly platform for analyzing TPS (Transactions per Second) data. Our goal is to bridge the gap between technical intricacies and user-friendly visualization, empowering individuals to make informed decisions about blockchain adoption, investment, and development.
The project consists of two main parts:
- ETL System
- User Interface (UI) with Data Visualizations
This repository contains the User Interface (UI) with Data Visualizations, that includes visually appealing and informative visualizations of the data, reducing users barier to understanding Polkadot parachains metrics. This repository is a part of Milestone 2 submission for the Grants-Program.
How to run the project using Docker
Run the ETL System first:
- Clone ETL System repository with
git clone& move into it withcd tpscore-etl-system
Create and Run MySQL Database Container
- Navigate to the 'db' directory from the project's root directory:
cd db - Build the Docker image using the Dockerfile:
docker build -t mysql_tpscore . - Run a container with the MySQL database exposing 3306 port:
docker run --name db_mysql -p 3306:3306 -d mysql_tpscore
Create and Run Airflow Container
- Navigate to the 'airflow' directory from the project's root directory:
cd ../airflow - Launch the airflow-init container:
docker compose up airflow-init - Build an image using the Dockerfile and docker-compose files:
docker build . - Start Airflow services:
docker compose up -d
Then run the TPScore UI project:
- Clone this repository with
git clone& move into it withcd tpscore-web-client
Create and Run Next.js Container
- Build the Docker image using the Dockerfile:
docker build -t tpscore-web-client . - Run a container with the Next.js exposing 3000 port:
docker run --name tpscore-web-client -p 3000:3000 -d tpscore-web-client
Then create a network and add containers to it.
- Create a Docker network:
docker network create net_tpscore - Connect the 'db_mysql' container:
docker network connect net_tpscore db_mysql - Connect the 'airflow_scheduler' container:
docker network connect net_tpscore airflow_scheduler - Connect the 'tpscore-web-client' container:
docker network connect net_tpscore tpscore-web-client
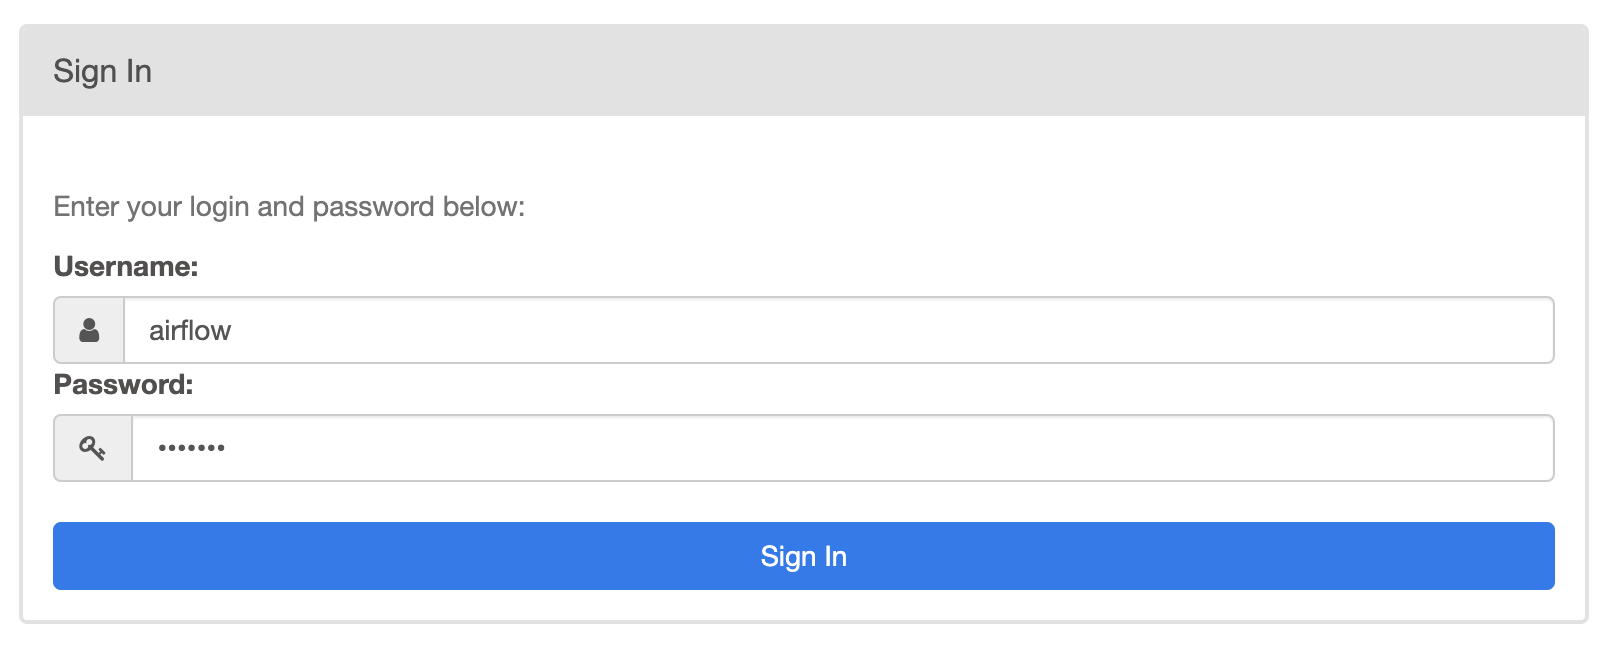
Access the Airflow GUI to run DAG:
- Go to http://localhost:8080/
- Log in using the credentials (airflow, airflow)
- Find the
get_data_tpscoreDAG and activate it by moving toggle to the right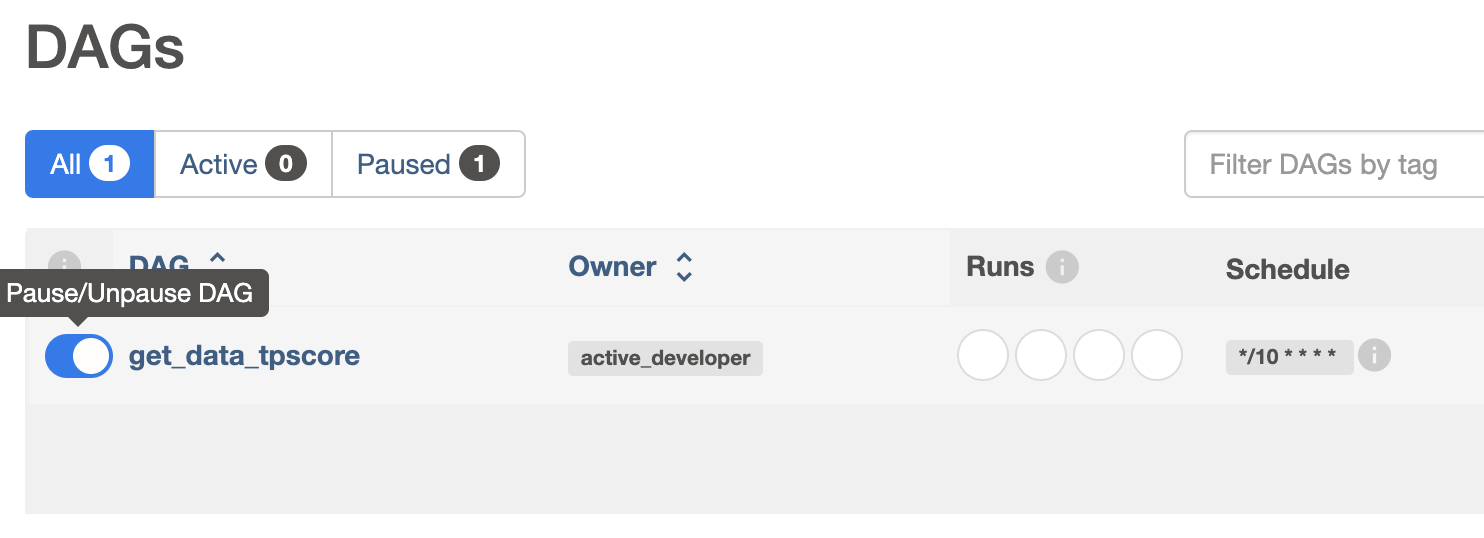
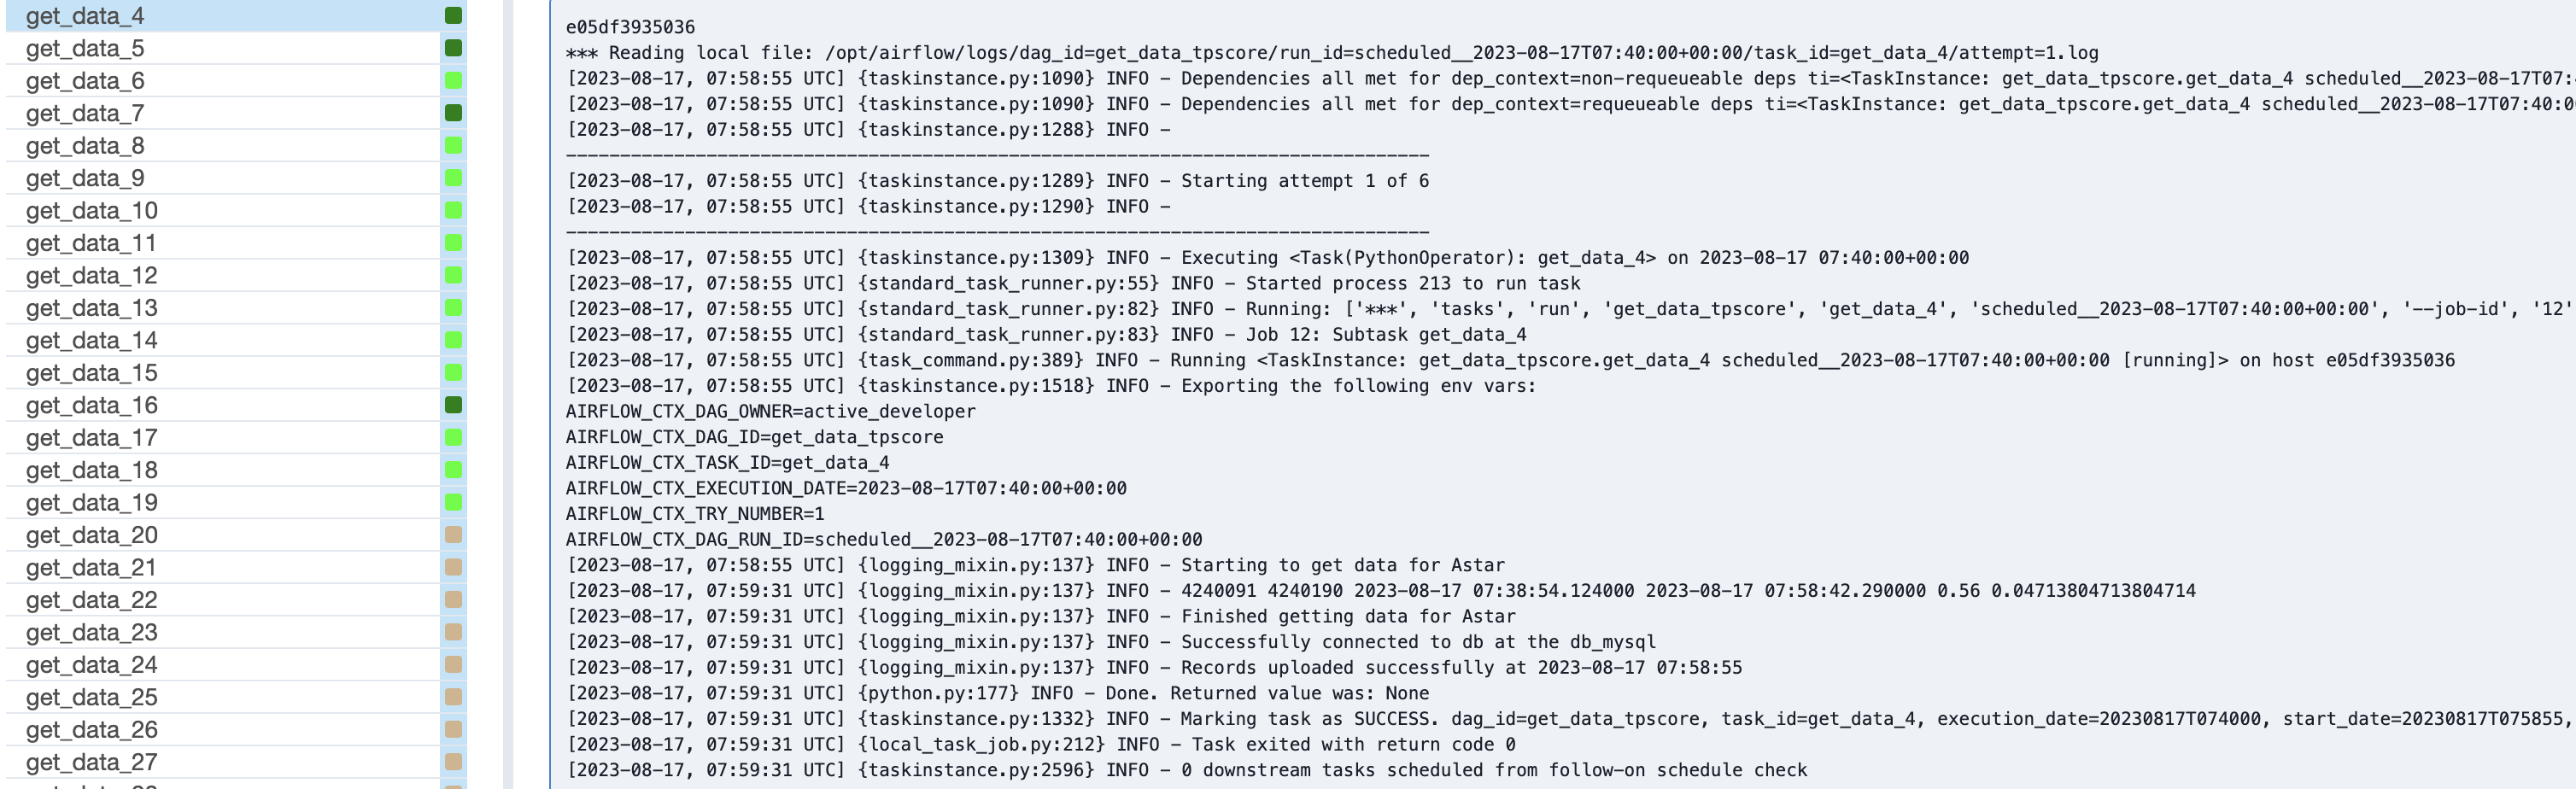
- Click on the DAG to verify successful execution (squares will be dark green, indicating error-free execution).
Access the TPScore UI
- Go to http://localhost:3000/ and verify all parachains are there.

- Prerequisites
- Install dependencies
yarn install- Add database credentials inside
.env.local.
DB_HOST=db_host
DB_USER=db_admin
DB_PASSWORD=db_admin_password
DB_NAME=db_name
- Run project
yarn devyarn lintUnit tests for core functions of the application are in src/test.
yarn test
yarn coverageyarn buildyarn startThis open-source project was developed for the Polkadot community and relies on various open-source libraries:
- TypeScript
- Next.js
- React.js
- ESlint
- Prettier
- Vitest
- Tailwind CSS
- Autoprefixer
- PostCSS
- node-mysql2
- usehooks-ts
- zustand
- clsx
- DOMPurify
This project is licensed under GPLv3. For more details, refer to the license document.