


A simple website with a collection of open-source events happening across the globe. This is a beginner-friendly repository that helps you learn git and contribute to web projects.


- Frontend: https://fossevents2.netlify.app/
- Backend: https://foss-events.herokuapp.com
- Figma File: Click Here
- Firefox: version 4 and up
- Chrome: any version
- Safari: version 5.2 and up
- Internet Explorer/Edge: version 8 and up
- Opera: version 9 and up
- Frontend: HTML5, CSS3, JavaScript
- Backend: Node.js, Express.js
- IDE: VS Code
- Version Control: Git and GitHub
- Database: MongoDb
- Hosting: Render, Netlify
| S.No. | Branch Name | Purpose |
|---|---|---|
| 1. | master | contains the frontend code |
| 2. | backend | contains all backend code |
Frontend
- Fork and clone the Repo by typing the following commands in the terminal
$ git clone https://github.com/DSC-JSS-NOIDA/Foss-events2.0.git
$ cd Foss-events2.0/Frontend
- Open this folder in your favourite IDE.
- Run
npm install. - Run
git pullcommand to sync with remote repo. - Move to
datafolder and openevents.jsonfile. - Now to add an event to website, add an object with keys same as listed in existing objects in the file.
- Run
npm startfor starting server. - Save and commit your code.
- Push to your fork of the repository , navigate to original repository and make a pull request.
Backend
Note: You must have Nodejs installed
- Fork and clone the Repo by typing the following commands in the terminal
$ git clone https://github.com/your-username/Foss-events2.0.git
$ cd Foss-events2.0


- Change Branch using:
$ git checkout backend
$ cd Backend

- Get connection string from Mongo Atlas by creating a cluster or you can also use your locally installed mongodb
- You can click here to learn how to connect atlas to you project
- Create a new file named
.envin the Backend folder and copy the format of.env.examplefile - Paste the connection string in the
.envfile in theDB_CONNECTvariable - Install node dependencies using:
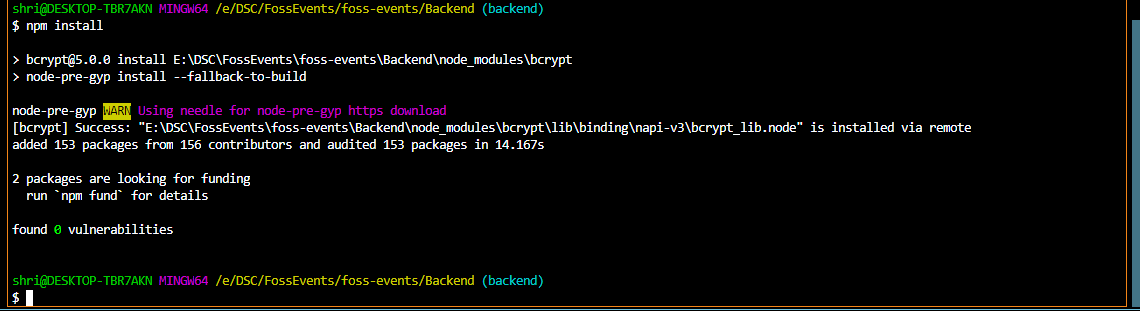
$ npm install
- To start the server, type:
$ node server

- Make changes to the code(for ex- add an update route)
- Stage your changes using:
$ git add .
- Commit your changes using:
$ git commit -m "add any comment"
- Push the changes to the forked repository using:
$ git push
- Navigate to the original repository and make a pull request
Currently working Routes
- Get Routes:
/event- Displays all the events/event/:title- Displays the details of the specific event
- Post Routes:
/users/login- Login Route/users/signup- Signup Route/event/addevent- Route for adding an event
- Git and Github: Git and Github for Beginners
- Frontend: Frontend development for Beginners
- Backend: Node.js for Beginners


Made By DSC JSS NOIDA with ❤️


Need help? Feel free to contact us @ dscjssnoida@gmail.com
