Ino Getting Started
In this quick tutorial we will go through the installation for the Arduino IDE.
- Experience level: beginner
- Basic computer user level
- Basic programming skills (C/C++)
- Basic soldering skills (recommended)
| Name | Picture |
|---|---|
| TLE5012 Sens2Go kit | 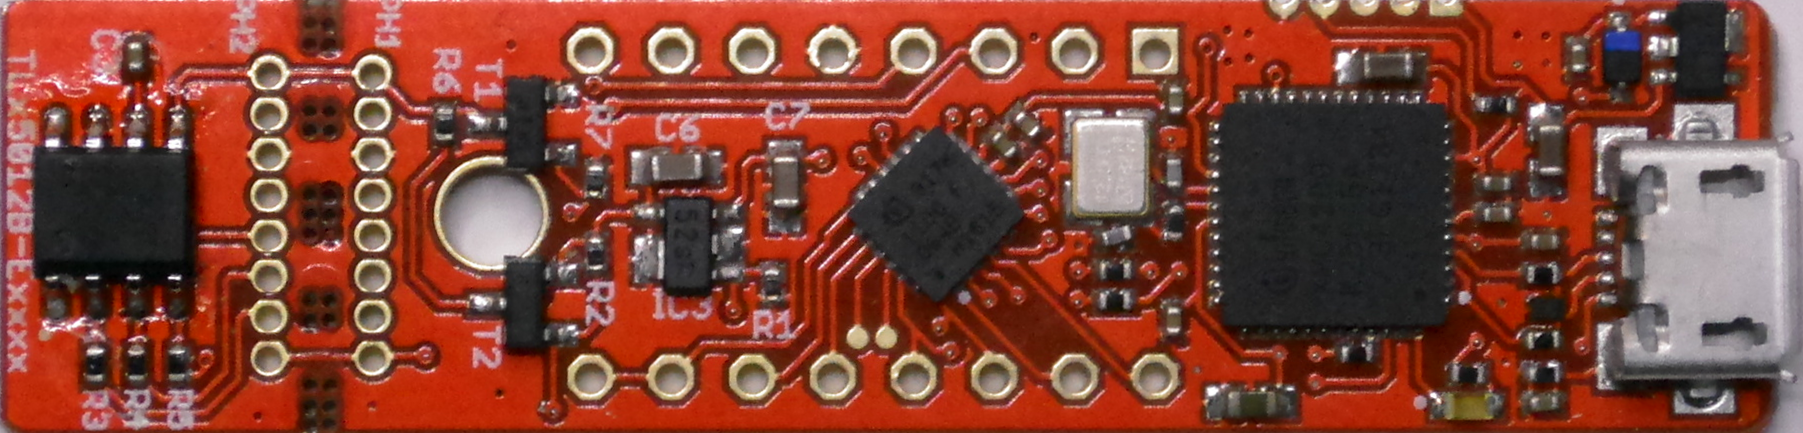 |
| a Magnet |  |
| Micro-USB to USB A cable |
- Segger J-Link either for Windows or Linux
- Arduino IDE either for Windows or Linux
- XMC-for-Arduino (Installed with Arduino IDE)
- this library (Installed with Arduino IDE, v2.0.0 or higher)
-
Install Arduino IDE. If you are new to Arduino, please download the program and install it first.
-
Install XMC Board. The official Arduino boards are already available in the Arduino software, but other third party boards as the Infineon XMC MCU based need to be explicitly included. Follow the instructions in the link to add the XMC board family to Arduino.
-
Install the library. In the Arduino IDE, go to the menu Sketch > Include library > Library Manager. Type TLE5012 and install the library.

- additional install additionally the Segger J-Link if you use an Infineon Sens2Go Kit.
The TLE5012 Sens2Go kit does not need any further setup, simply connect it to the computer with the USB cable, select an example Sketch and run this.
With everything ready, now we are going to upload and run one of the library examples.
-
Example sensorType
Take the sensorType example to check which variant of the TLE5012B you have. Fetch it from the *File -> Example -> TLE5012B -> Read_Sensor_Type' menu, connect everything and compile the example. Open the terminal from the IDE it will soon prompt the TLE5012B ready message and prints out the the register settings, the type of Sensor and interface and the setting of the main registers in words. Take this example to check your TLE5012 sensors if you have more than one with different interfaces.
-
Example with some data output, testSensorMainValues.
Take this example to generate a constant looping output of several values from the sensor like, angle, the angle speed, the number of revolutions and temperature of the sensor. Take a magnet and turn it in front of the sensor and look at the changes of the values.
-
Have some fun with the sensor, try out the processing games
Under the processing directory, you can find several small games written in the language of processing (Processing). Each of this games needs either the readAngleValueProcessing or the readSpeedProcessing example. Play the games by using the magnet in front of the sensor.
If use the readAngleValueProcessing with the Arduino IDE console, than you get a fast angle value output (Set the baud rate of the console to 1000000).