Install
- Please also note the original install instructions for Caffe: http://caffe.berkeleyvision.org/installation.html
- Install all pre-requirements from the Caffe install instructions. Afterwards proceed here.
- In the DeepDriving instructions there are some additional pre-requirements mentioned, which are not covered by the Caffe instructions:
     sudo apt-get install libplib-dev
     sudo apt-get install libopenal-dev
     sudo apt-get install libalut-dev
     sudo apt-get install libvorbis-dev
     sudo apt-get install libxxf86vm-dev
     sudo apt-get install libxmu-dev
     sudo apt-get install libxrender-dev
     sudo apt-get install libxrandr-dev
     sudo apt-get install libz-dev
     sudo apt-get install libpng-dev
- Change to a directory where you want to clone caffe
- Clone the repository:
git clone https://github.com/Netzeband/caffe-deepdriving.git
cd caffe-deepdriving
- The path on which caffe was cloned is called
<repository-path>in the following instructions.
- Start the cmake-GUI
cmake-gui &
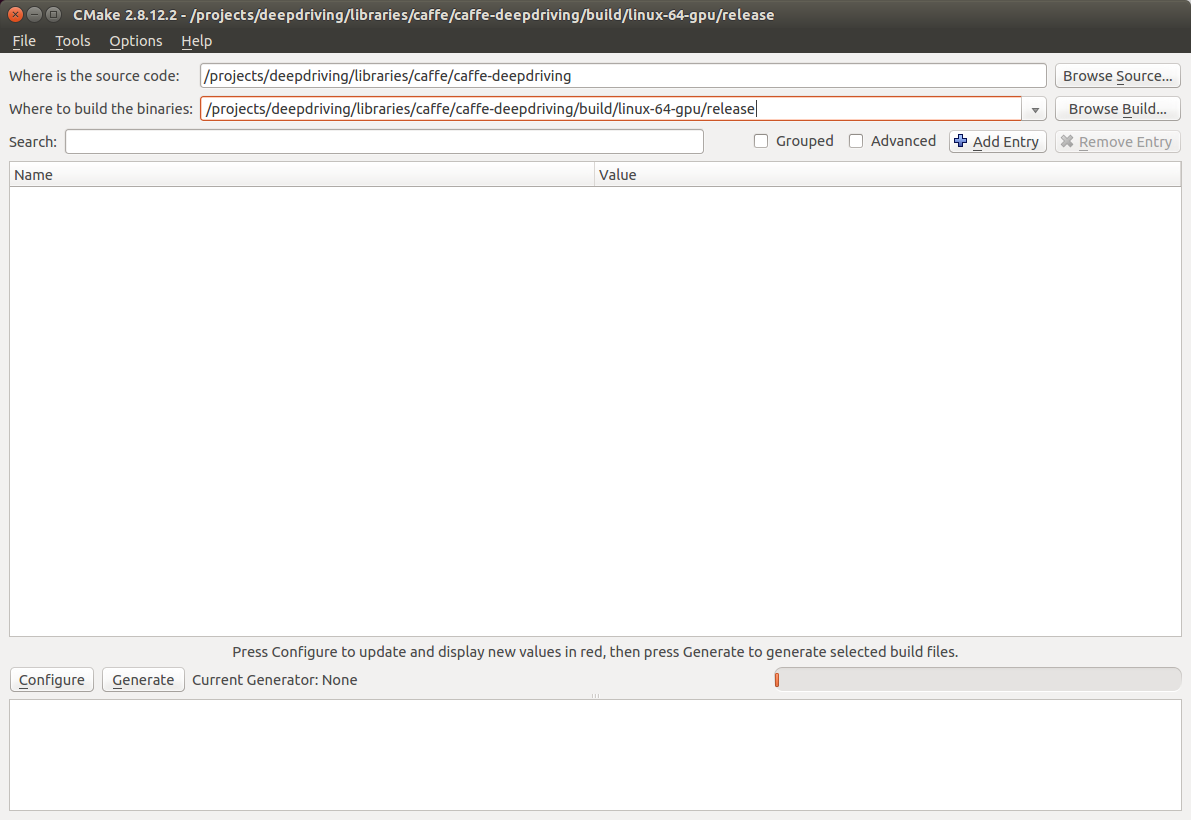
- Add the path to the cloned repository in the field "Where is the source code". This path is referred in this instruction as
<repository-path>. - Enter
<repository-path>/build/linux-64-gpu/releasein the field "Where to build the binaries".- Note: In this instruction we will build caffe for a 64bit Linux (Ubuntu 14.04) with GPU support.
-
Press "Configure". If it asks you to create the build-directory, answer with "Yes".
-
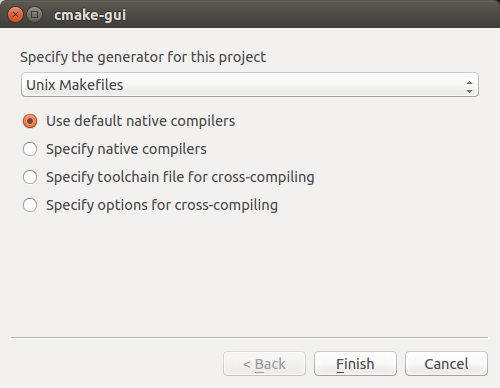
Chose "Unix Makefiles" and the option "Use default native compilers". Then press "Finish".
-
It will now check your system and tell you if something is missing (any libraries for example). If something is missing it will show you red warnings in the console window below the "Configure" and "Generate" button.
-
Note: All new build-variables are highlighted red in the variable-window. This is normal and does not indicate an error.
-
Possible issues:
- Any pyhton module is missing: This can be ignored, since the DeepDriving project does not use python at all.
-
cuDNN not found: It is recommended to use the GPU and cuDNN. Download it from https://developer.nvidia.com/rdp/cudnn-download (registration necessary) and copy the content of the archive (header-file and precompiled library) into the cuda installation directory (for example
/usr/local/cuda/). - The HDF5 include directory is set to HDF5-NOTFOUND: This was seen on Ubuntu 14.04. However during configuration there was the message "Found HDF5: /usr/lib/x86_64-linux-gnu/libhdf5_hl.so;/usr/lib/x86_64-linux-gnu/libhdf5.so". It turned out, that Caffe was able to compile without issues. Thus the HDF5-NOTFOUND entry can be ignored in this case.
-
If everything is correct it should look like:
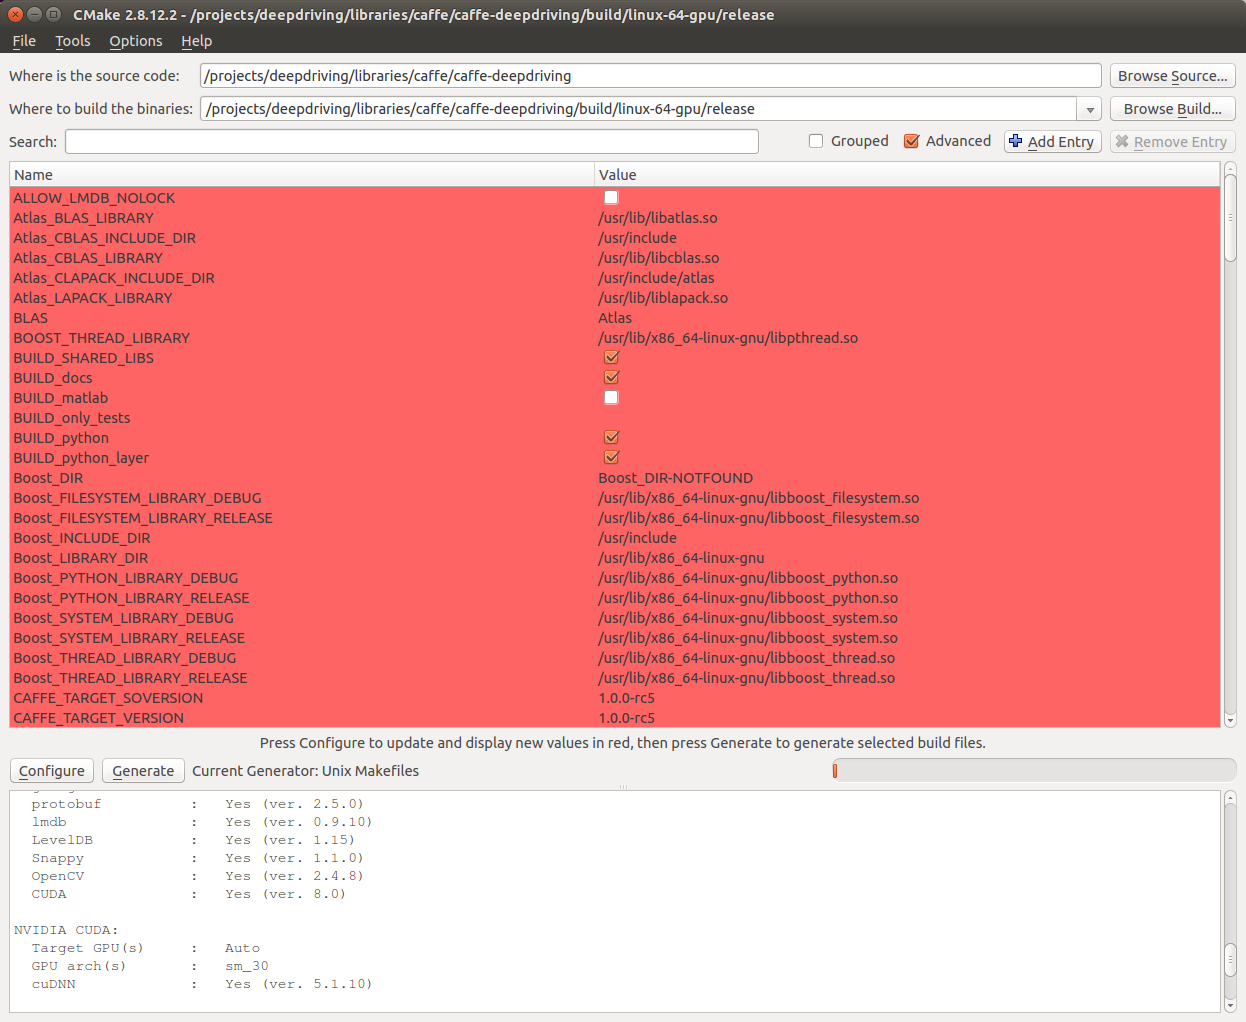
- The following configure summary is shown:
******************* Caffe Configuration Summary *******************
General:
  Version           :   1.0.0-rc5
  Git               :   rc5-dirty
  System            :   Linux
  C++ compiler      :   /usr/bin/c++
  Release CXX flags :   -O3 -DNDEBUG -fPIC -Wall -Wno-sign-compare -Wno-uninitialized
  Debug CXX flags   :   -g -fPIC -Wall -Wno-sign-compare -Wno-uninitialized
  Build type        :   Release

  BUILD_SHARED_LIBS :   ON
  BUILD_python      :   ON
  BUILD_matlab      :   OFF
  BUILD_docs        :   ON
  CPU_ONLY          :   OFF
  USE_OPENCV        :   ON
  USE_LEVELDB       :   ON
  USE_LMDB          :   ON
  USE_NCCL          :   OFF
  ALLOW_LMDB_NOLOCK :   OFF

Dependencies:
  BLAS              :   Yes (Atlas)
  Boost             :   Yes (ver. 1.54)
  glog              :   Yes
  gflags            :   Yes
  protobuf          :   Yes (ver. 2.5.0)
  lmdb              :   Yes (ver. 0.9.10)
  LevelDB           :   Yes (ver. 1.15)
  Snappy            :   Yes (ver. 1.1.0)
  OpenCV            :   Yes (ver. 2.4.8)
  CUDA              :   Yes (ver. 8.0)

NVIDIA CUDA:
  Target GPU(s)     :   Auto
  GPU arch(s)       :   sm_30
  cuDNN             :   Yes (ver. 5.1.10)

Python:
  Interpreter       :   /usr/bin/python2.7 (ver. 2.7.6)
  Libraries         :   /usr/lib/x86_64-linux-gnu/libpython2.7.so (ver 2.7.6)
  NumPy             :   /usr/local/lib/python2.7/dist-packages/numpy/core/include (ver 1.12.1)

Documentaion:
  Doxygen           :   No
  config_file       :

Install:
  Install path      :   /projects/deepdriving/libraries/caffe/caffe-deepdriving/build/linux-64-gpu/release/install

Configuring done
-
To not mix up build and install path, you can select a different install path by changing the variable
CMAKE_INSTALL_PREFIXto<repository-path>/install/linux-64-gpu/release -
Change the build type to "Release" (variable
CMAKE_BUILD_TYPE) -
Click on "Generate" to generate the makefile. In the console window you should see "Generating done".
-
Change the directory in the terminal to the build directory
cd <repository-path>/build/linux-64-gpu/release
- Compile and install caffe
make
make install
- Attention: The Caffe unit tests (make runtest) will not pass, because the DeepDriving project changes the behaviour of the data-layer and euclidean-loss-layer.
- Add the installation path to the environment variables of your terminal:
export DEEPDRIVING_CAFFE_PATH=<path-to-caffe-installation>
- Or add it permanently to all terminals:
echo "export DEEPDRIVING_CAFFE_PATH=<path-to-caffe-installation>" >> ~/.bashrc
source ~/.bashrc