2.1.2 Teardown
As described within the Hardware Requirements an original GameCube case is required. Choosing a broken and used GameCube is always the better choice so we don’t take apart a working GameCube and don’t need to worry if we accidently break any working component. The case should look as unharmed and good as possible to have a nice end result.
NOTE: Make sure you choose a case/game-cube that comes with all expansion slot cover plates! (e.g. for the ethernet adapter)
The actual teardown should be no problem if the right screwdriver bits are present. It is the best to store every component somewhere until the very end of the project at a safe place to avoid any scratches on components we might need.
Tearing down a GameCube is not covered in this guide as there are many very great guides already around describing the process.
Note: I recommend cleaning all components now as good as possible. (e.g., remove any yellowness from the plastic with hydrogen peroxide) You can use some isopropyl for basic cleaning.
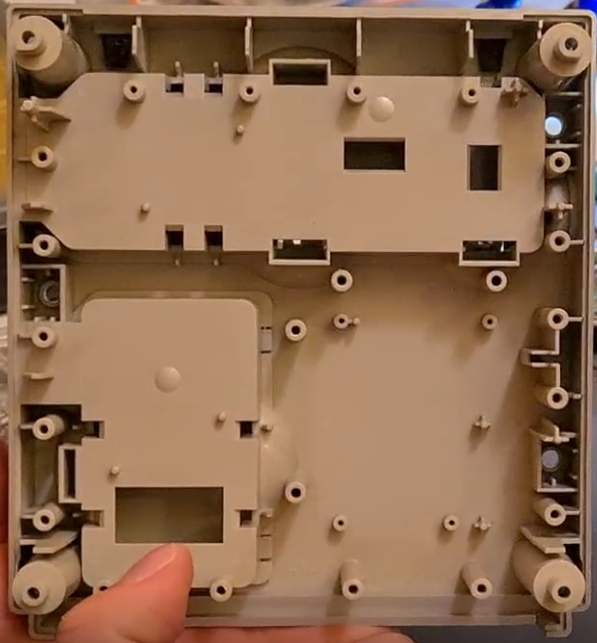
In the end we should have the following pieces present for the next steps:
-
The bottom part of the case with all cover plates
-
The grey front cover holding the controller ports
-
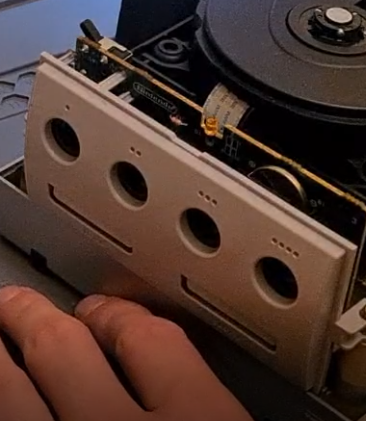
The top part of the case with a working disc tray opening mechanism
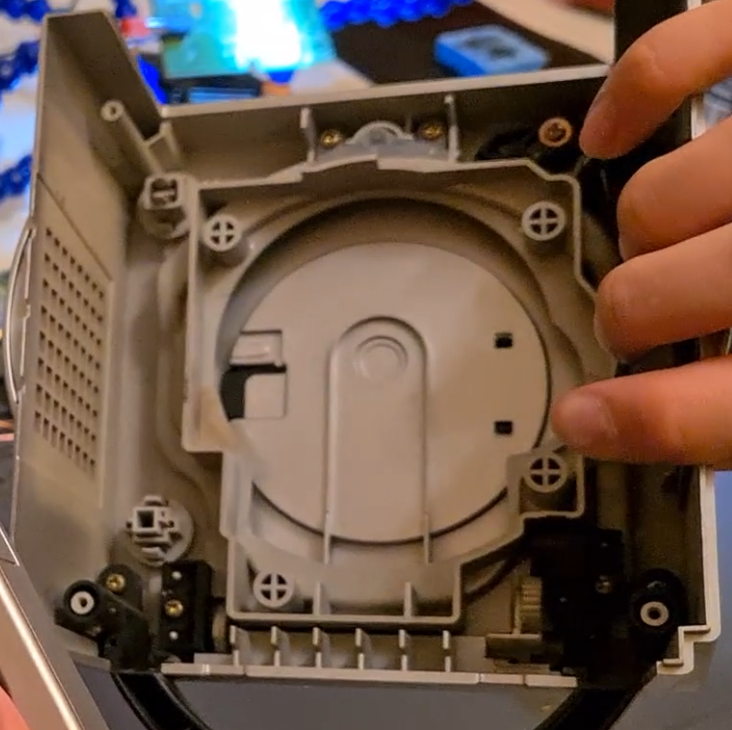
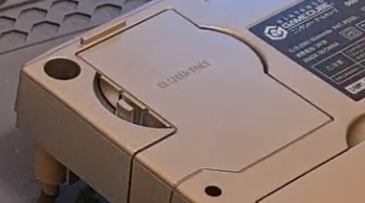
NOTE: Remove the black circle plate with the GameCube-logo on it from the case as it scratches very easily!
The logo plate can be removed by opening up the lid and carefully pressing down the two little black pieces inside the lid itself.
![]()