Heroku Initial Setup
Heroku is the app that links Saleforce to our mobile phones. Heroku is our handshake, our go-between, our connector. Heroku makes it possible to use one Salesforce license for many field workers.
- Go to https://www.heroku.com/home and sign up for a Heroku account. Note: Heroku no longer has a free tier as of November 28, 2022. You will need to subscribe to the lowest level tier, called Eco and Basic.($5 USD/month).
- Once you set up the Heroku account, configure Multi-Factor Authentication for Heroku to secure your account further.
There are two ways you can enable MFA: from Account Settings or by responding to the MFA enablement reminder on Dashboard. As part of the enablement process, you register at least one MFA verification method.
Click the [Deploy to Heroku] button below to start creating the Heroku app.

Give your app a name and enter it in the App name field (or, leave this field blank to let Heroku generate a cute name for you). Remember the name of your Heroku app because your field workers will need to use it in their first-time mobile app setup.
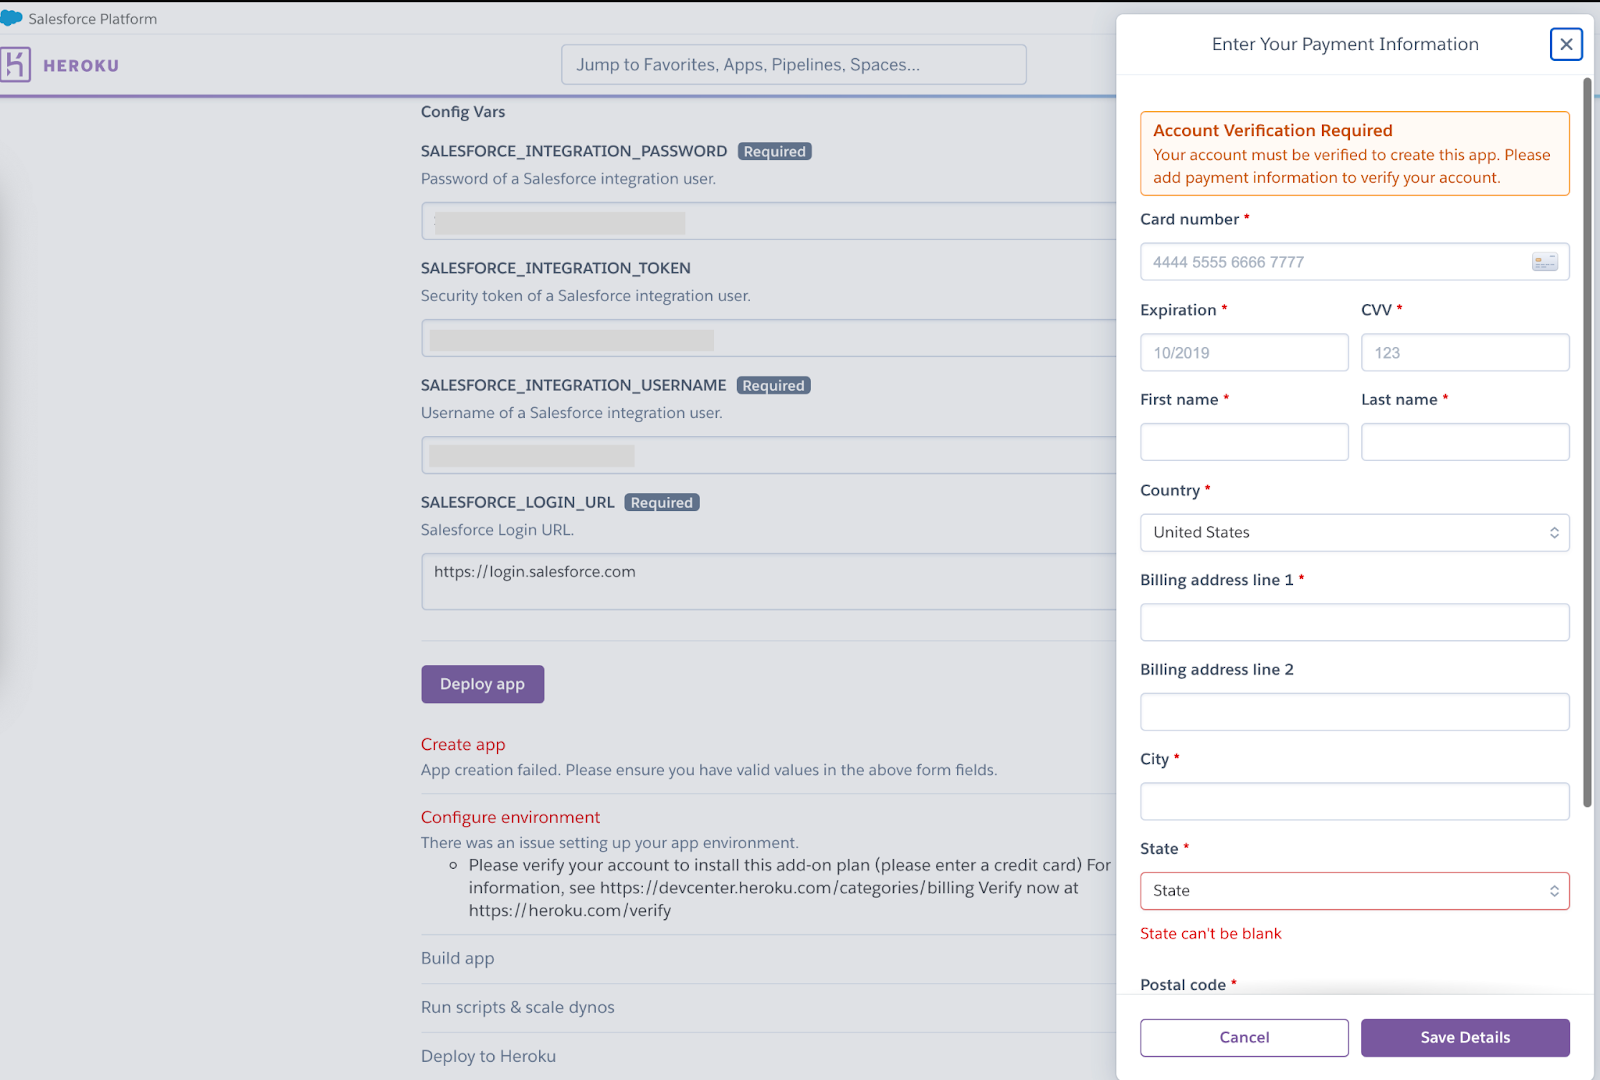
Next enter the details of your Salesforce integration user (the one you set up here) in the Config Vars section. If needed, you can generate a new security token by logging into Salesforce as the integration user and following the instructions here. Then click the [Deploy app] button on the bottom of the page.

Once your Heroku app has deployed, open it in Heroku by clicking on it in your Heroku home dashboard. Click on the Settings tab for your app and scroll to the Domains section. Your app's domain will be the name you gave your app plus a dash and random alphanumeric string. This is your app name that you will need for your mobile clients.
Example - If your Domain show as https://grms1-729ccd5a354c.herokuapp.com/ , then grms1-729ccd5a354c is your app name.
After the app is successfully deployed, click [Manage App] to open the settings page. If you don't see a [Manage App] button, go to the main Heroku page and then click on your Heroko app's name.
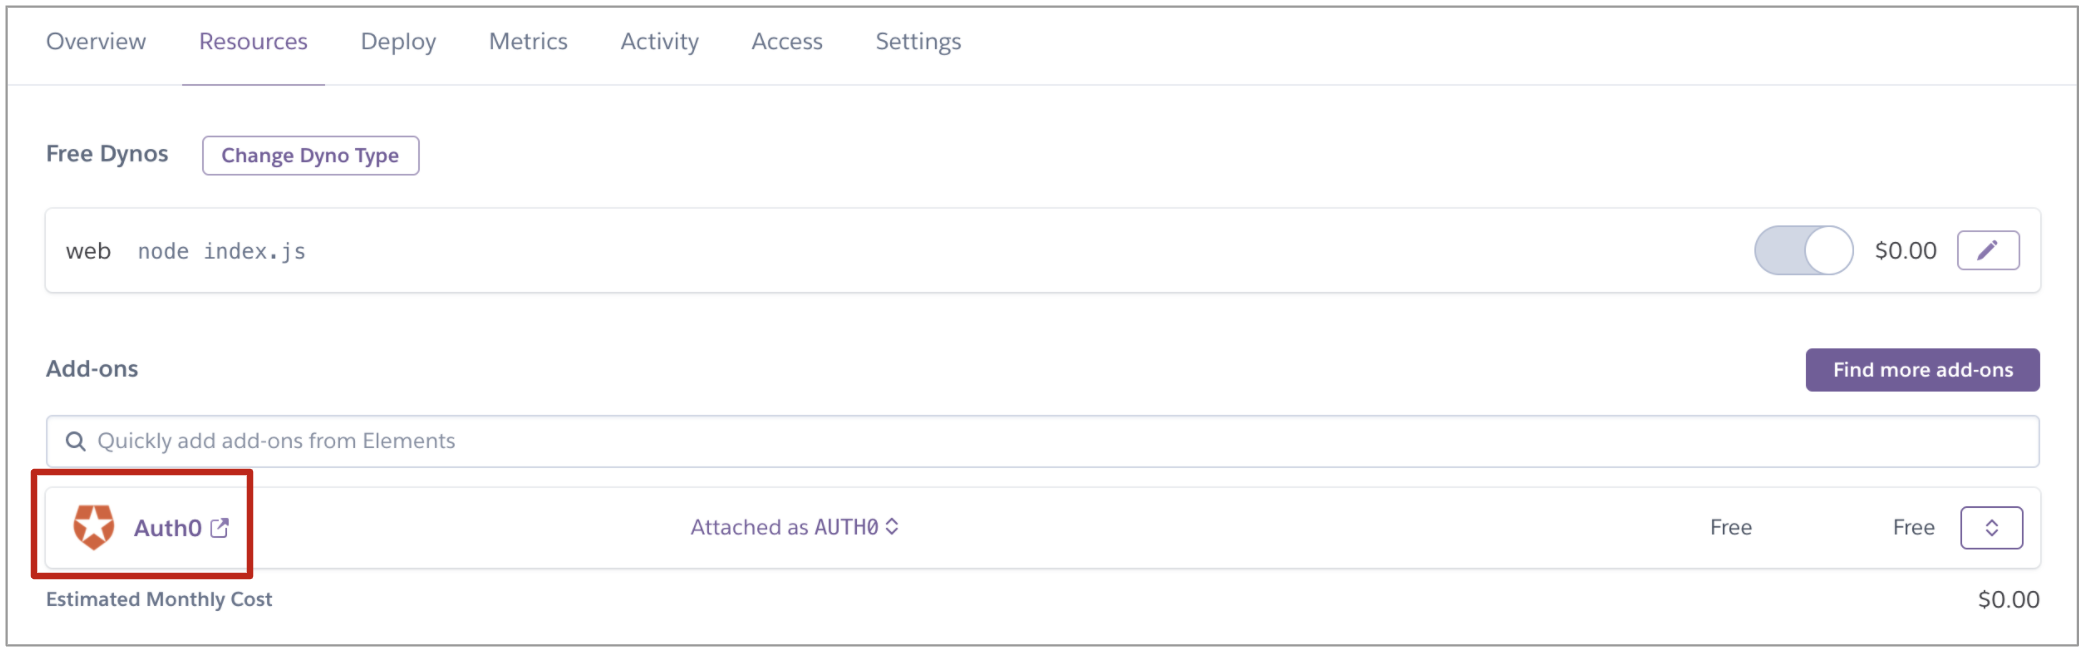
Click on the Resources tab and then open the Auth0 app by clicking on its icon.
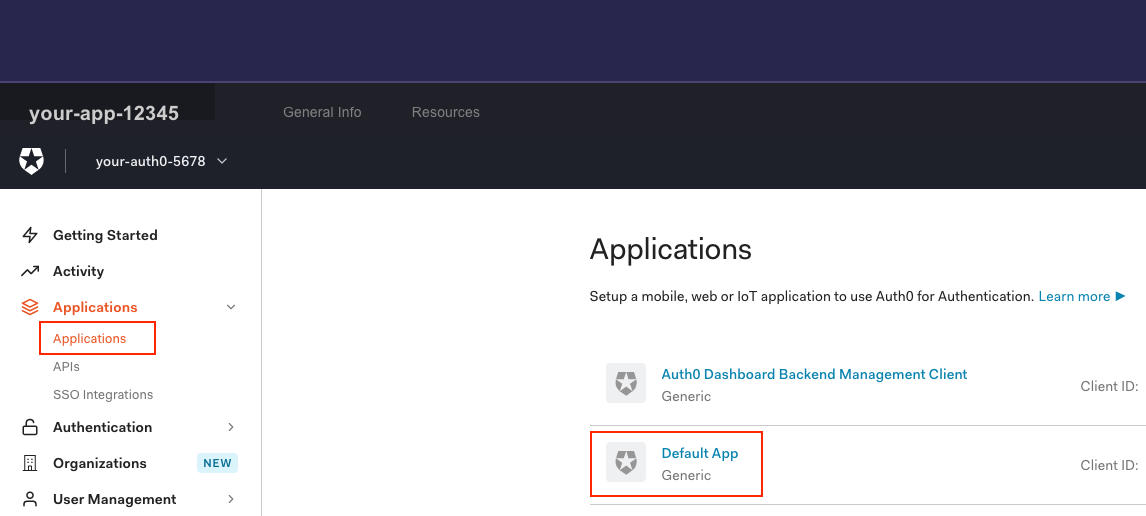
Select [Applications] in the Applications section in the left sidebar menu and then select [Default App].
Scroll to the bottom of the page and expand the 'Advanced Settings.''
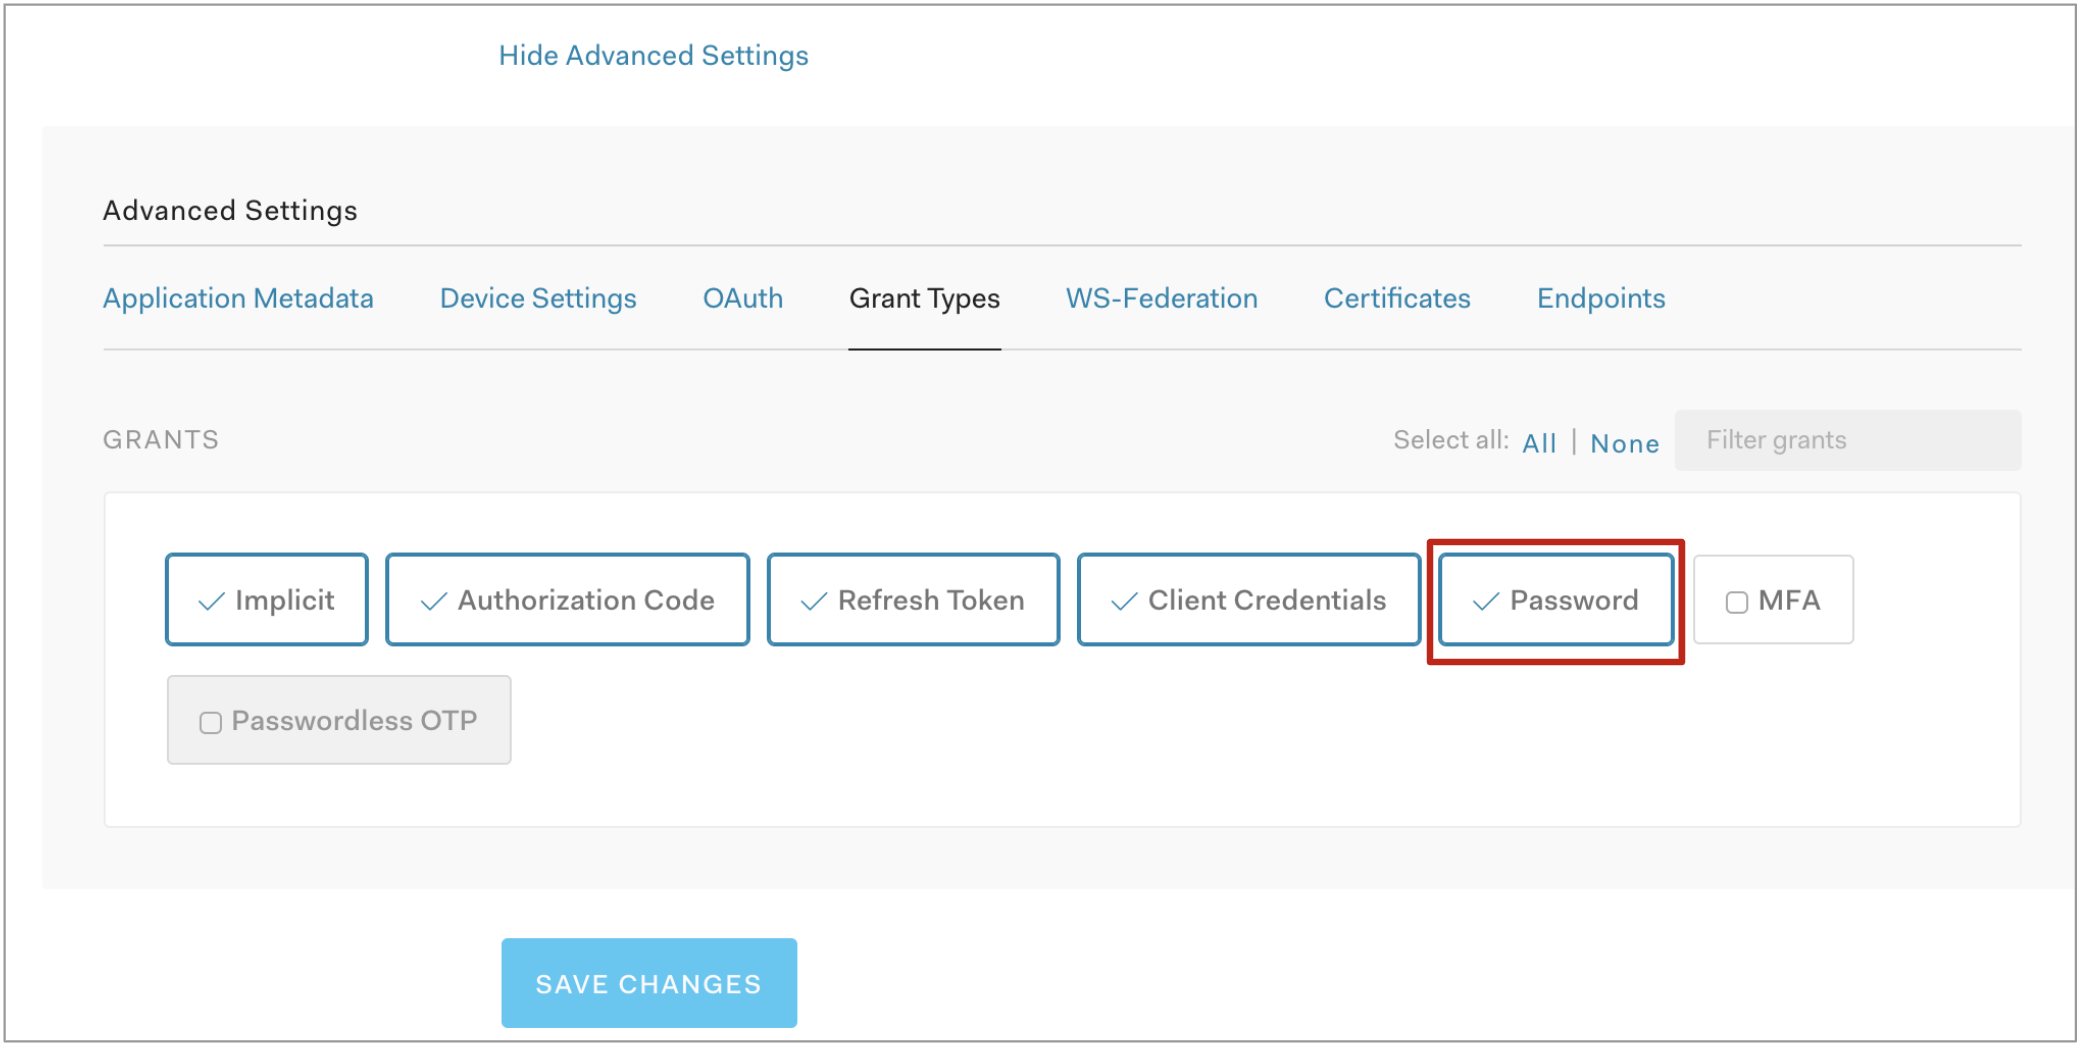
Select the [Grant Types] tab, check the box for Password, and click the [SAVE CHANGES] button.
Now you are ready to add yourself as a "user" in Auth0 so that the mobile app can recognize you as a field worker. (You will also go through this same process every time you need to add a field worker later.)
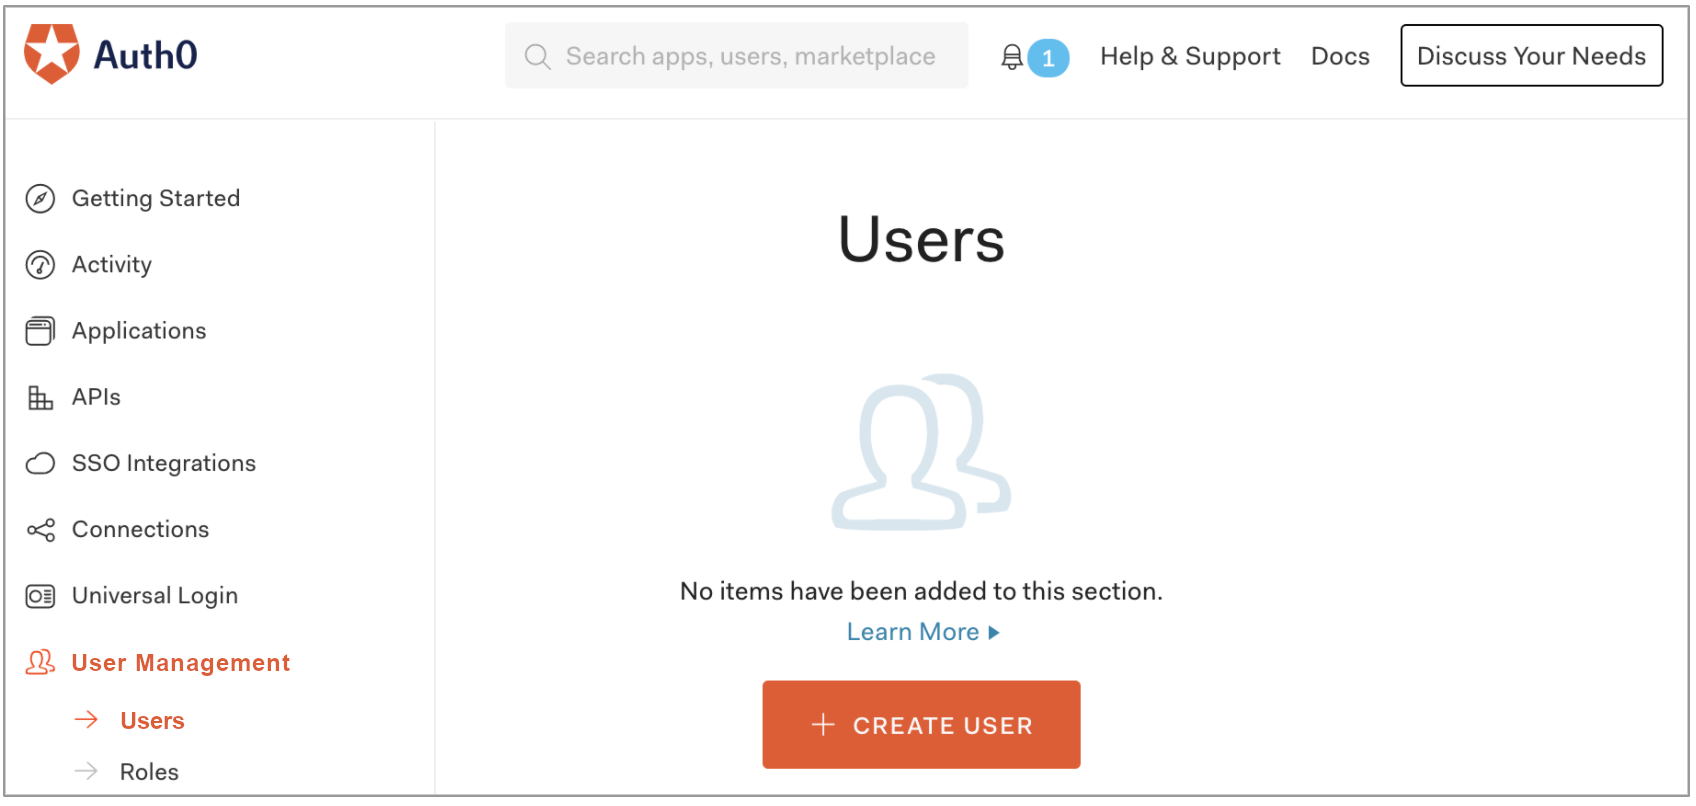
Select [User Management] > [Users] in the left sidebar menu and then click the [+ CREATE USER] button.
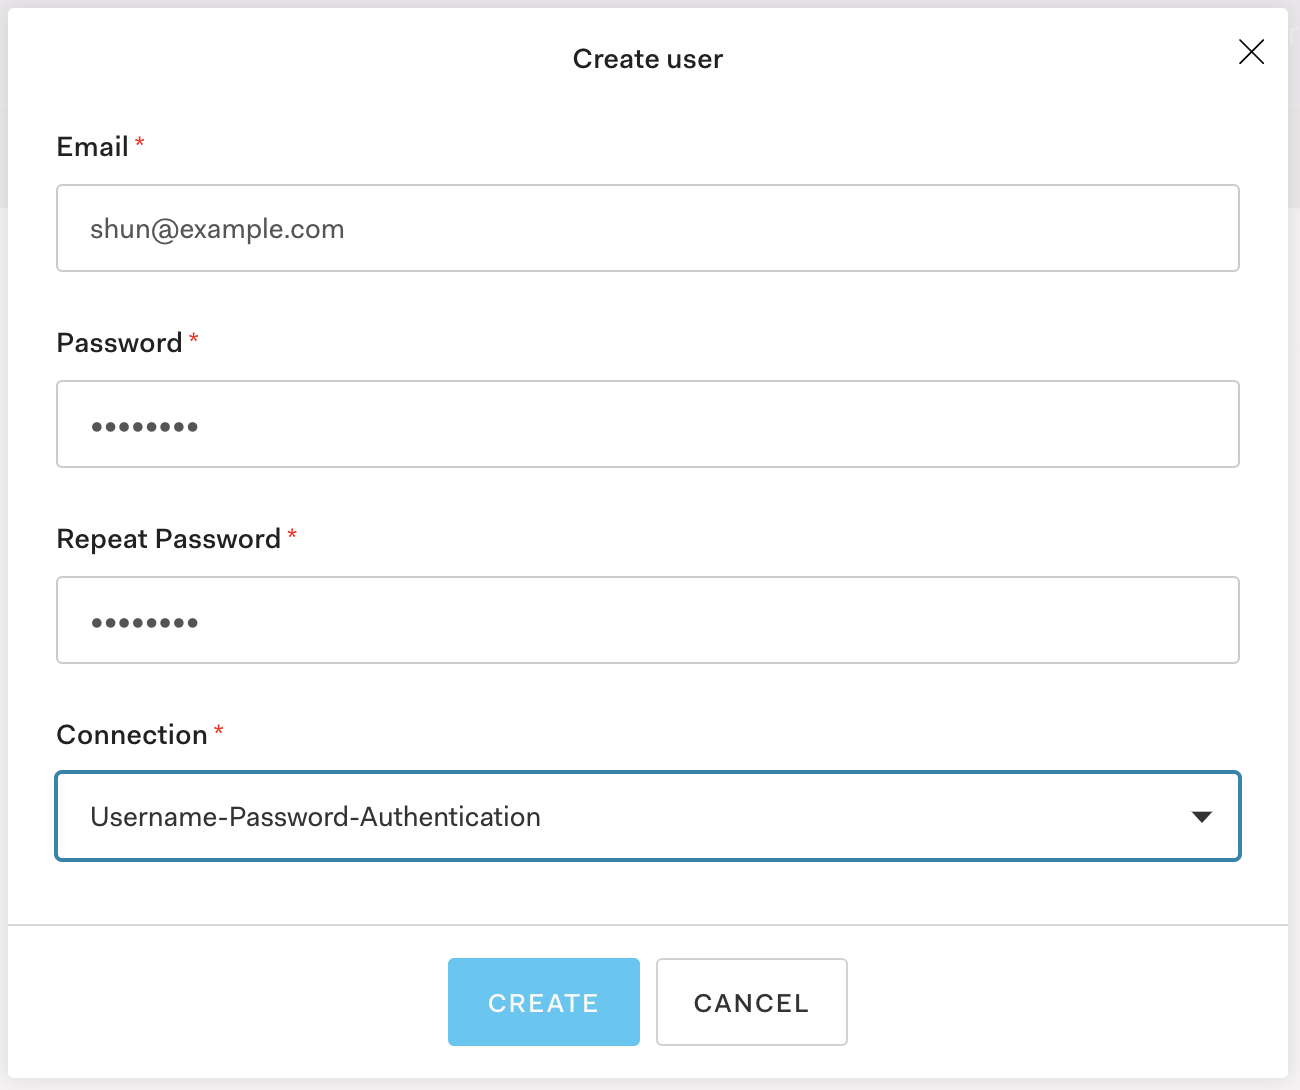
Enter the same email address you specified in the Login Email field of your field worker Contact. Create a new password, write it down somewhere secure for safekeeping, and enter it in the Password and Repeat Password fields.
- Remember that the email must be the same as the
Login Emailfield value on your Field Worker Contact record, because this is how the mobile app recognizes field workers who log in.
Next check for an email from Auth0 with a subject like "Verify your email" asking you to verify your account. Click the [VERIFY YOUR ACCOUNT] button to do this.
- Remember that your field workers will receive a similar potentially confusing email when you add them as Auth0 users too, and you will need to communicate their passwords to them.
You can go to the final setup step to prepare and onboard the mobile app. See Mobile Environment Setup.