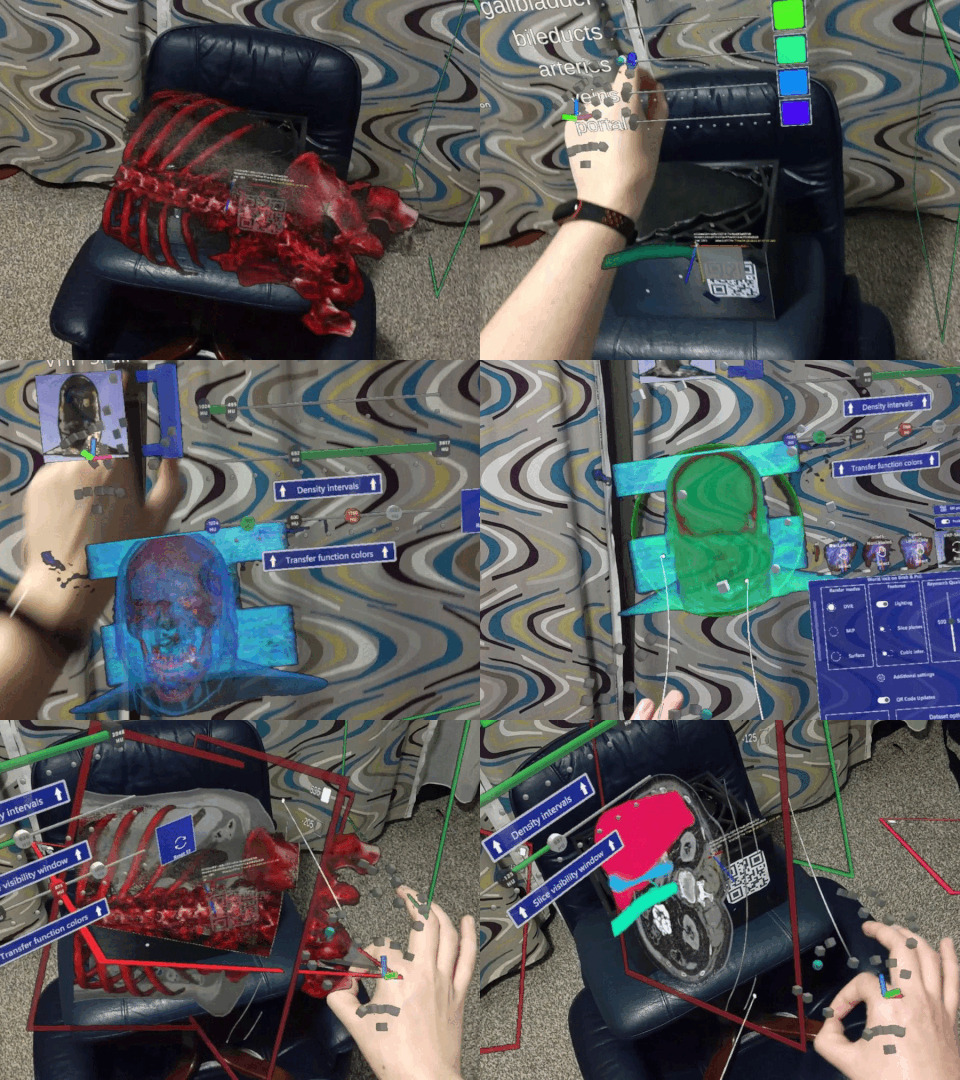
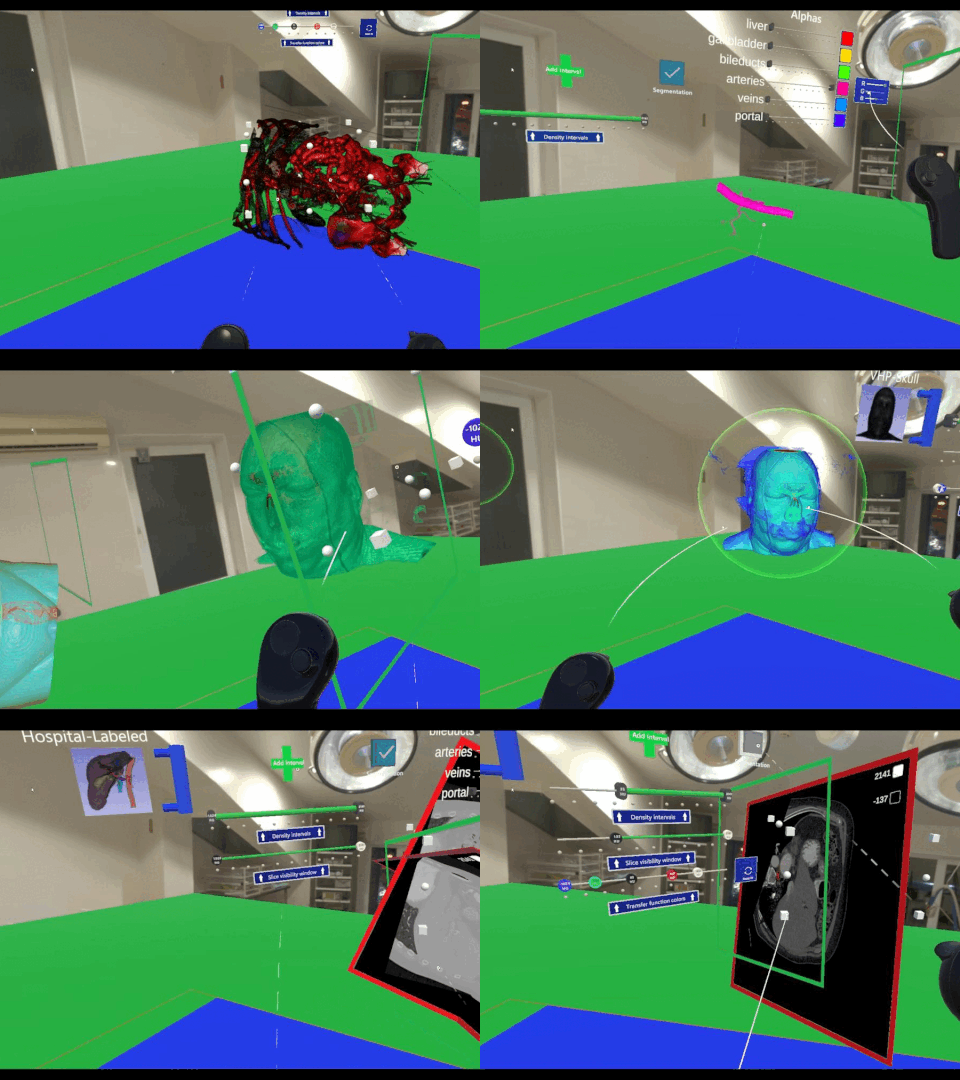
This branch is for raw medical volume data visualization using AR/VR headsets connected to the PC. The UnityVolumeRendering library by mlavik is used for real-time RayMarching on medical data. The solution has been tested to work on Hololens 2 (AR) and Oculus Quest 2 (VR).
Downloadable builds are available in the Release section.
| Click on images for video showcase | |
|---|---|
| Hololens 2 | PCVR |
Hospital specific manual is available here.
Make sure you have Remoting app opened on Hololens 2. Set the Hololens IP in the build and click connect. The headset can be connected either via USB-C or WiFi.
Connect the VR headset to the PC before launching the app (eg: AirLink). On Quest 2, it is best to set the Oculus OpenXR runtime as the default, as SteamVR can have some performance issues with the device.
To open the hand menu with controls, show your palm to the camera. The menu can also be grabbed and anchored in space.
Additionaly voice commands "Show hand menu" and "Close hand menu" also work.
To open the controller menu with additional controls, hold Button 1 on the left controller. On Quest 2, it is the X button.
The menu can be similarly grabbed and anchored in space using the second controller.
To add a custom dataset to the build with an option to spawn it at runtime, follow these steps:
- Create new Folder in the following directory (name of the folder will be displayed in the app):
- In the build, the path is:
HospitalVisualisations_Data/StreamingAssets/Datasets - In the editor, the path is:
Assets/StreamingAssets/Datasets
- In the build, the path is:
- Create additional folder in the previously created folder, named Data .
- Paste the medical dataset into the Data folder. Supported file types are: NRRD,NIFTI,DICOM and JPG sequence. The files need to have corresponding suffix matching the file they represent (eg: DICOM data will have a .dcm suffix). If you have a lot of files without suffix, you can create suffixes in my simple bulk renaming tool, which is available here. If you have the whole patient study, see here how you can extract the specific dataset from study using Slicer3D.
- (Optional-Recommended) Create a second folder named Thumbnail and paste some image into that folder (.jpg or .png) so that dataset is recognizable in the spawn menu.
- (Optional) Create a third folder named Labels for segmentation support. Paste the segmentation label map to this folder. The manual for correctly extracting segmentation from Slicer3D is available here. The supported file types are the same as mentioned in step 3.
- Open the hand menu. Datasets can be scrolled horizontally.
- Double-click the dataset you want to spawn. Datasets are differentiated by thumbnails and the folder name you previously set.
When the dataset is spawned, it can be reset by clicking the same previous button.
Dataset can be enabled/disabled after the spawn.
Specifically on Hololens 2, datasets can be set as QR active (green indicator). QR active datasets are placed into exact position where the QR code was detected. It is possible to switch between loaded datasets as shown below.
Some datasets might have problem with the default Transfer-function. Transfer-function provides color to every particle based on its density. When dataset appears to be washed-out with a lot of same color, it is best to manually correct the color positions. Adjusting is shown here.
The color positions are directly connected to the density slider, so when you select specific density interval, you can also set up what colors will be inside the interval.
You can also reset color positions by clicking Reset TF button, this will reset the colors to default state.
If you placed the correct label map in the corresponding Labels folder, the segmentation module is available for that dataset.
After loading the dataset, you can open the segmentation module by checking the segmentation checkbox.

List of segments will appear. Segments are differentiated via color. You can control segments opacity by alpha sliders as shown below.
You can also change segment color by pressing the color button.
In case you have multi-layer label map, you can control which segments will be shown by changing the alpha value of the segments. The segment with highest alpha value will cover the others in that location. If there are two segments with the same alpha value, the segment that is higher on the list will be displayed.

Note: Up to 8 layer label maps are supported.
You can rescale objects by stretching/contracting them with both hands.
You can activate the slice view from the hand menu. Once enabled, it offers a grayscale visualization of the dataset, comparable to conventional 2D software. You can also modify the radiologic window using the slider located in the configuration panel for each dataset, allowing you to achieve better contrast.
Cutout methods are selectable in Additional settings .
You can add additional density sliders to have more visibility intervals. With this, use can visualise several different parts of the body with different density, while your view is unobstructed by irrelevant parts.
Dataset options are available in the Additional settings.
Some very large datasets can bring even powerful computers to their knees. When this happens, it's best to downsample the dataset.
By downsampling very large datasets, the quality loss is usually negligible with a real boost in performance.
- Grab the previously spawned dataset you want to downsample. The dataset will then become active, and you will see its name, thumbnail and dimensions.
- Press the downscale button (the dataset must finish previous loading).
Datasets should display correctly, but some specific datasets might still be affected by the mirror issue. If you detect that body parts are mirror flipped, you can manually flip it to the correct state.
It is possible to change the background according to the user's preference.
| Default backgroung | Dark background | Light background |
|---|---|---|

|

|

|
| Press F2 to activate | Press F3 to activate | Press F4 to activate |
Note: F1 button opens developer console for additional commands that you can use.
Assets/VolumeRendering/Assets/3rdparty/SimpleITK folder must contain SimpleITK binaries, otherwise the project will not load correctly. Paste the binaries from here. It is then possible to update these libraries through the Unity Menu->VolumeRendering->Settings->Disable/Enable SimpleITK. It will ask to download it again, which should download the newest version.
The project has a working developer console with useful commands. The asset is called Quantum Console and is not present in this repository due to licensing reasons.
If you're not going to use the console, you can disable it by deleting the console prefab in the scene and removing the Console.cs script from the Assets/Scripts folder.
If you want to use a console and have a license, simply download the package from Unity package manager and all errors should disappear. The console can then be opened by pressing F1 key when the app is running.
Make sure that settings in XR Plug-in Management are the same as those shown here.
Then, in scene, make sure that the target platform is set to Hololens 2.
Due to an issue with DLLs in the build, which is a problem with the QR tracker sample, the following DLLs must be placed in the root folder with the .exe file after building (do not copy all DLLs from folder, only those shown below, otherwise there may be an issue with the remoting connection). These DLLs are located in HospitalVisualisations_Data/Plugins/x86_64 in the build.
Make sure the settings in XR Plug-in Management are the same as shown here.
Then in scene, make sure the target platform is set to PCVR


