Tutorial
In this tutorial you'll get a brief introduction how to prepare scanned documents for further processing and recognize data from them. If you're looking for ready-made solutions take a look at FormVision.
Lets assume your documents look paper-ish, luminace is bad, little to no ink was used while printing on form papers with random of offsets or other funny real world problems. When dealing with clean documents such as screenshots you can skip to recognizing. Let's take a look at the following scan obtained using a flatbed scanner:
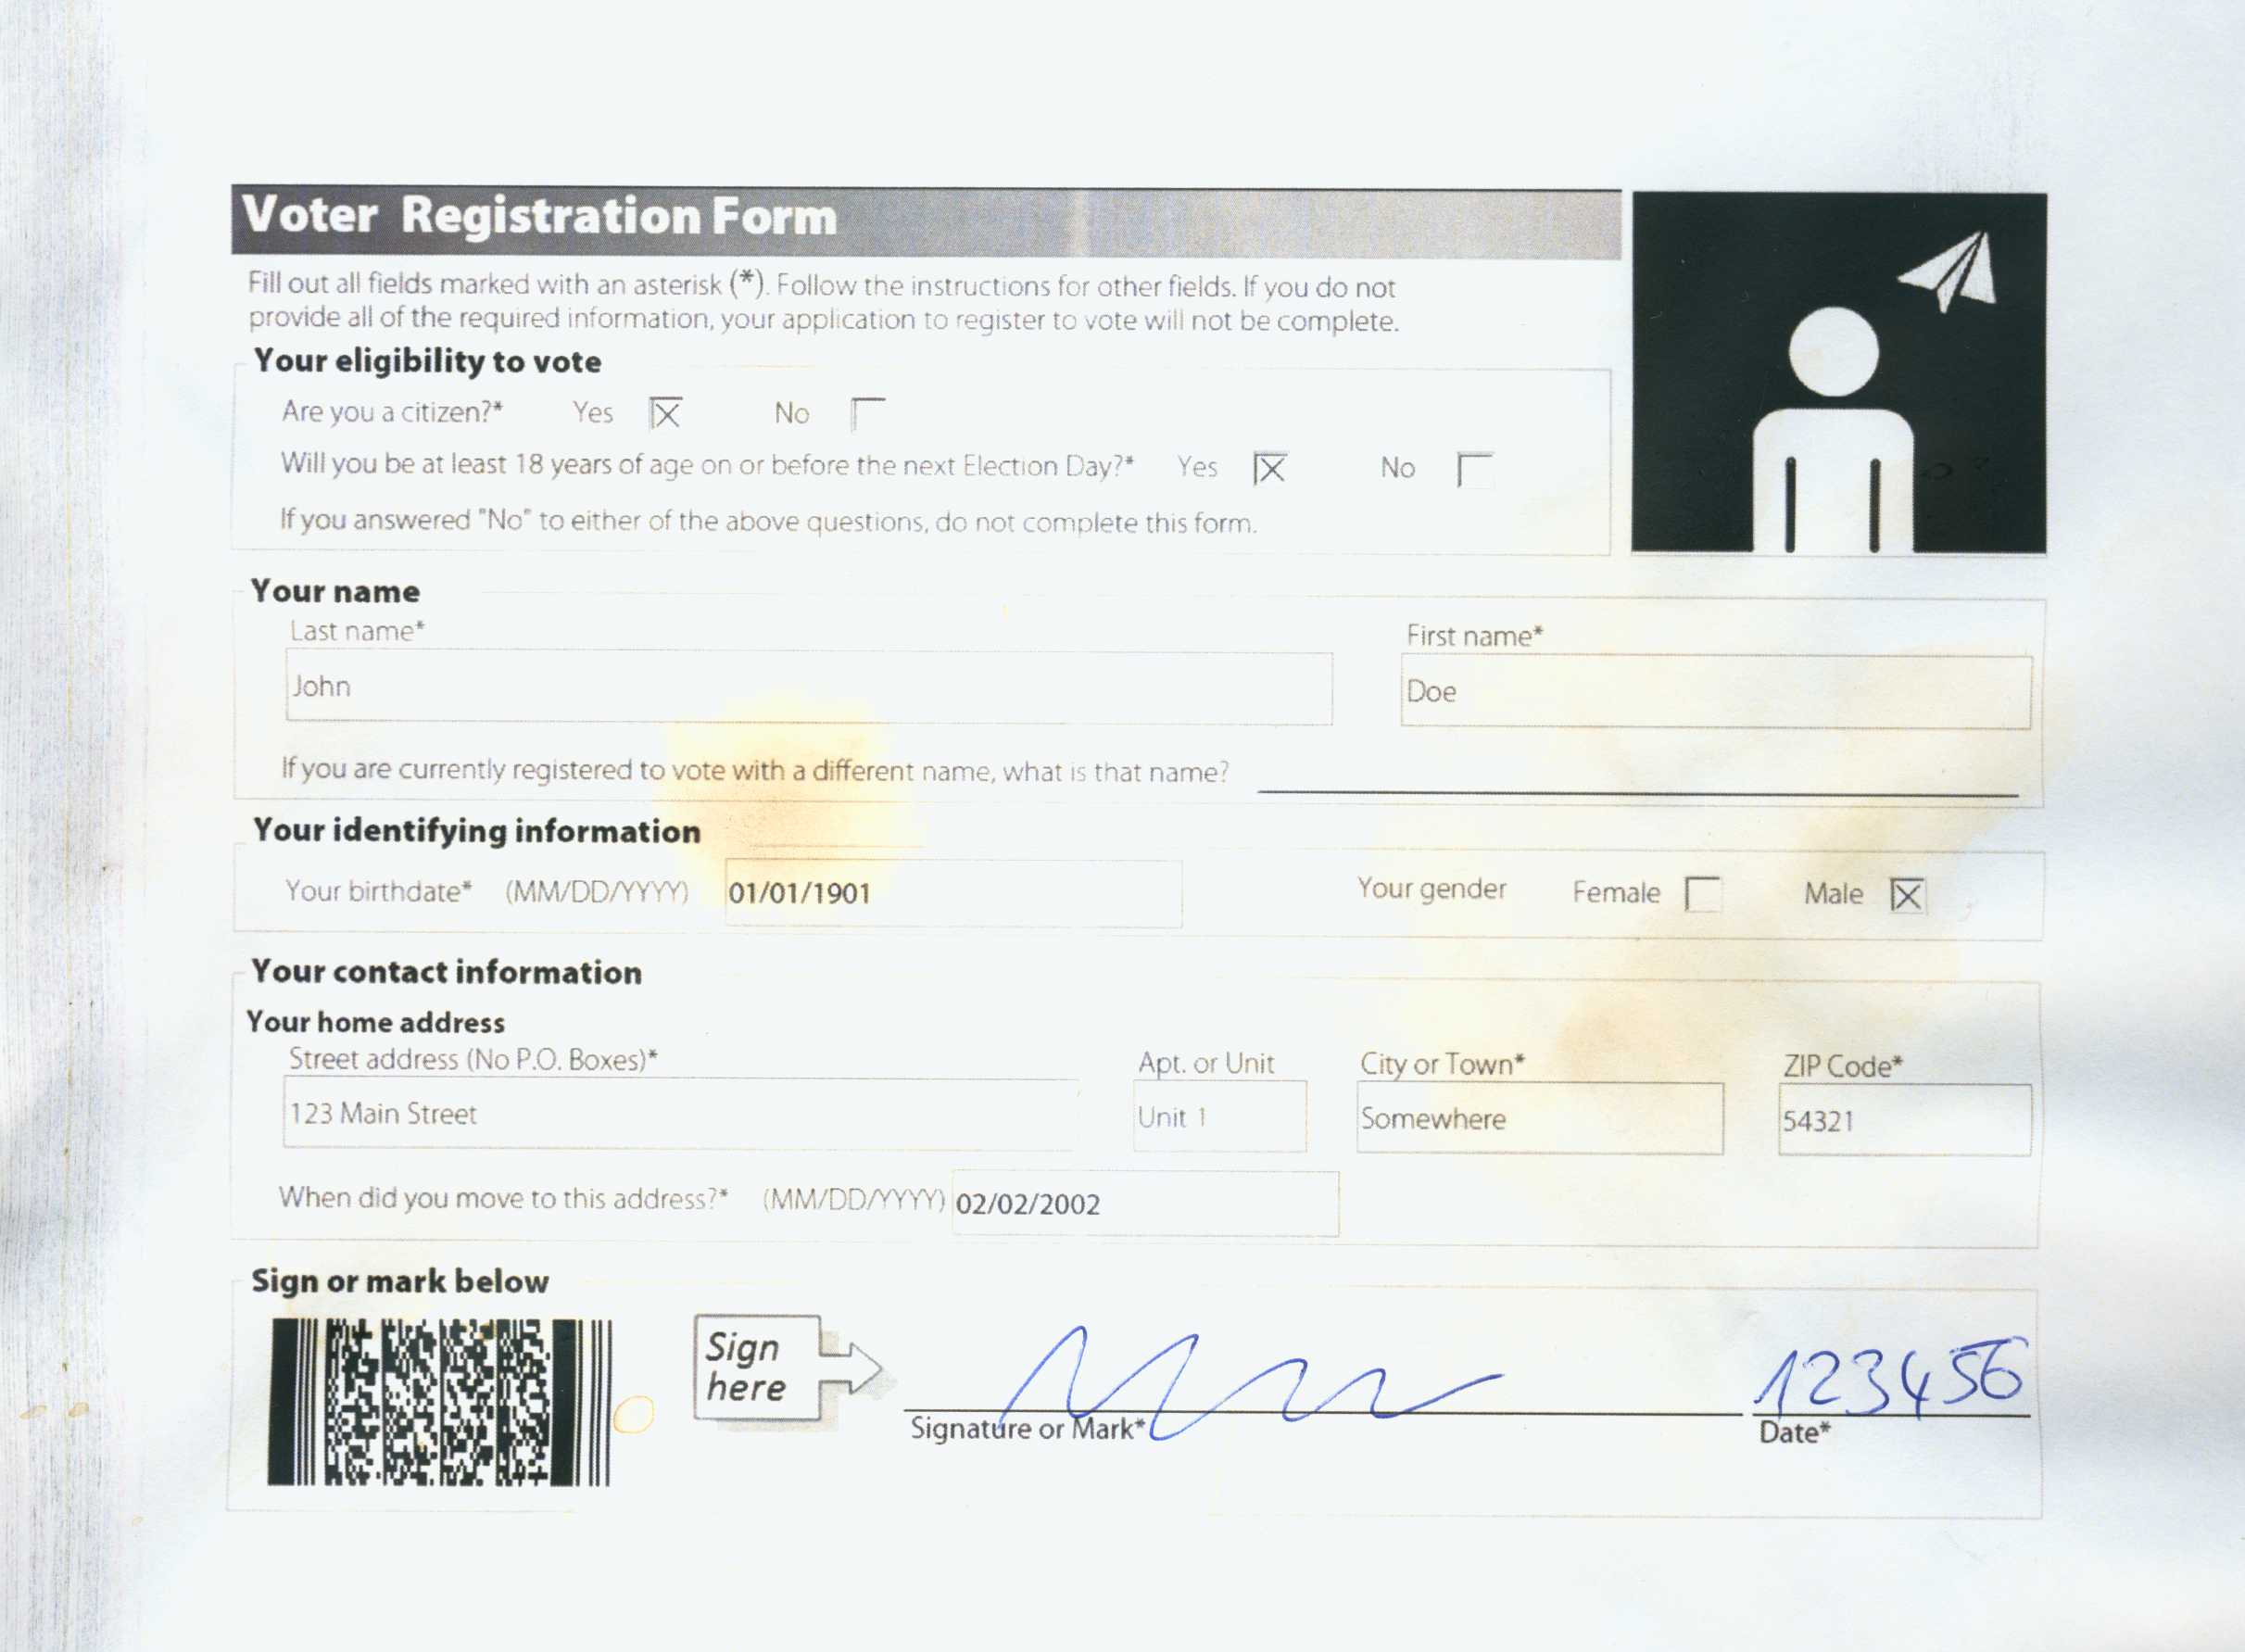
Our image is two times larger than its source image, its hard to read and suffers from many things:
- skewed wavy paper (paper is never flat)
- degenerated toner (one summer day)
- printer streak (damaged photo conductor unit)
- coffee mixed with water (espresso and an attempt to clean it)
Many classification algorithms can't overlook this kind of information, so we need to drop it for further processing and enhanced compressibility. You want your image to look like this before going any further (more or less):
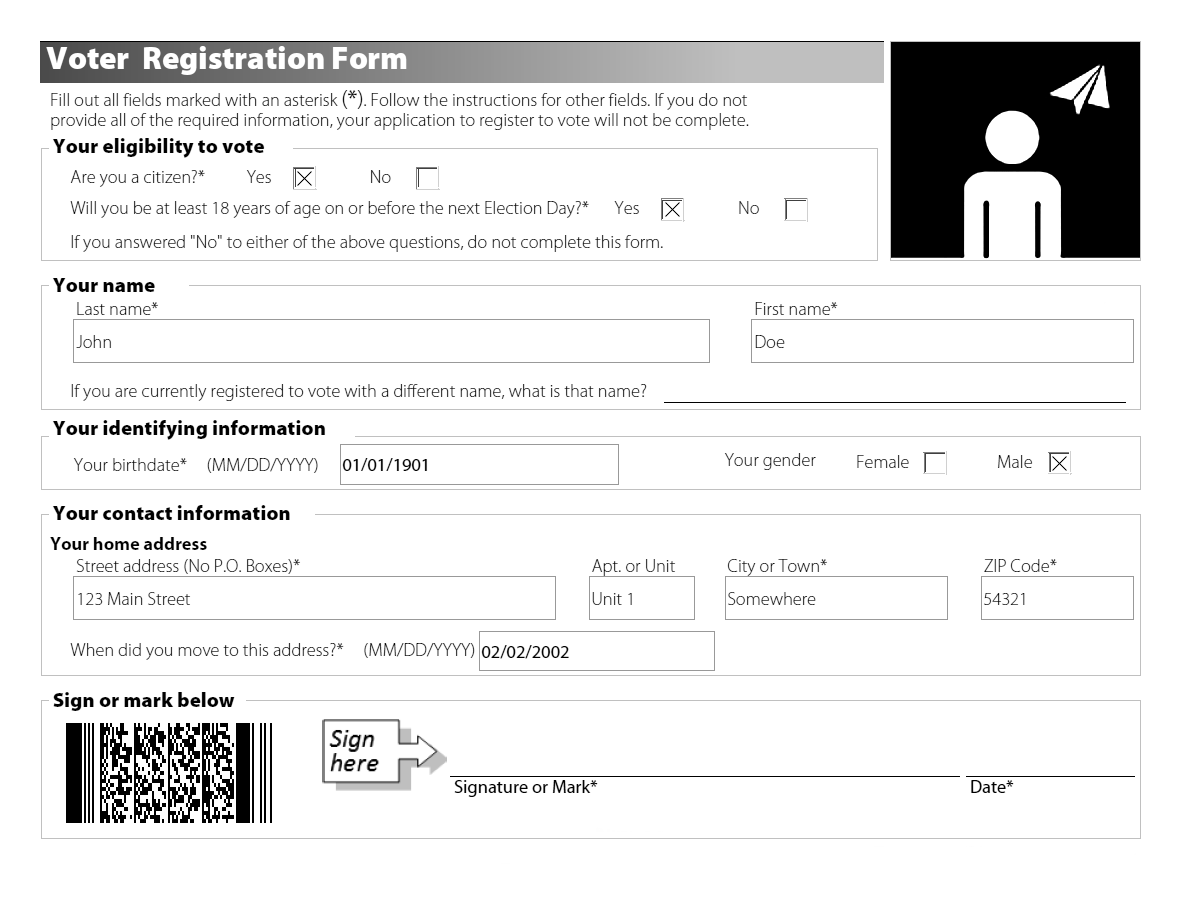
Let's assume your pre-processing was good enough and your image looks like this:
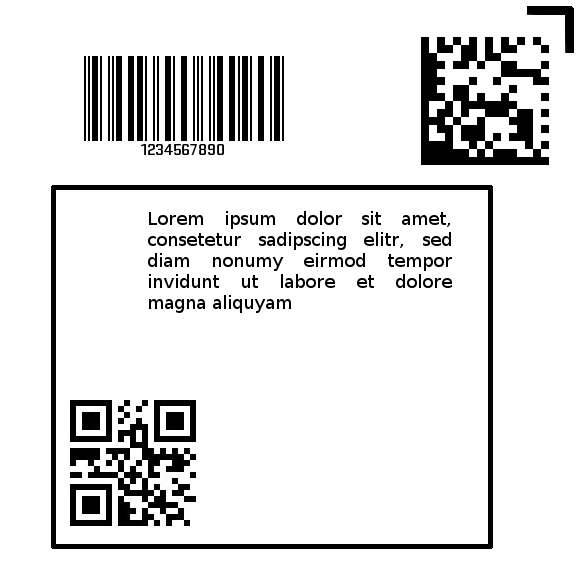
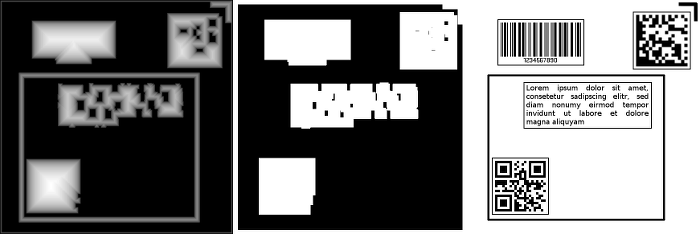
You image may looks perfect but its still tricky to read as you'll have to deal with page layout. We'll take a very simple approach here. Let's start by thinning the 1bpp image to make thin white lines even thinner. After this we dilate the remaining gaps to get a set of pixel regions:
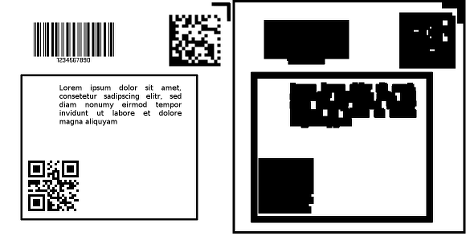
As you can see, the QR-Code and its framing rectangle have almost touched. No worry, we could separate them by doing a distance transform - an algorithm resulting in a pseudo height map, where each pixel contains the shortest distance to a white pixel (first image). Thresholding this image will then effectively remove all elements with less than the specified width – voilá, the border is gone. Of course, this will also cut off the borders of larger elements, but we can mostly restore them by using erode (second image). Finally we're ready to get rectangles for cropping, by computing the connected components (and if we overcompensate in the 'erode' step, we even get a neat margin around our detected elements, as shown in the last image).
If you want to try for yourself, here is the code:
var dv = require('dv');
var fs = require('fs');

var barcodes = new dv.Image('png', fs.readFileSync('form2.png'));
var open = barcodes.thin('bg', 8, 5).dilate(3, 3);
var openMap = open.distanceFunction(8);
var openMask = openMap.threshold(10).erode(22, 22);
var boxes = openMask.invert().connectedComponents(8);
for (var i in boxes) {
	var boxImage = barcodes.crop(
		boxes[i].x, boxes[i].y,
		boxes[i].width, boxes[i].height);
	// Do something useful with our image.
}