By David Tian
Hacker, tinkerer, and engineer. I am passionate about machine learning, AI, and anything technology related.
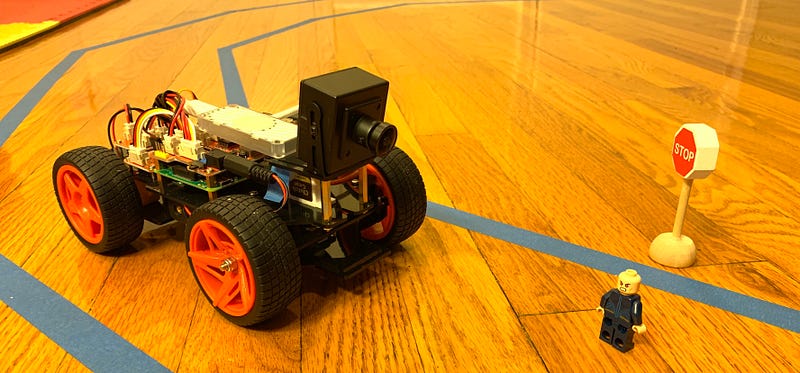
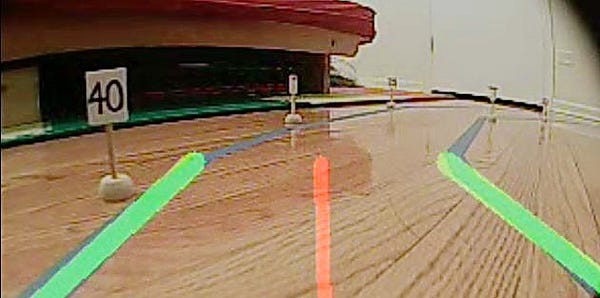
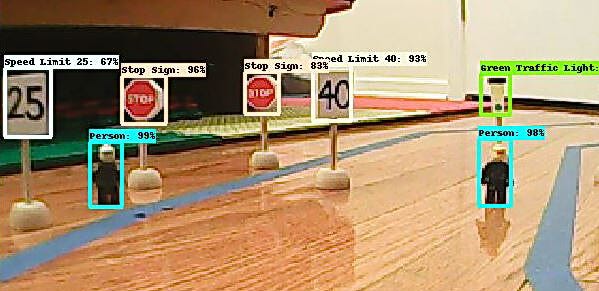
Today, Tesla, Google, Uber, and GM are all trying to create their own self-driving cars that can run on real-world roads. Many analysts predict that within the next 5 years, we will start to have fully autonomous cars running in our cities, and within 30 years, nearly ALL cars will be fully autonomous. Wouldn’t it be cool to build your very own self-driving car using some of the same techniques the big guys use? In this and next few articles, I will guide you through how to build your own physical, deep-learning, self-driving robotic car from scratch. You will be able to make your car detect and follow lanes, recognize and respond to traffic signs and people on the road in under a week. Here is a sneak peek at your final product.
Lane Following
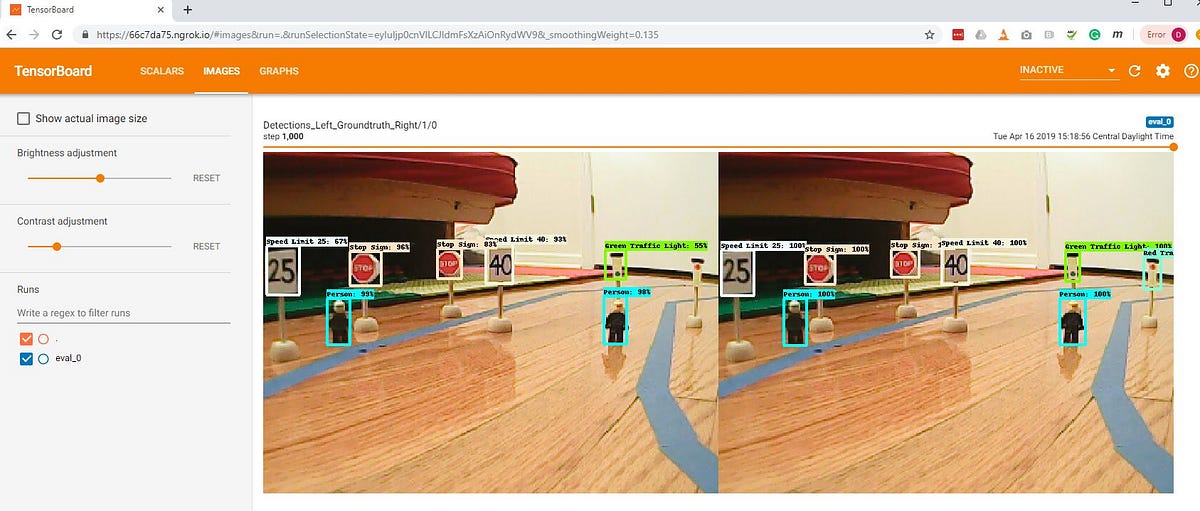
Traffic Sign and People Detection (right) from DeepPiCar’s DashCam
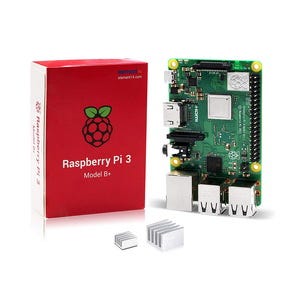
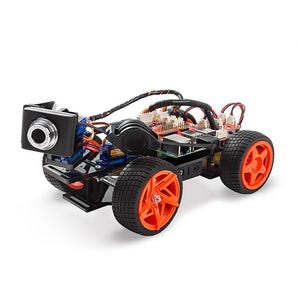
Part 2: I will list what hardware to buy and how to set them up. In short, you will need a Raspberry Pi board($50), SunFounder PiCar kit ($115), Google’s Edge TPU ($75) plus a few accessories, and how each part is important in later articles. The total cost of the materials is around $250–300. We will also install all the software drivers needed by Raspberry Pi and PiCar.
Raspberry Pi 3 B+
SunFounder PiCar-V Robotic Car Kit
Google Edge TPU Accelerator
Part 3: We will set up all the Computer Vision and Deep Learning software needed. The main software tools we use are Python (the de-facto programming language for Machine Learning/AI tasks), OpenCV (a powerful computer vision package) and Tensorflow (Google’s popular deep learning framework). Note all the software we use here are FREE and open source!
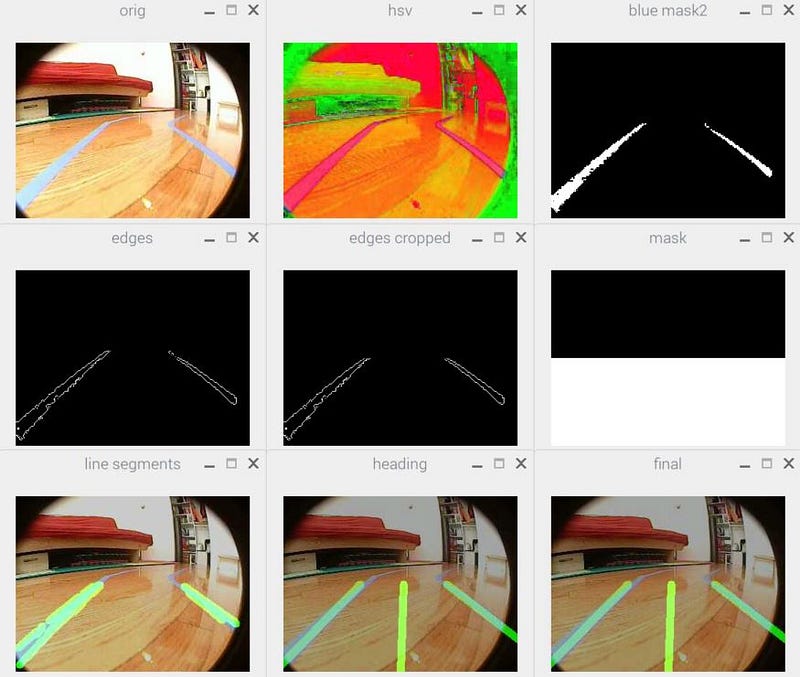
Part 4: With the (tedious) hardware and software setup out of the way, we will dive right into the FUN parts! Our first project is to use python and OpenCV to teach DeepPiCar to navigate autonomously on a winding single lane road by detecting lane lines and steer accordingly.
Part 5: we will train DeepPiCar to navigate the lane autonomously without having to explicitly write logic to control it, as was done in our first project. This is achieved by using “behavior cloning”, where we use just the videos of the road and the correct steering angles for each video frame to train DeepPiCar to drive itself. The implementation is inspired by NVIDIA’s DAVE-2 full-sized autonomous car, which uses a deep Convolutional Neural Network to detect road features and make the correct steering decisions.
Lane Following in Action
Lastly, in Part 6: We will use deep learning techniques such as single shot multi-box object detection and transfer learning to teach DeepPiCar to detect various (miniature) traffic signs and pedestrians on the road. And then we will teach it to stop at red lights and stop signs, go on green lights, stop to wait for a pedestrian to cross, and change its speed limit according to the posted speed signs, etc.
Here are the prerequisites of these articles:
- First and foremost is the willingness to tinker and break things. Unlike in a car simulator, where everything is deterministic and perfectly repeatable, real-world model cars can be unpredictable and you must be willing to get your hands dirty and start to tinker with both the hardware and software.
- Basic Python programming skills. I will assume you know how to read python code and write functions, if statements and loops in python. Most of my code is well documented, specifically the harder to understand parts.
- Basic Linux operating system knowledge. I will assume you know how to run commands in Bash shell in Linux, which is Raspberry Pi’s operating system. My articles will tell you exactly which commands to run, why we run them, and what to expect as output.
- Lastly, you will need about $250-$300 to buy all the hardware and working PC (Windows/Mac or Linux). Again, all the software used will be free.
That’s all for the first article. I will see you in Part 2 where we will get our hands dirty and build a robotic car together!
Here are the links to the whole guide:
Part 1: Overview (This article)
Part 2: Raspberry Pi Setup and PiCar Assembly
Part 3: Make PiCar See and Think
Part 4: Autonomous Lane Navigation via OpenCV
