Uptodon is a simple and lightweight bot written in Node.js that automatically toots to any account on any Mastodon instance, if a certain monitor in your UptimeRobot account reports a downtime.
You can automate your workflow and inform the followers of your account that your service is down and also when it's up again, so you can focus on fixing what causes the downtime of your service.
To use the bot, you'll need:
-
An account on any Mastodon instance
-
An application with read (
read:statuses) and write (write:media,write:statuses) rights on that instance and the access tokenFull explanation
Go to your Mastodon Instance. Then go to Preferences → Development → New application → Enter your application name and apply the following settings:

-
An UptimeRobot* account (Paid or free)
-
Your UptimeRobot API Keys* (for a specific monitor)
Copy .env.example to .env:
cp .env.example .envand insert your credentials in the now created .env:
# Mastodon app
INSTANCE="https://mastodon.social" # Your mastodon instance
APP_NAME="Your app name" # The name you gave your app earlier
HASHTAG="Yourhashtag" # The hashtag you want to use for posts
SECRET="secret" # The access token of your mastodon app

# Uptime Robot
UPTIME_ROBOT_API_KEY="uptimerobotsecret" # Your UptimeRobot Secret for the specific monitor you want to toot about

...The messages of the bot are compeltely customizable. Please note that the defined Hashtag (HASHTAG in .env) will always be added before your custom message.
UP_MSG="is up and running again. We apologize for any inconvenience." # The hastag will be added before this
DOWN_MSG="seems to be down. We are already investigating it." # The hastag will be added before thisYou will notice that the bot is not only sending a status to Mastodon, but also images.
You can change those images in img/up.png and img/down.png or change their paths in the .env you created earlier.
If you choose to not send images, you can also define this in the .env:
# If you want to use custom images, set IMAGE to true and set the path to the image in PATH_UP and PATH_DOWN
IMAGE="true" # Set to false if you do not want to send images
PATH_UP="img/up.png" # Set path for the image when the service is up again
PATH_DOWN="img/down.png" # Set path for the image when the service is downYou can also define the port on which the bot should be running as well as if you want to use Debug-mode.
Note
Debug mode is quite straight forward but also a bit dangerous to use. Setting the debug-mode to true will instantly trigger a downtime post if the app is started.
# App config
PORT="1035" # Change the port if you want to do so, e.g. to 3000
DEBUG="true" # Only set this to true if you know what you are doing: This will instantly trigger a downtime post if the app is startedYou should be good to go now. Just run:
npm run start This also runs a prestart script, that runs npm run install to install all dependencies.
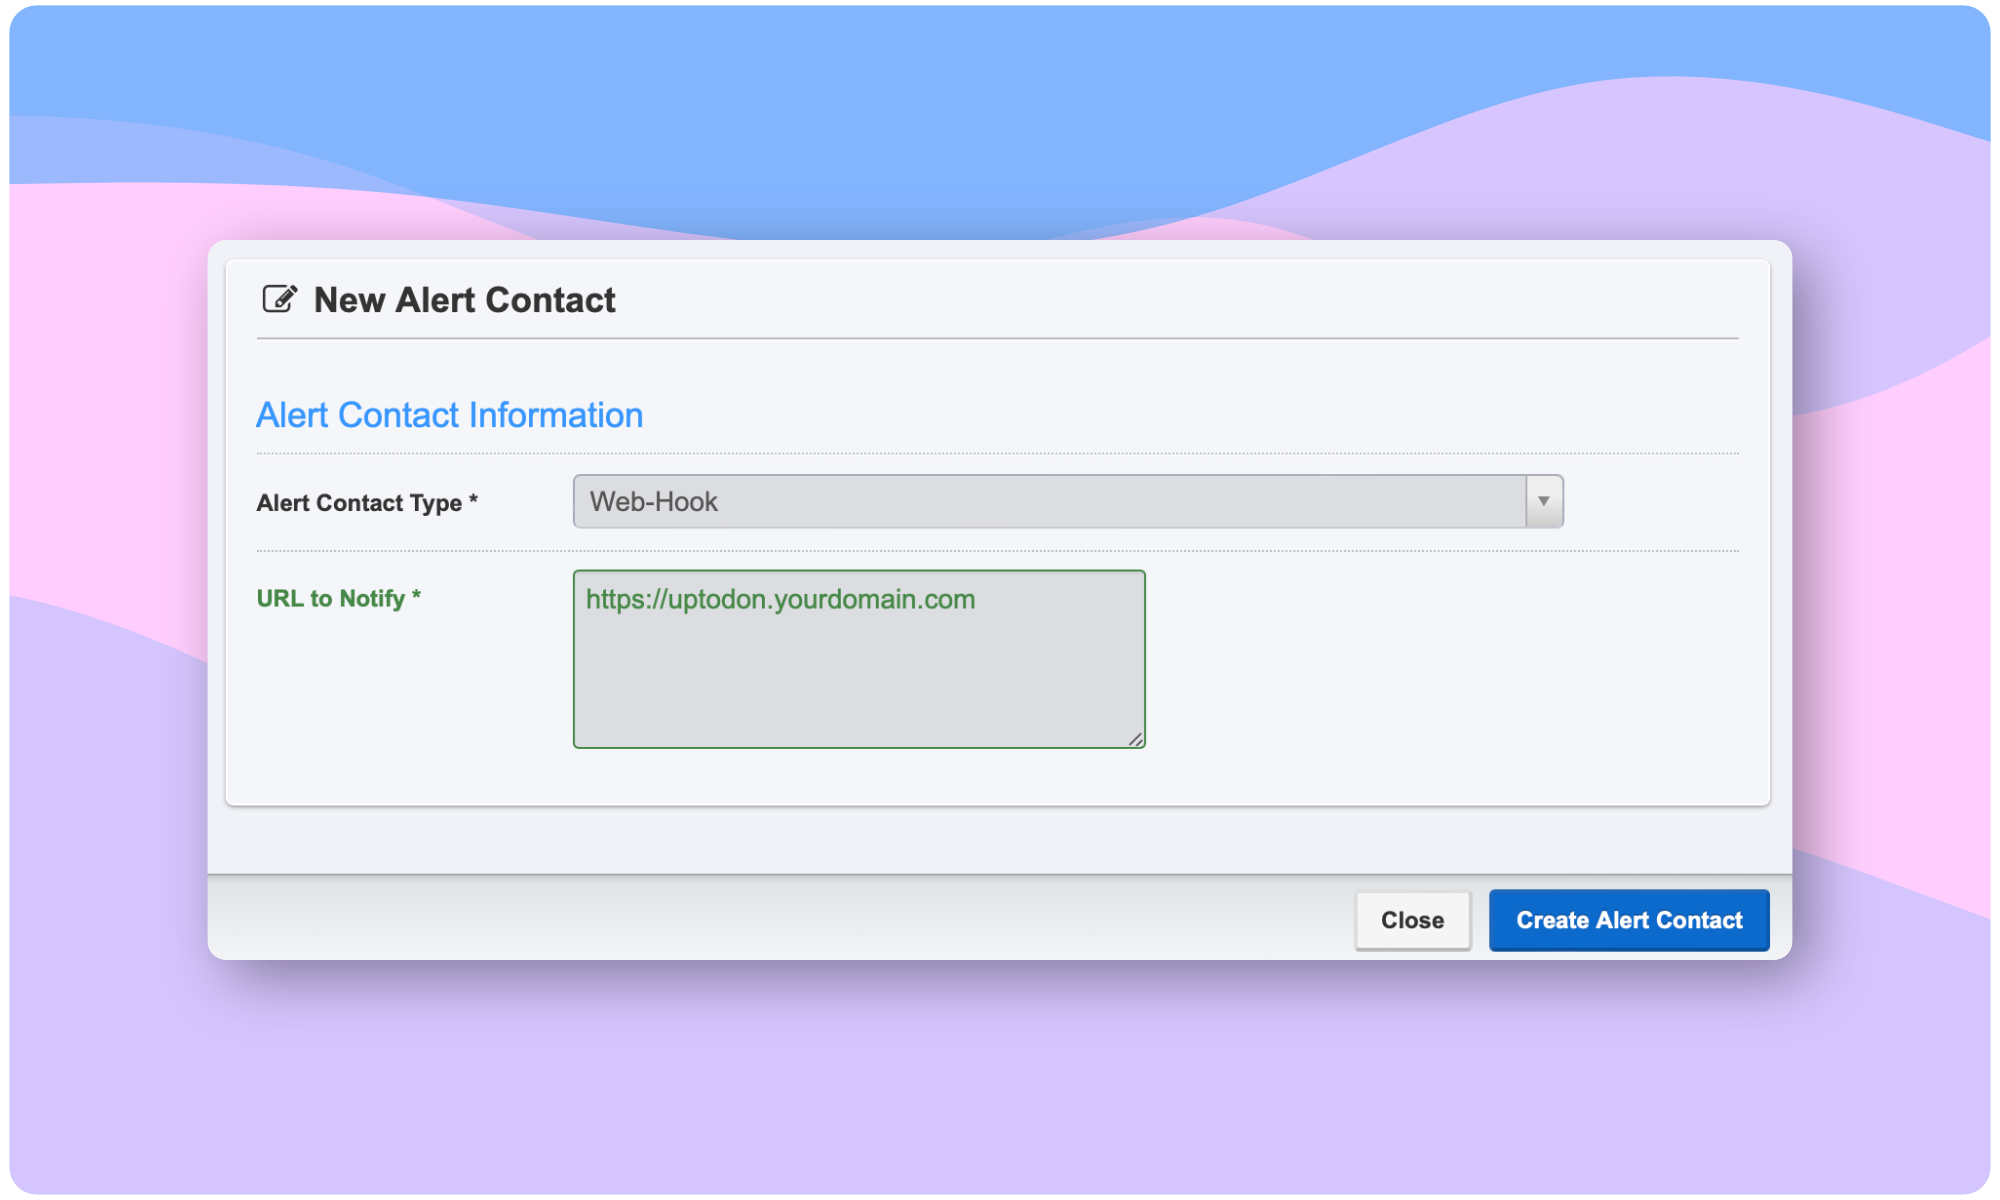
Set up the Webhook in your UptimeRobot* alert contacts - Learn more.
This webhook should point to the URL of your Deployment, so it can automatically trigger the bot when a downtime is detected.

This is best practice, but you will need a paid account on UptimeRobot for that.
Warning
It is recomended to set up a webhook, as this is more accurate and you won't run into rate-limiting issues or overload your instance. Please read the Disclaimer!
You can either set up a cronjob on your server or use a web service like Easycron that points to the URL of your Deployment.
If you're using the cronjob on your own server, it is recommended to execute it every 2 minutes:
*/2 * * * * /usr/bin/wget --spider "https://bot.yourdomain.com" >/dev/null 2>&1To deploy the bot to a server, some additional steps might be required, depending on your hosting provider or server provider. It's best to check your provider's documentation and see how you can run Node.js applications.
If you use the Deploy with Vercel button, you will be prompted to fill in the environment variables, which you can find in the .env.example, a description on what to enter can be found in Get started.
When these variables are not filled in, the bot will not build on Vercel.
To deploy to Netlify, you have to fill in the environment variables yourself on Netlify before building, otherwise the bot will not build.
You can find the variables in the .env.example, a description on what to enter can be found in Get started.
This repo depends on:
- hylyh/node-mastodon – Thanks to @hylyh
- Get rid of the necessary Hashtag and use endpoint accounts/statuses instead
- Make the up/down toots customizable
- Add other Uptime services (e.g. BetterUptime / Open-Source services)
Please use this bot only on your own instances or talk to the admins of your instance if it's okay to let a bot like this run, especially if you're using Cronjobs.
All links marked with * in this repo are affiliate links.

