Your first JSP Page
In the previous section we learnt how to create a controller. Now that geeMVC has found our controller and has executed our method handler, we want to send some content to the user. For this we returned the string forward: hello-world.
Lets continue with a concrete example by creating a JSP page:
hello-world.jsp
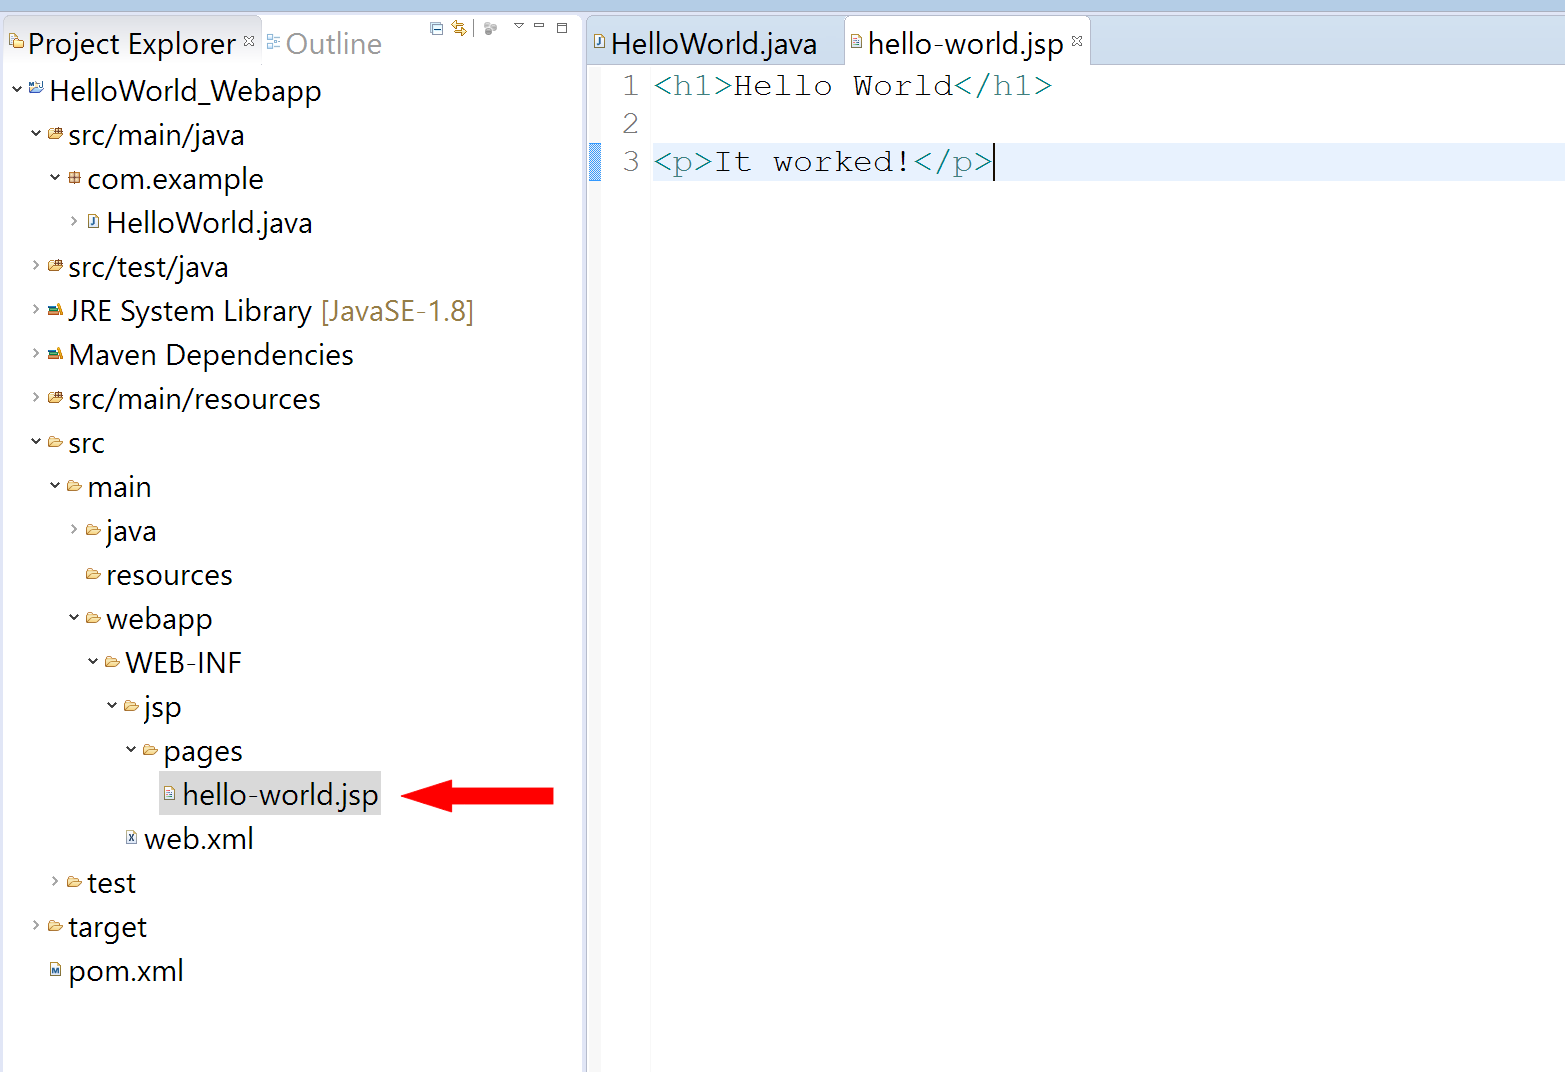
<h1>Hello World</h1>

<p>It worked!</p>
In your Java-IDE it should look something like this:
"Hang on" you say, "how does geeMVC know which file to load when we have only specified 'forward: hello-world' and not 'forward: hello-world**.jsp**'?"
This is simply because we told geeMVC so when setting up our servlet in the web.xml, as shown in Setting up your Webapp:
<servlet>
        <!-- The main entry point to geeMVC. -->
        <servlet-name>geeMVC-Servlet</servlet-name>
        <servlet-class>com.geemvc.DispatcherServlet</servlet-class>
        <!-- Tell geeMVC in which folder JSPs or templates reside, relative to
            the WEB-INF directory. -->
        <init-param>
            <param-name>view-prefix</param-name>
            <param-value>/jsp/pages</param-value>
        </init-param>
        <!-- Specifies the ending of JSP or template files. -->
        <init-param>
            <param-name>view-suffix</param-name>
            <param-value>.jsp</param-value>
        </init-param>

        <!-- [ ... ] -->

<servlet>
Now that we have created our first method handler and JSP page it is time to build the code and start our webserver.
Want to find out more about JSP pages? Then check this out.