Documentation
The instructions and screenshots from this document are made using IntelliJ IDEA Ultimate 14.1.2 but similar steps can be taken to replicate the functionality on other supported IDEs as well.
The theme used is named Darcula and it's part of the default IDE installation.
The code color scheme is a custom made one, you can learn how to do it by visiting this section
Some assumptions are made about your working environment:
- the IDE is launched from command line (or your environment can properly pass existing environment values to the IDE)
- GOPATH is set to a single directory (e.g.
/home/florinp/golang) - GOROOT is
/usr/local/go - GOPATH/bin and GOROOT/bin are present in you PATH
The IntelliJ Platform offers a great deal of keyboard shortcuts and a number of ways to customize them as such, this document will usually prefer the mouse interaction and let the reader discover the shortcuts corresponding the various actions.
##Installing the plugin
Pre-release builds can be installed on IntelliJ platform 141.2 or greater. It corresponds to IntelliJ IDEA 14.1, WebStorm 10, PhpStorm 9.
Pre-release builds are available in two forms: nightly and alphas. At the time of writing, alpha builds are released usually at the start of every week while nightly builds are released every night, using the latest buildable source.
To use them, you'll need to follow these steps:
- Follow the instructions
- Paste the url for the version you desire:
- alpha: https://plugins.jetbrains.com/plugins/alpha/5047
- nightly: https://plugins.jetbrains.com/plugins/nightly/5047
As always, please remember that this is an alpha release and while efforts are made to ensure the best possible experience, sometimes things might be broken.
NOTE The above links are not meant to be used in browsers. As such, don't report issues about them not working or being inaccessible unless you are getting an error from the IDE itself.
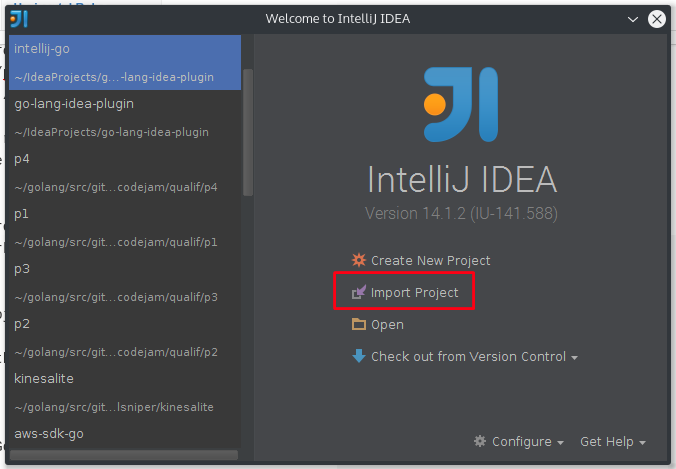
##Setting up a project from existing sources
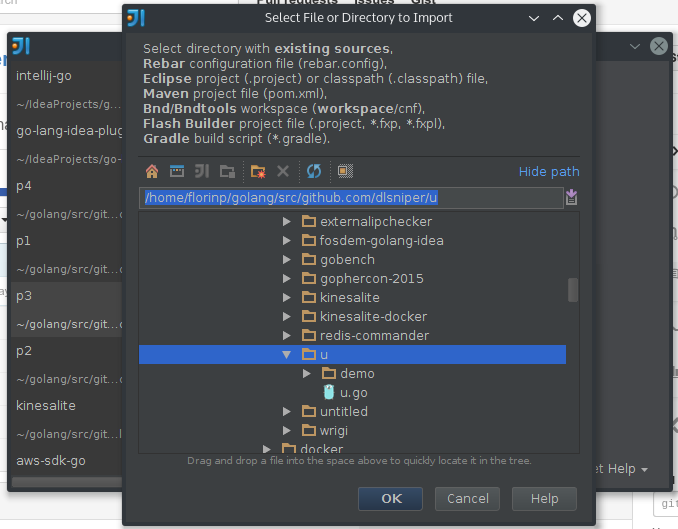
After installing the plugin, you can proceed to setup a go project from existing sources.
Then select the existing project directory.
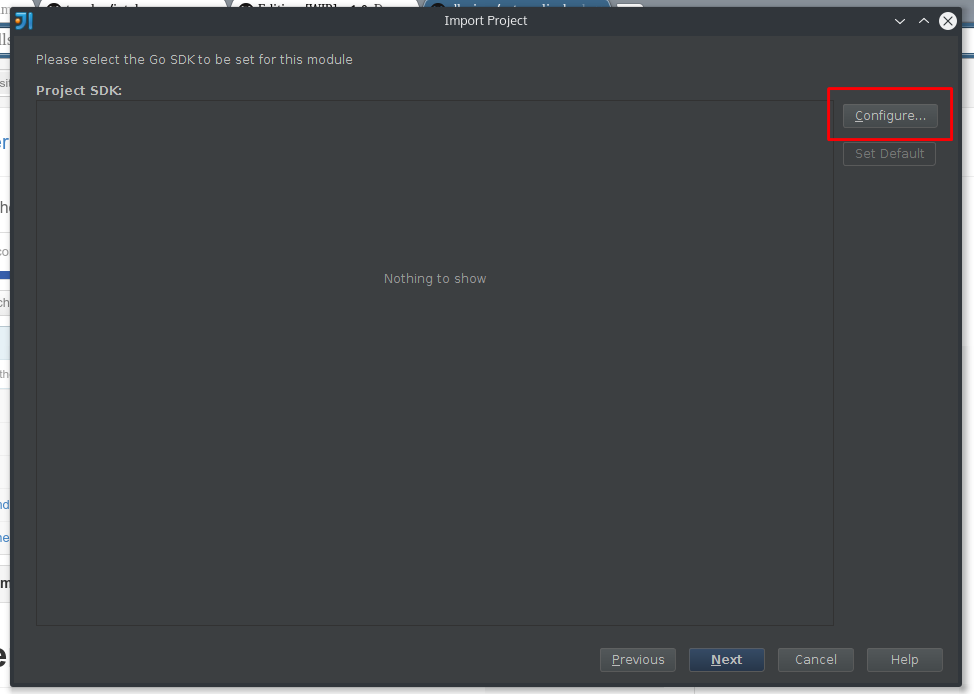
Select Next until you are greeted with the SDK selection dialog
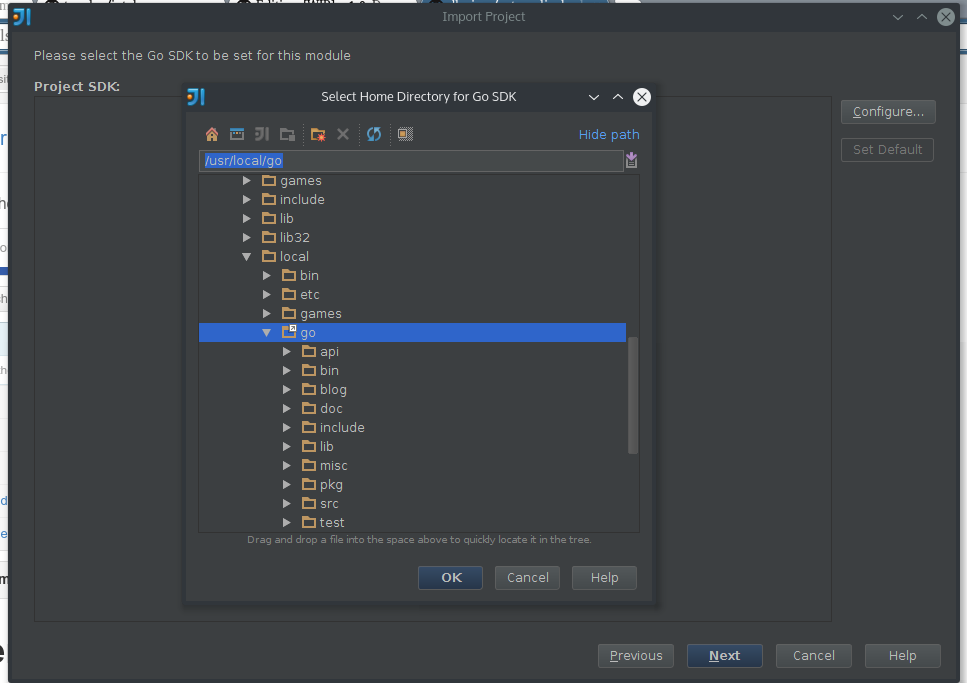
After you've configured the Go SDK, you can then proceed with the rest of the project setup.
Once the wizard finishes, please allow for some time for the IDE to index all your data from the Go SDK and GOPATH. Usually it can take up to a couple of minutes for it to finish (speed might vary based on many factors such as disk speed / CPU usage etc.). While the indexing is in progress some of the features like code completion or code inspections will be suspended.

##Setting up a project from scratch
TODO Document this
##Setting up the Go SDK
When you are greeted with the SDK selection dialog, if you don't have a Go SDK already selected, you need to select Configure.
Select the Go installation directory.
##Changing the Go Libraries (GOPATH libraries)
Make sure that your GOPATH is reflected in the plugin settings.
If it's the first time you open a project, you are prompted to check the Go Libraries. Clicking on the Go Libraries configuration link will open up a window where you can make sure that your GOPATH settings are reflected there.
##Running your application
The plugin allows you to run your app via two methods:
go rungo build
###Running using go run
If you want to run your application via this method, you need to navigate to Run | Edit Configurations.
There, you should select the green + to add a new configuration, then select Go Single File.
In the right side of the configuration dialog you'll be able to chose the file which holds the main() function and customize some of the details, such as working directory and environment variables. You can also give a name to this run configuration and then select OK.
After creating a new run configuration, all you need to do is navigate to Run and select the Run 'Your Run Configuration Name' option. In case you have multiple run configurations, you can chose which configuration to run by selecting Run... from the Run menu and then picking the desired configuration name from the list.
###Running using go build
The same steps apply for this configuration as the one with go run.
The only difference is that instead of creating a Go Single File run configuration you must select Go Application from the list of run configuration types when creating the run configuration.
##Running tests
Running tests in IntelliJ IDEA is as simple as creating a new run configuration just as you'd do for normally running your application.
In addition to just running the tests, if you select Run 'Your Test Run Configuration Name' with Coverage you'll be able to also receive the test coverage output in the IDE.
###Running all the tests in a directory
In order to run all tests from the a certain directory you must select the directory option when creating a Go test configuration, then specify the full path to the directory you want to run the tests from.
###Running all the tests in a package
Running tests from a package is almost the same as running the tests from a directory with the exception you can just type the fully qualified import path of the package instead of the directory path.
For example, you'd like to test the package subpackage from the package github.com/dlsniper/demo you'd need to type github.com/dlsniper/demo/subpackage. The IDE will assist you with autocompletion for the package path.
###Running tests using a filter
If you want to run only part of the test suite then you can specify the test you'd like -run=TestMyFunc in the Program Arguments section of the run configuration.
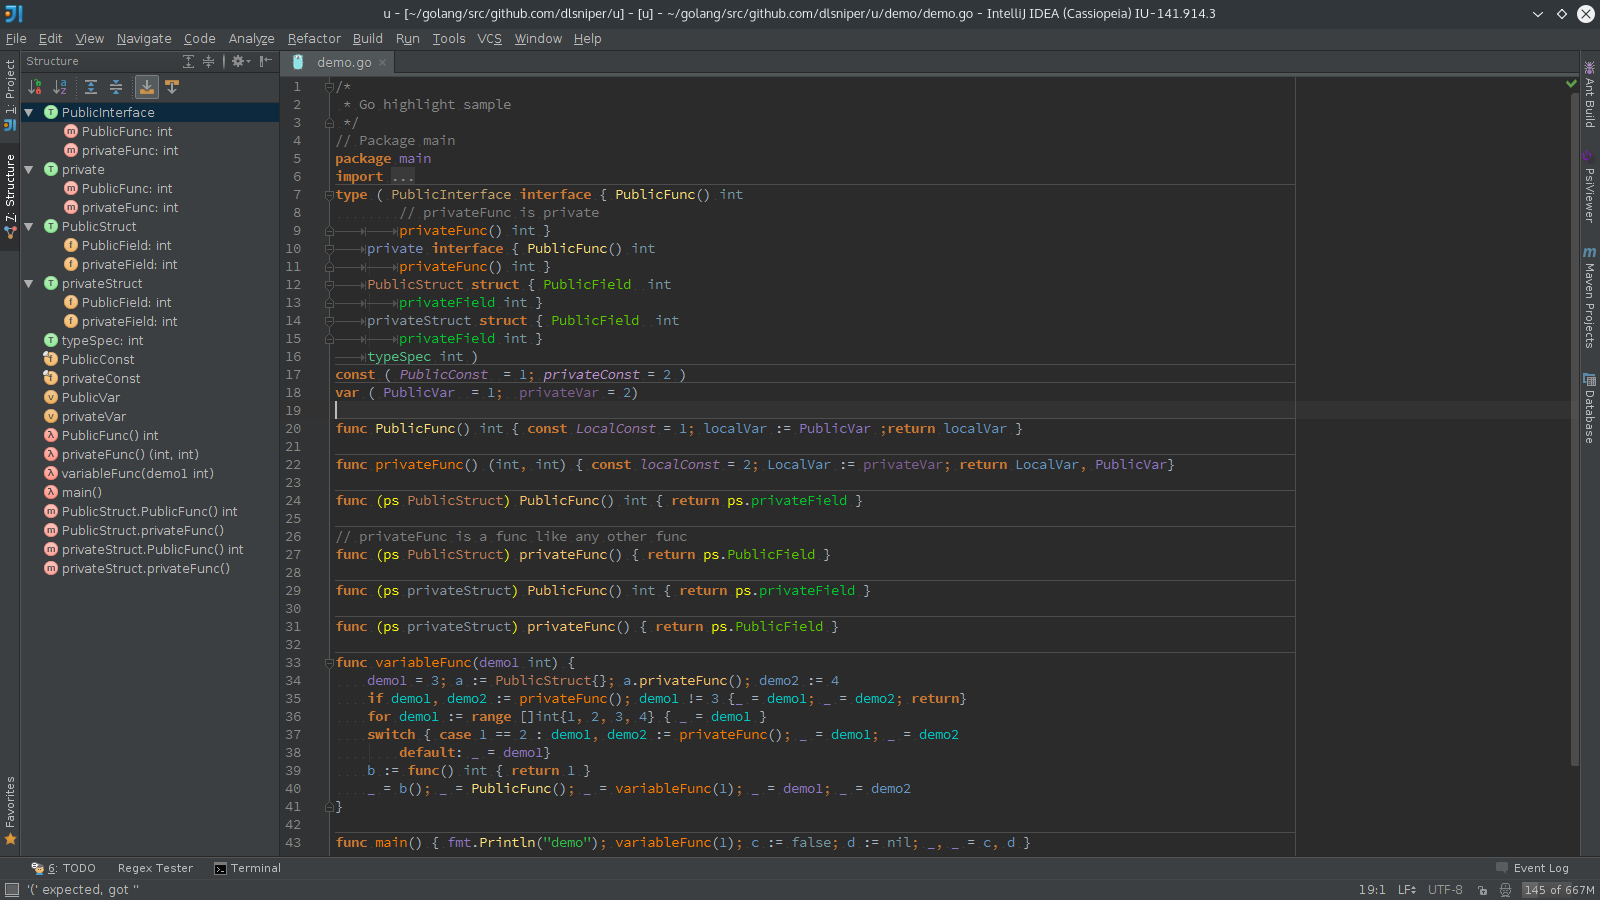
##Structure view of the project
You can view the structure of a certain file by navigating to the View | Tool Windows | Structure View.
##Using code completion
Using code completion features is as straight forward as starting to type what you what and the plugin will present you various options depending on the context you are in.
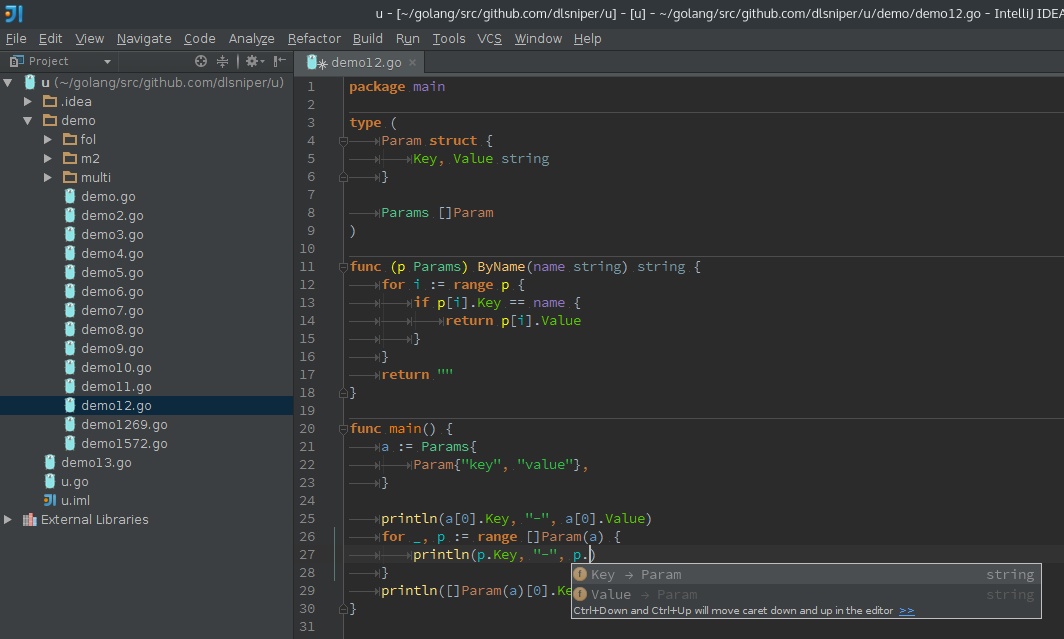
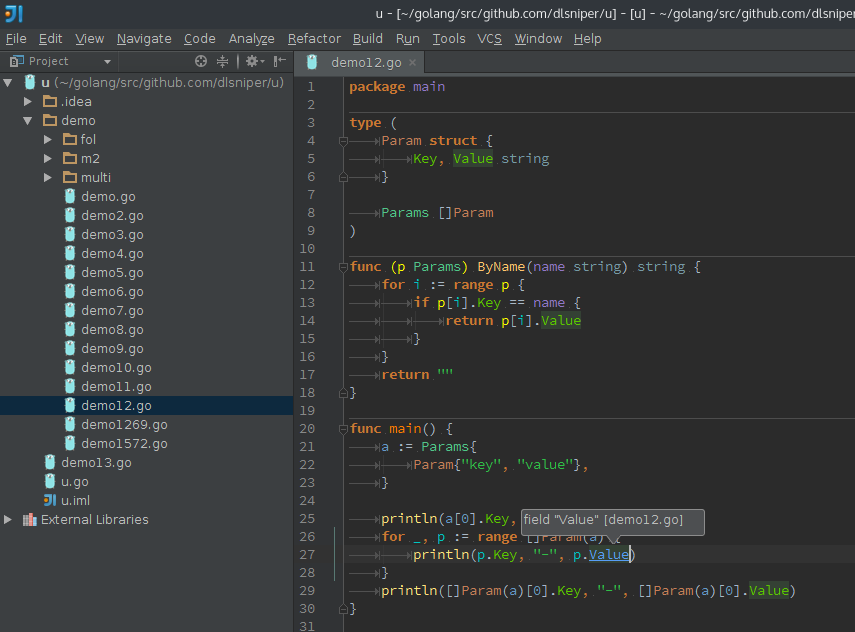
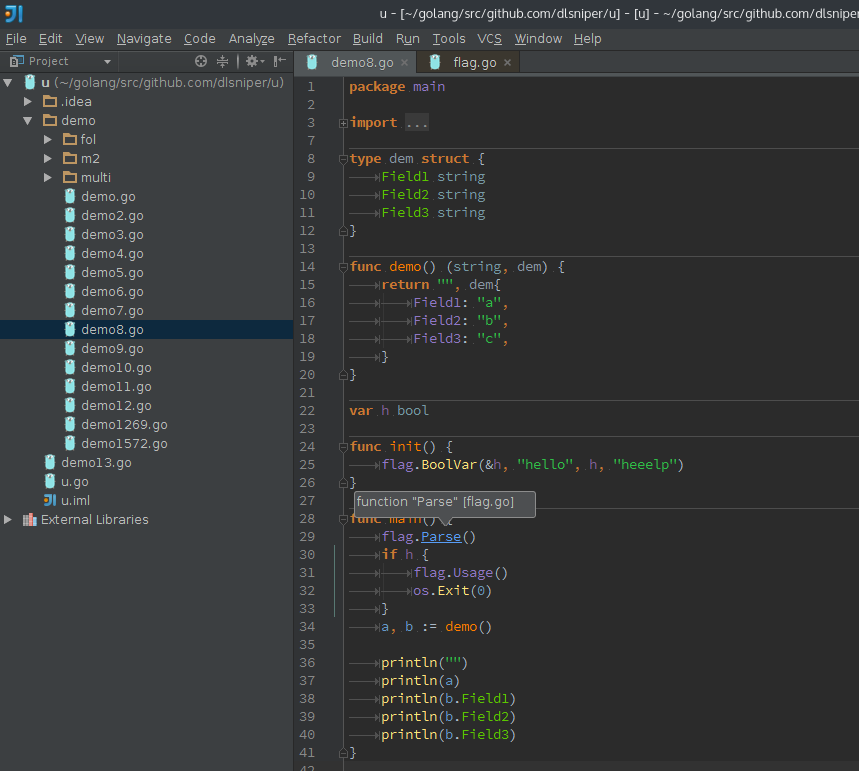
##Using code navigation
You can navigate your way around the code in multiple ways.
To navigate to the definition of the function / member / method / variable / constant by using Navigate | Declaration or by using CTRL + click (on Mac, CMD + click) interaction.
##Using renaming refactoring functionality
You can easily rename a function, variable or constant by accessing Refactor | Rename.... All the instances of the refactor target will be highlighted. When you've finished renaming your target you can press enter your changes will be applied. If you decide to stop, you can press escape and your changes will be undone.
##Formatting the source code
Formatting the source code is a very important aspect in working with Go code. Your code is automatically formatted as you type.
NOTE
Currently this facility doesn't provide the same formatting as go fmt or goimports. As such please read the following section in order to understand how you can format the code manually or using a GIT commit hook from within the IDE.
###Invoking code formatting manually
If you'd like to format the code you are working on, you should select Code | Go fmt file or Code | Goimports file.
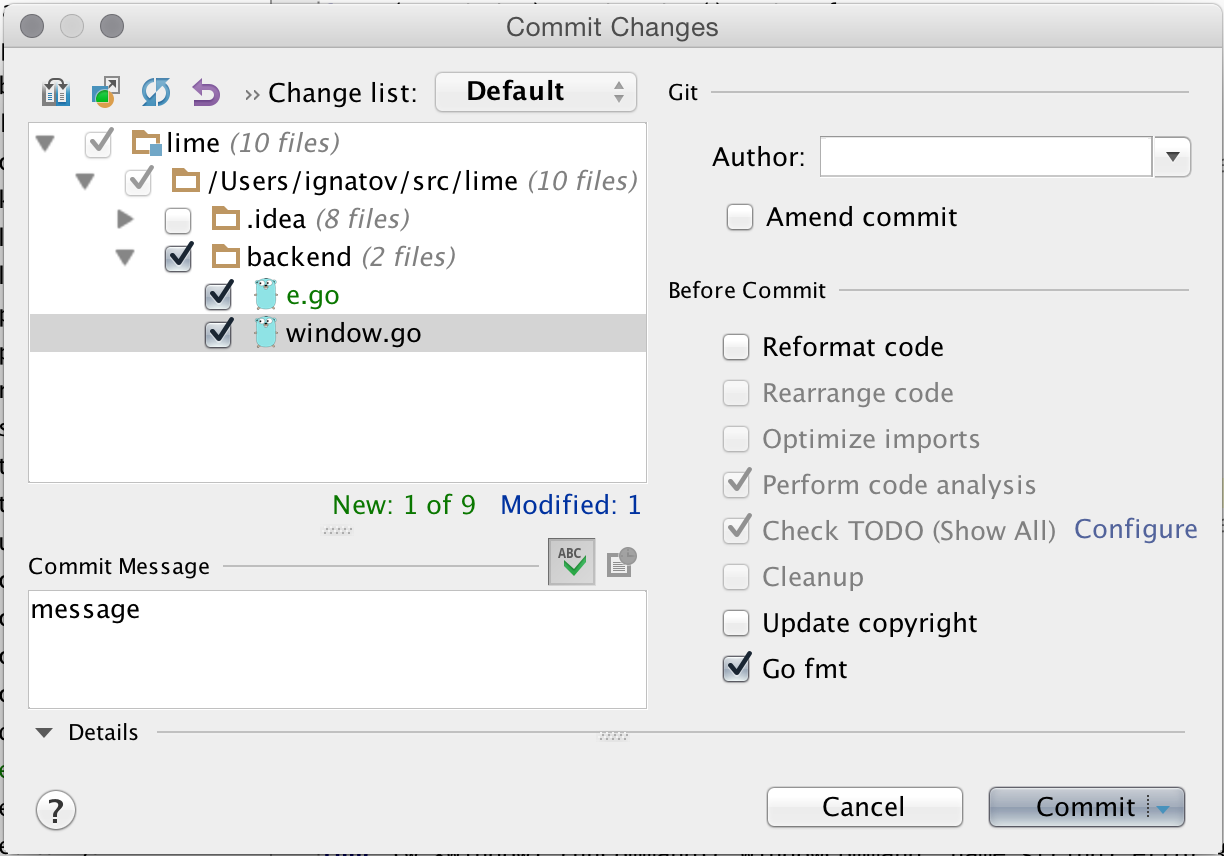
###Running go fmt on GIT commit
You can also run go fmt before you commit your changes by ticking the box in the commit changes dialog of the IDE.
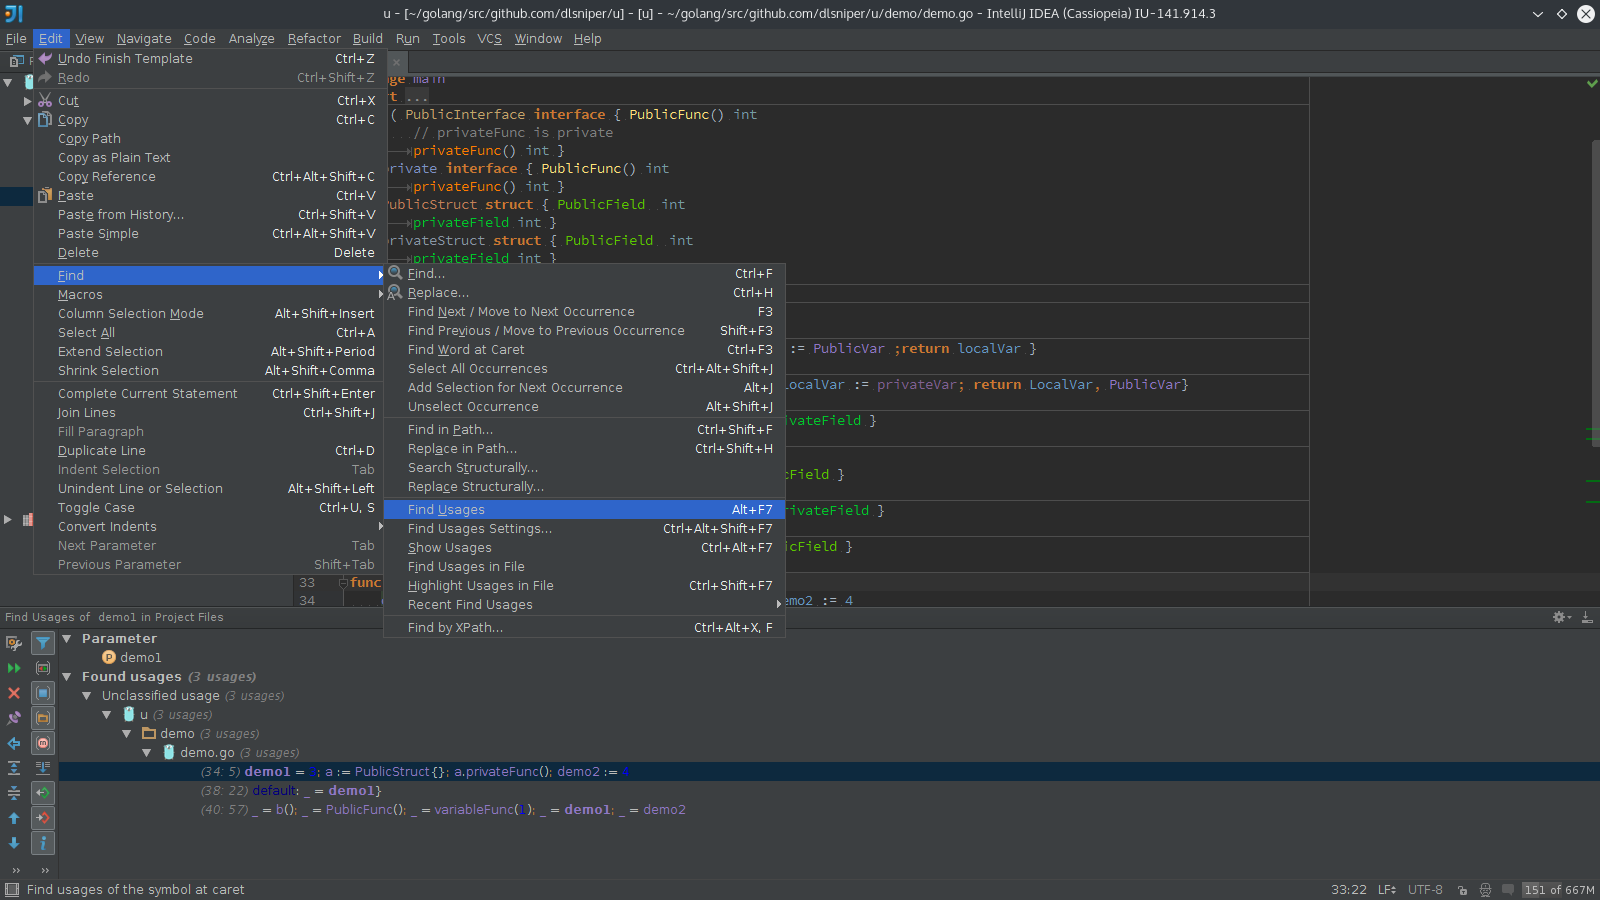
##Finding usage occurrences
You can find the usages of a certain element by accessing Edit | Find | Find usages. A tool window will appear highlighting every usages that the plugin is able to find.
##Changing default color scheme
TODO Document this
##Creating your Go file template
TODO Document this
##Creating / using Go Live templates
TODO Document this