Create image with install mode
This tutorial describes step by step how to create an image using install mode.
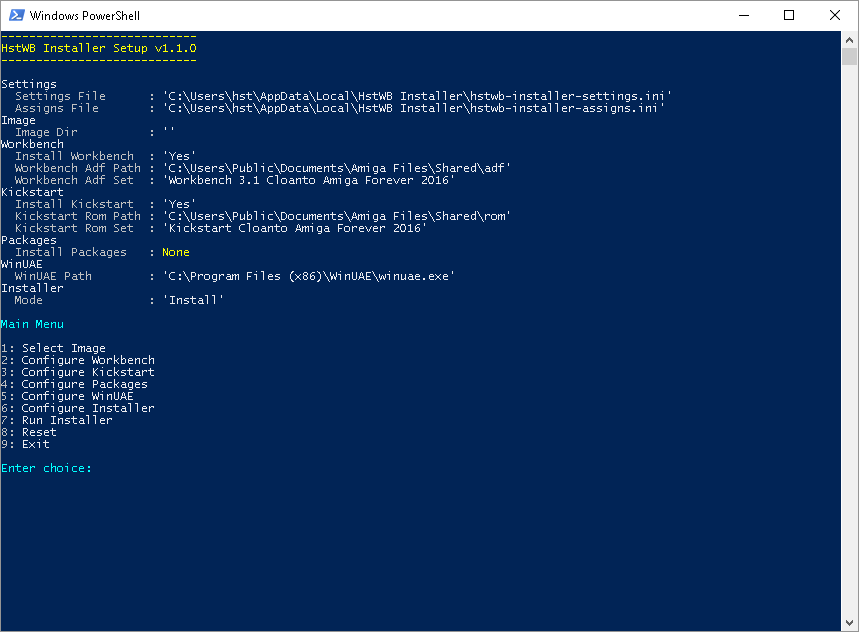
1. Start HstWB Installer Setup
Start HstWB Installer Setup from start menu or powershell.
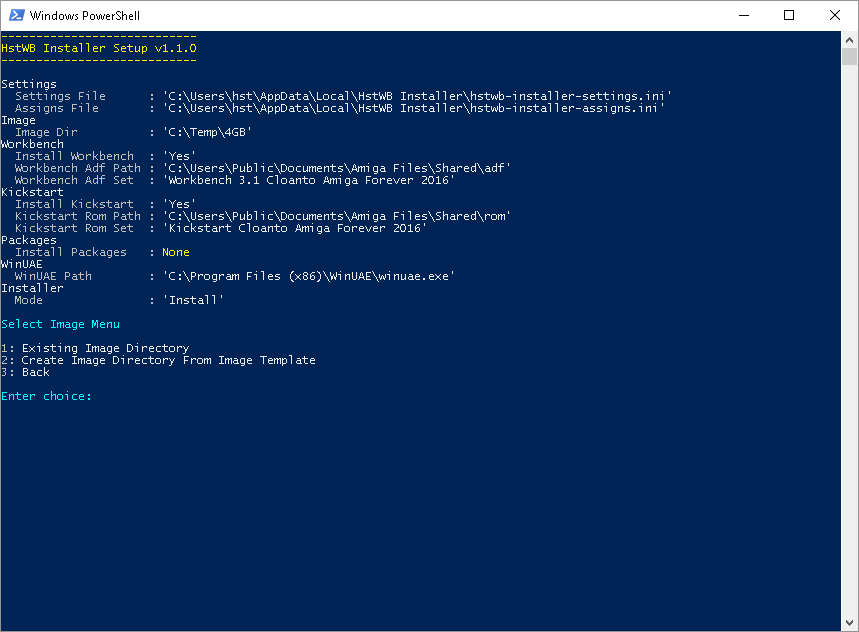
Type 1 and enter for select image menu.
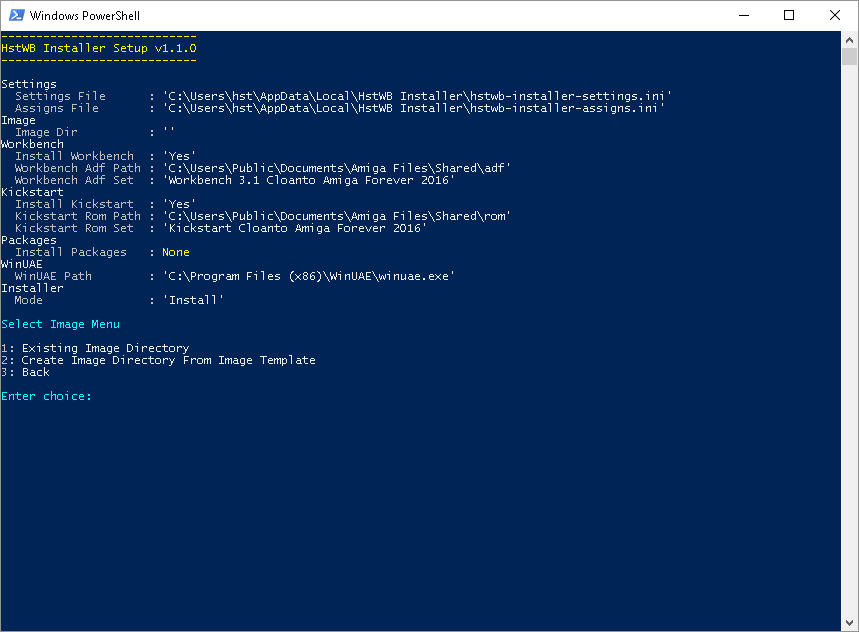
2. Create a new image
Type 2 and enter for create image directory from image template menu.
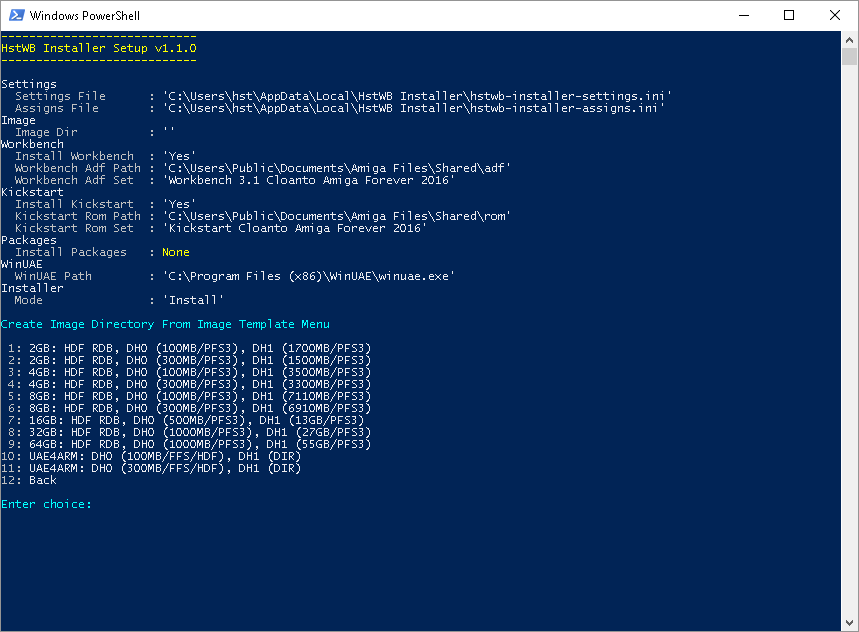
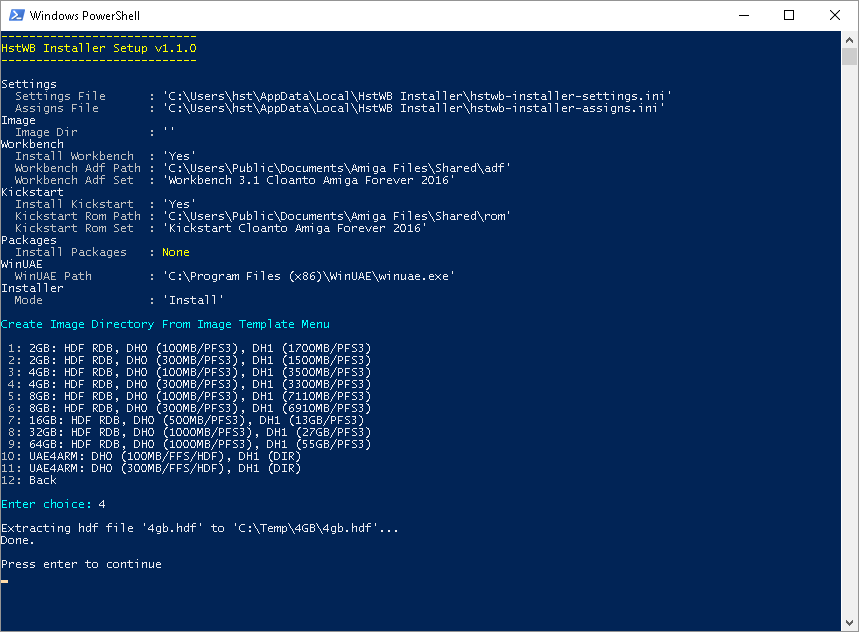
3. Pick an image template that matches your needs
For this example type 4 and enter for '4GB: HDF RDB, DH0 (300MB/PFS3), DH1 (3300MB/PFS3)' image template.
Note: Option numbers depend on the images installed in HstWB Installer "images" directory, so they may vary.
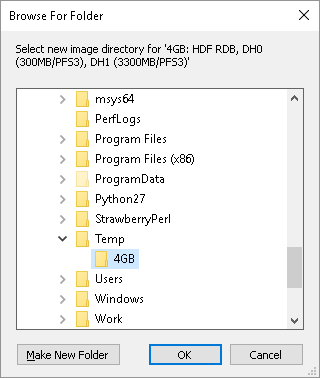
4. Select a directory to create new image
For this example create and select 'C:\Temp\4GB' directory.
Press enter to continue when extraction of image files is done.
Type 3 and enter for back to main menu.
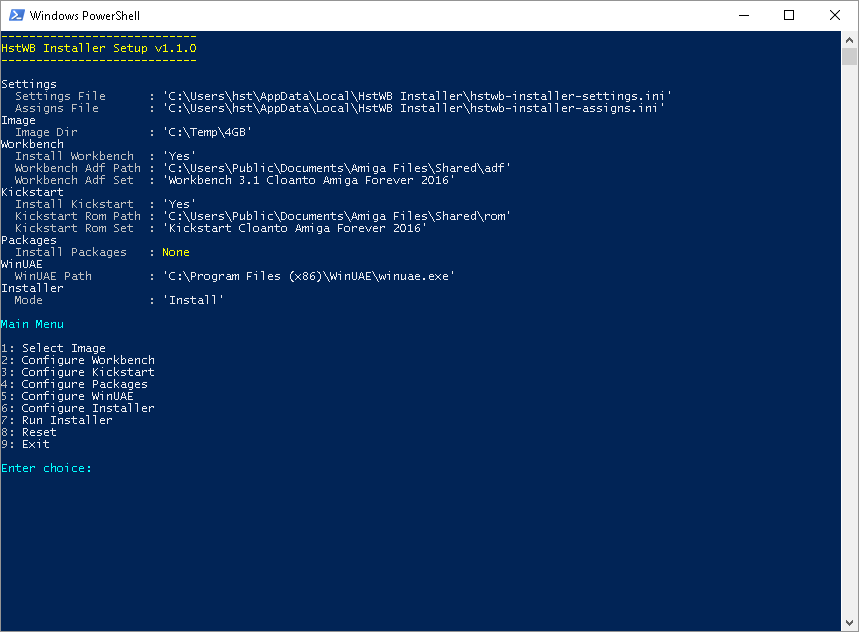
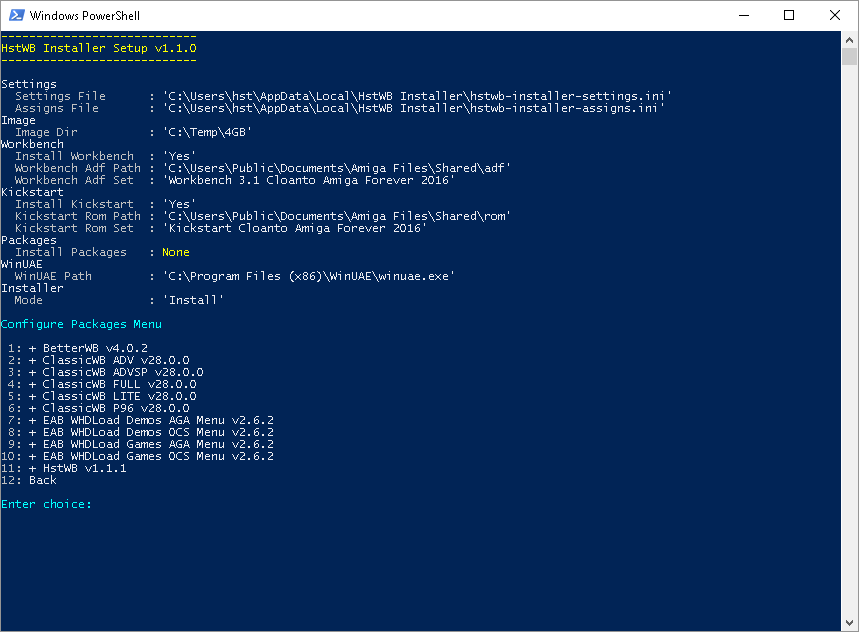
5. Configure packages that will be installed on the image
Type 4 and enter for configure packages menu.
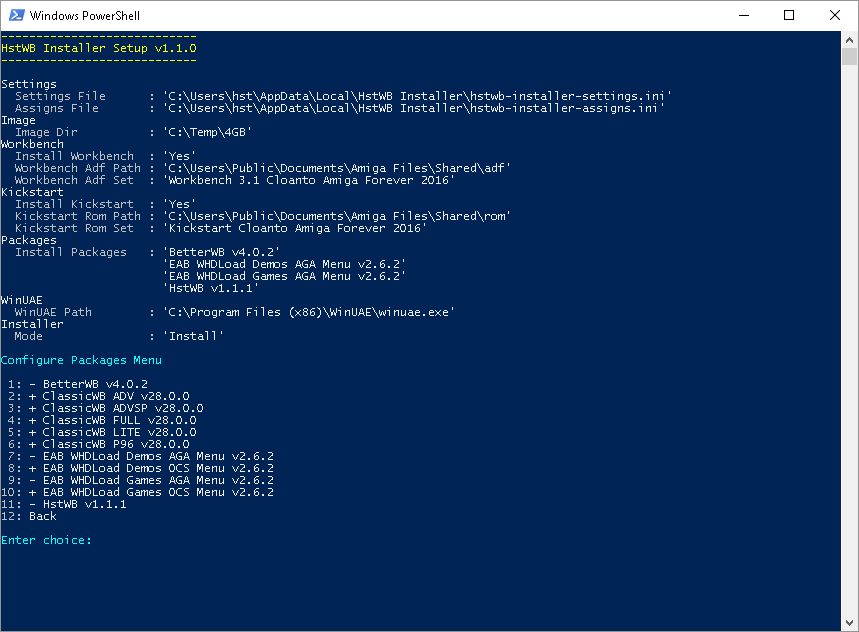
For this example type 1 and enter, 11 and enter, 9 and enter, 7 and enter to install packages: BetterWB, HstWB, EAB WHDLoad Games AGA Menu, EAB WHDLoad Demos AGA Menu.
Note: Option numbers depend on the packages installed in HstWB Installer "packages" directory, so they may vary.
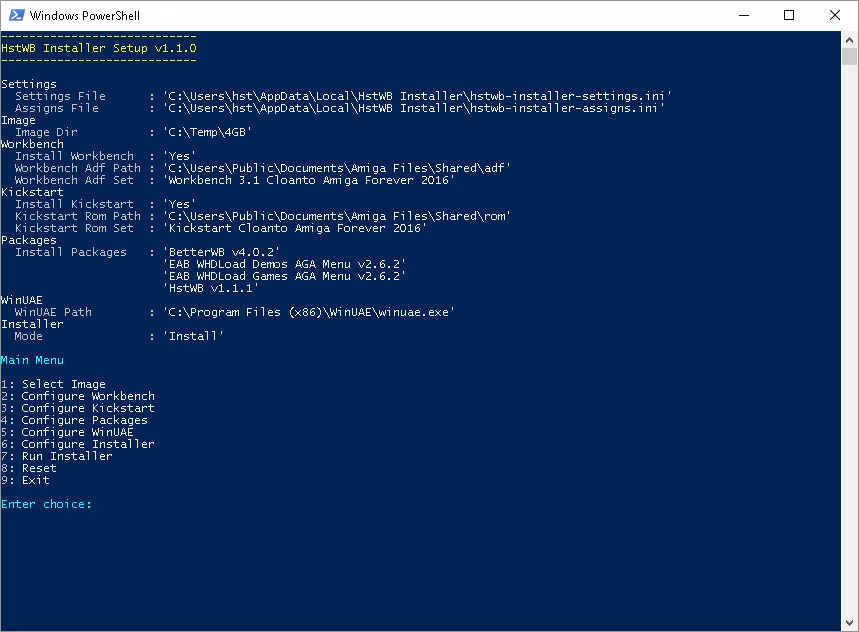
Type 12 and enter for back to main menu.
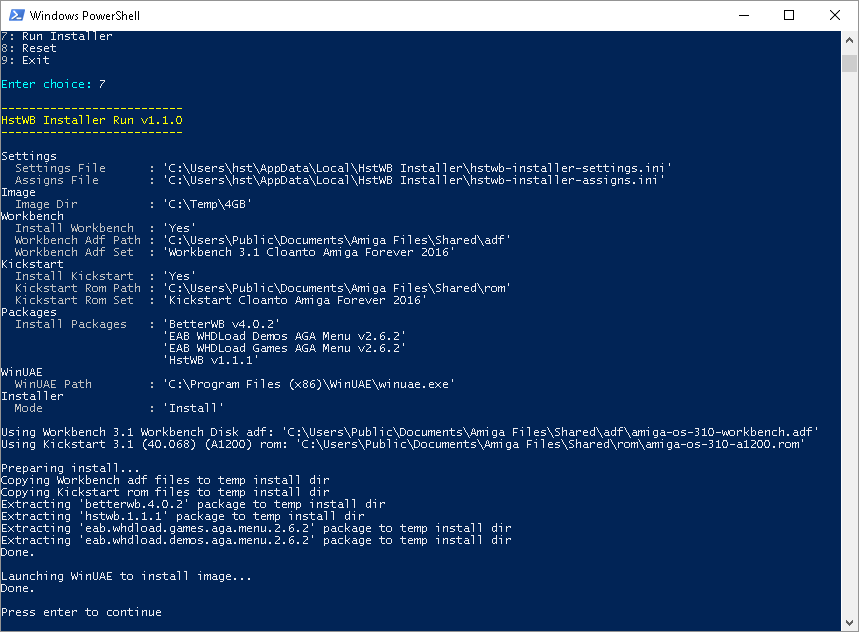
6. Run installer
Type 7 end enter to run installer.
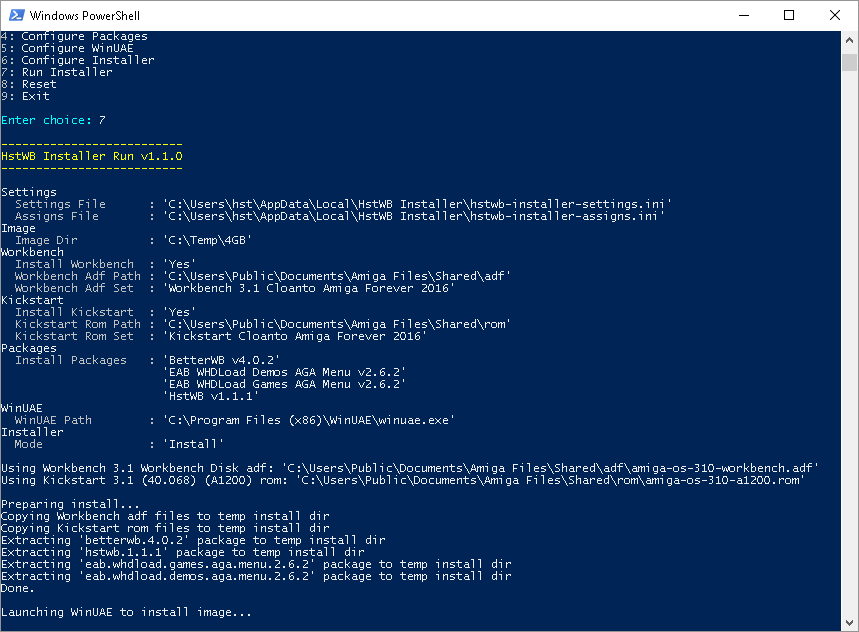
7. HstWB Installer preparing and launching WinUAE
HstWB Installer Run prepares files for installation and launches WinUAE to start installation process.
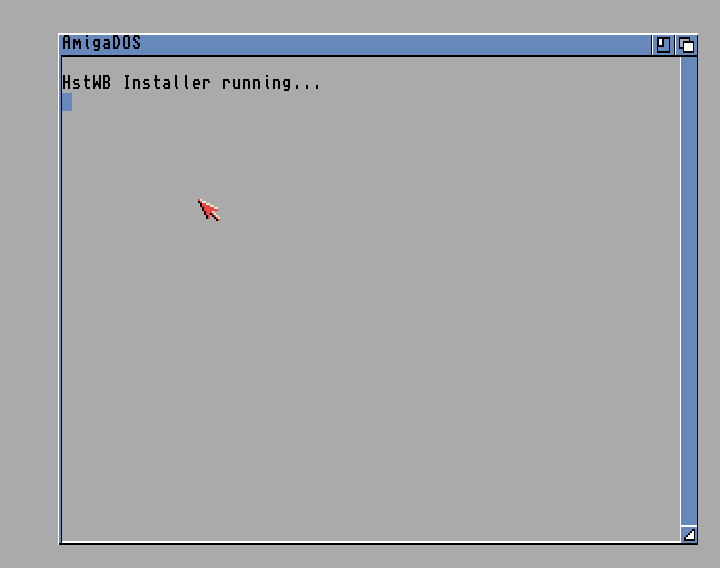
8. Installation process running
Installation process is starting.
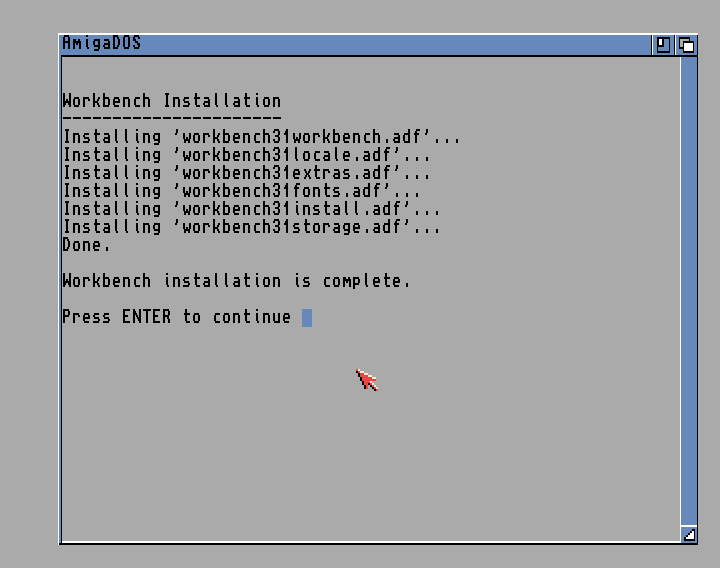
Workbench installation is complete and installation process can be continued by pressing "Enter".
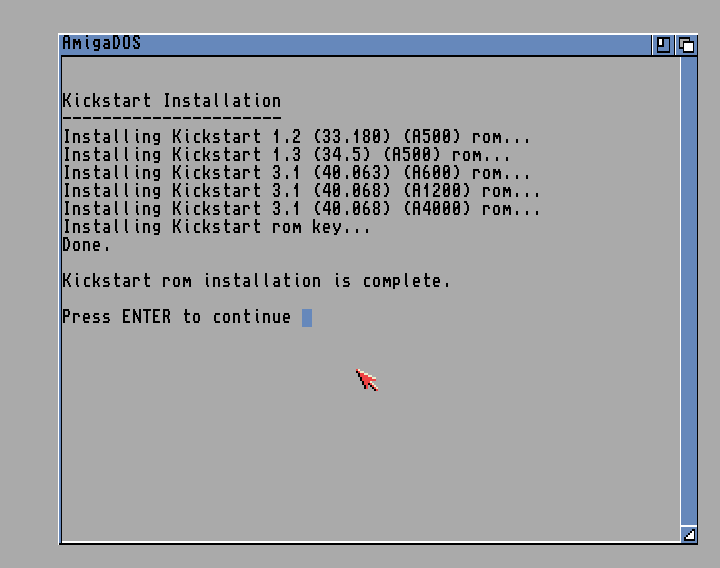
Kickstart installation is complete and installation process can be continued by pressing "Enter".
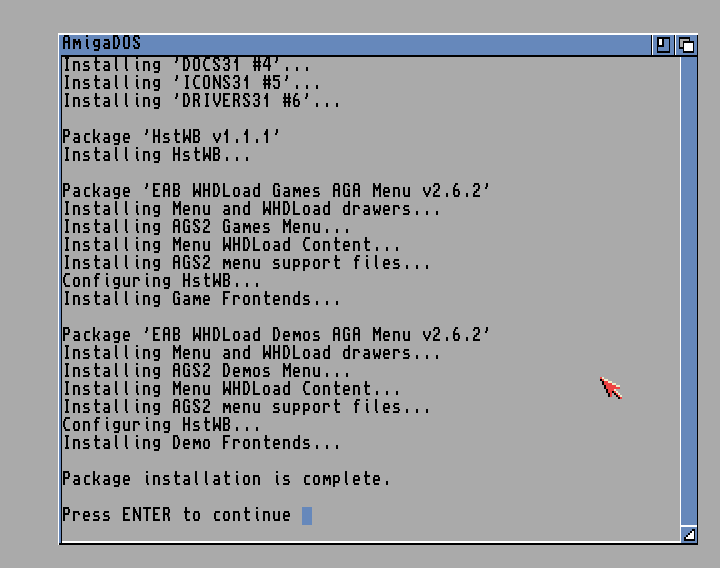
Package installation is complete and installation process can be continued by pressing "Enter".
Installation process is done and will automatically close WinUAE.
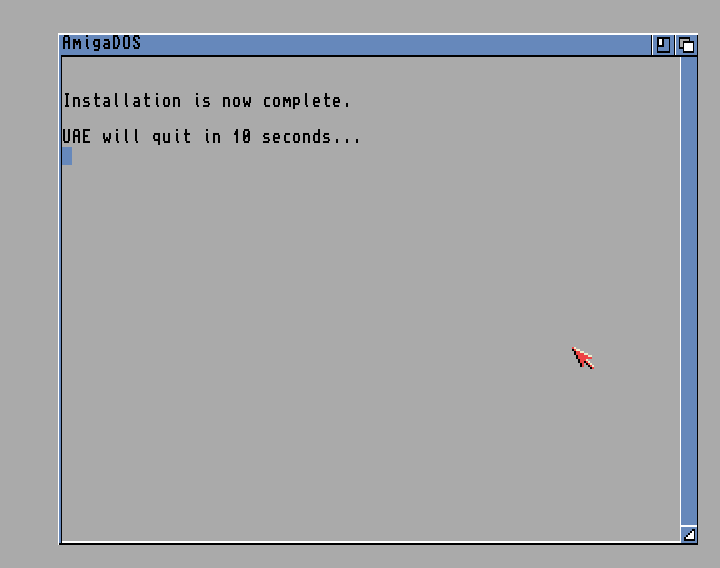
9. Installation process done
Image is now ready for use either in emulator or on real Amiga.
Press enter to continue and it will return to main menu.