en.Installation RaspberryPi

These instructions can be used if you want to use RaspberryPi (or similar) hardware as a platform for RaspberryMatic.
-
Install Raspberry Pi Imager: To install RaspberryMatic on a microSD card, you must first install a recent version of Raspberry Pi Imager: https://github.com/raspberrypi/rpi-imager/releases/latest

-
Select a RaspberryMatic Release: Select "CHOOSE OS" in "Raspberry Pi Imager", then
Other specific-purpose OS->Home assistants and home automation. Select "RaspberryMatic":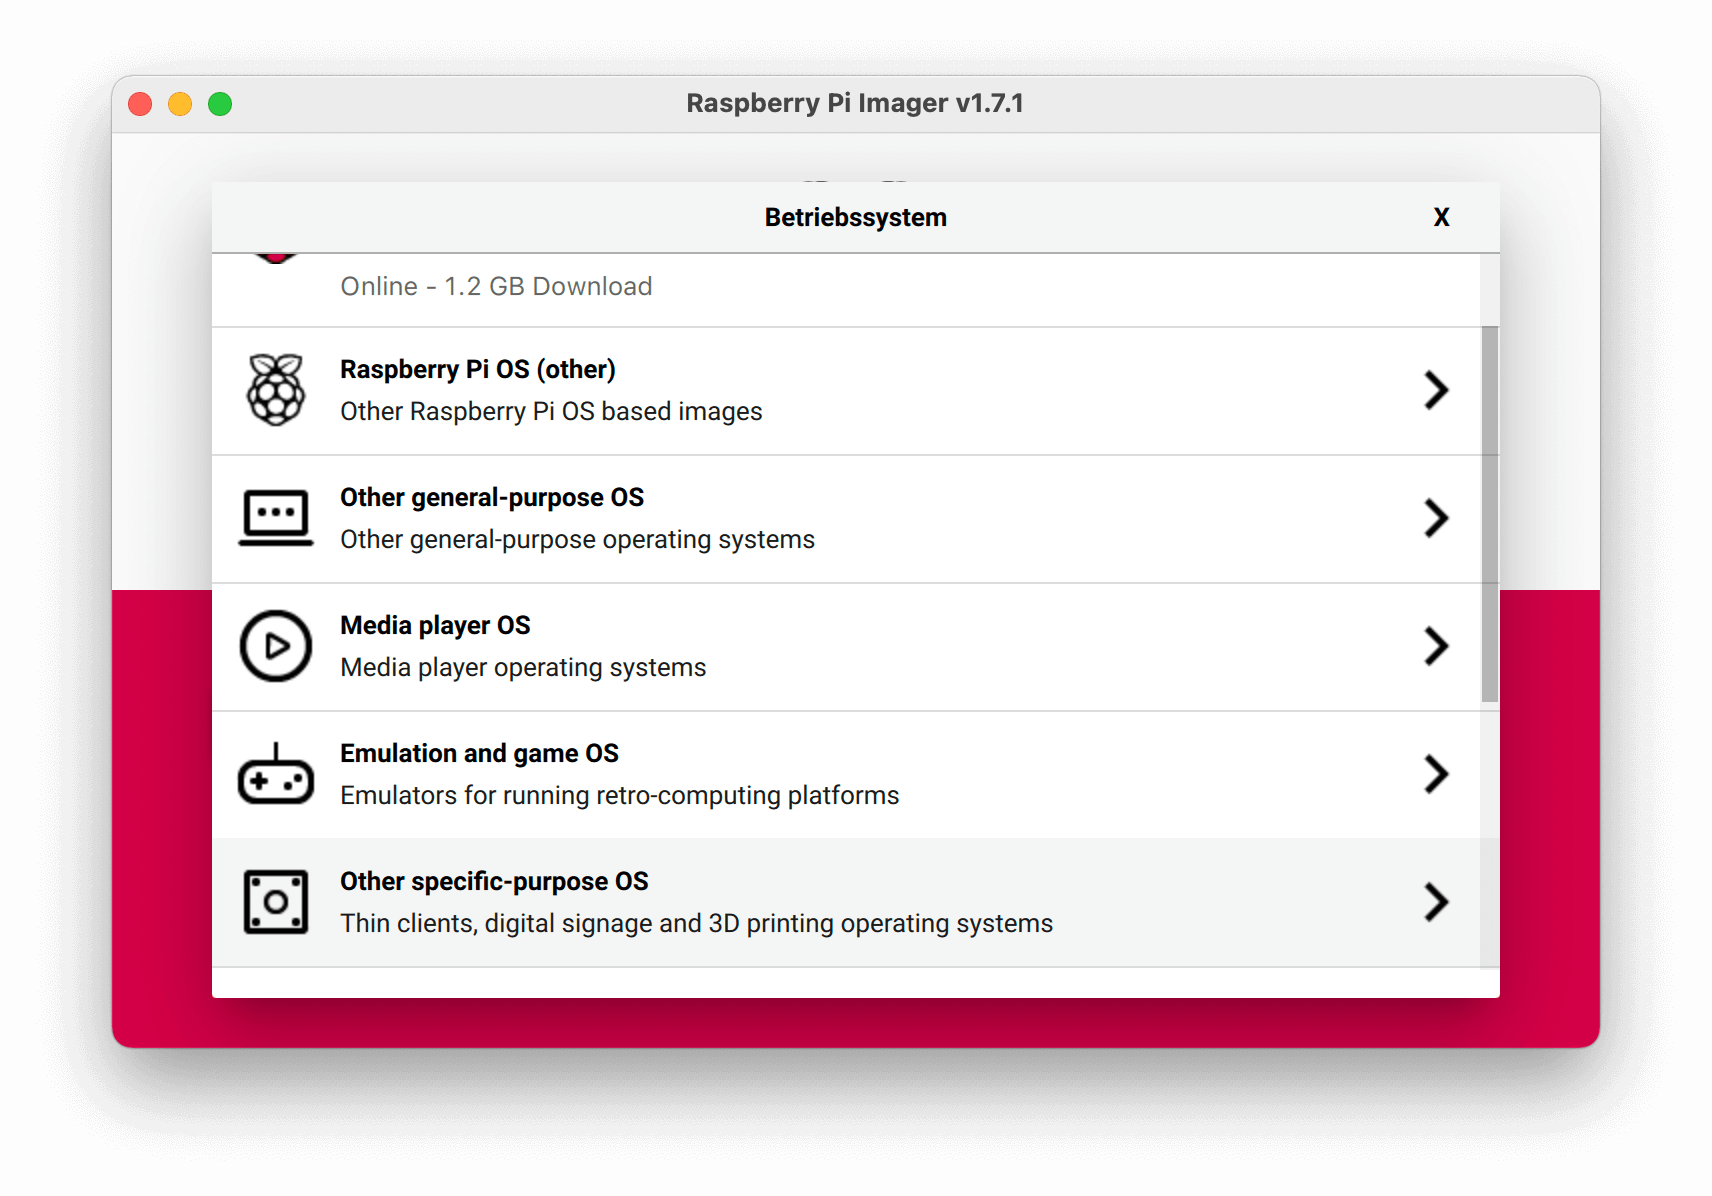
-
Select Hardware: After choosing "RasbperryMatic" pick the version suitable for your RaspberryPi (like) hardware:

-
Select SD card: Select the microSD card that you have inserted into you PC/laptop:

-
Write SD card: Click "WRITE" to erase everything from your SD card and replace it with the RaspberryMatic image:

- Install SD card in Raspberry Pi: Remove the SD card from the PC and insert it into the Raspberry Pi.
- Install Wireless device: If needed; attach a compatible HomeMatic-Wireless module to the GPIO pins or USB port of your RaspberryPi.
- Start RaspberryMatic: Power up the RaspberryPi by connecting it to a power supply.
- Wait for boot: When the RaspberryPi is started up the red LED will start blinking regularly.
- Startup completed: When the green LED on the RaspberryPi blinks regularly the system has started.
- Connect to WebUI: Go to https://homematic-raspi/ – in a web browser to view the RaspberryMatic interface where you can start configuring your HomeMatic system.